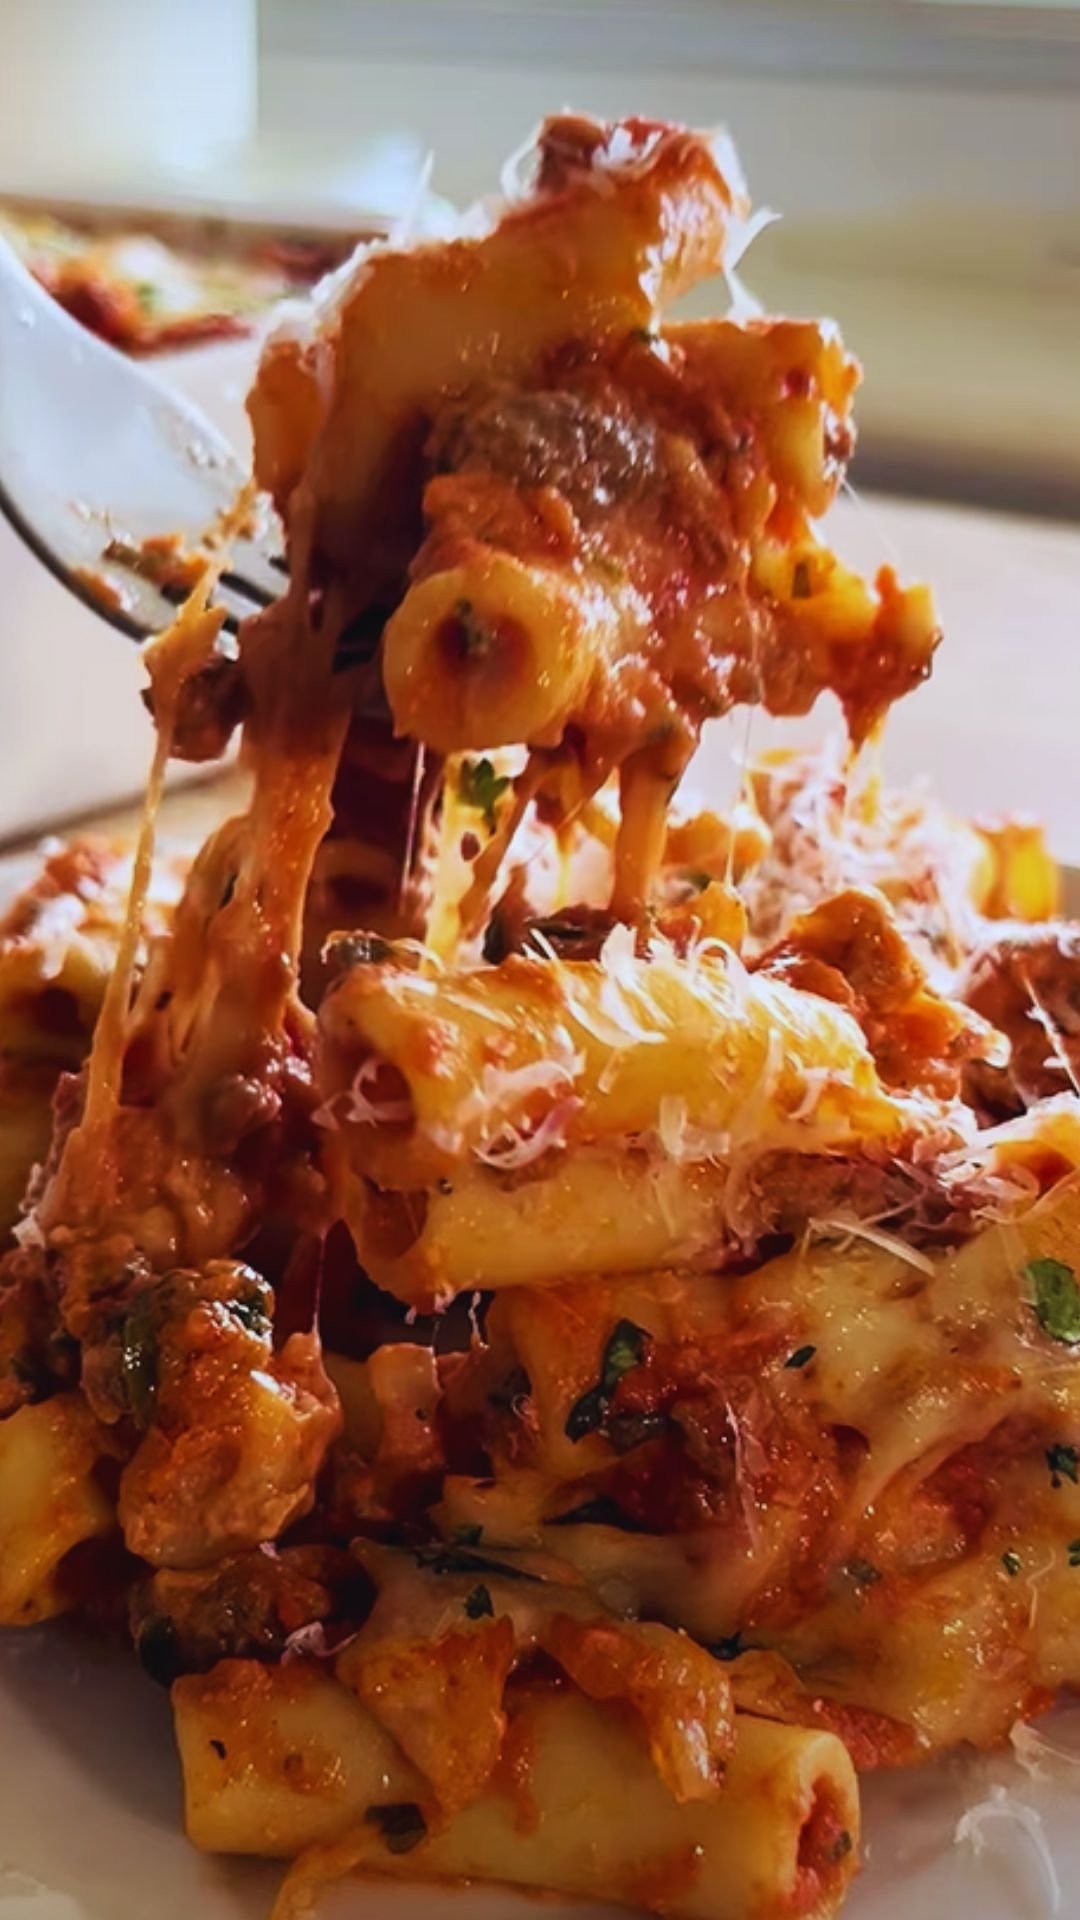
There’s something undeniably comforting about a bubbling dish of stuffed manicotti fresh from the oven. Those tender pasta tubes filled with creamy ricotta and smothered in rich tomato sauce have been a staple in my kitchen for years. Today, I’m excited to share my perfected stuffed manicotti recipe that always earns rave reviews from family and friends alike.
This recipe takes inspiration from traditional Italian techniques while incorporating a few special touches that elevate it from good to unforgettable. Whether you’re cooking for a special occasion or simply craving some homemade Italian comfort food, this stuffed manicotti is guaranteed to satisfy.
The Magic of Manicotti
Manicotti, which translates to “little sleeves” in Italian, are large pasta tubes designed specifically for stuffing. Unlike cannelloni (which are sometimes confused with manicotti), these pasta tubes have ridges that help sauce cling to their surface, creating the perfect bite every time.
What makes this particular stuffed manicotti recipe special is the balance of textures and flavors. The pasta remains tender yet firm, the filling is creamy and herb-infused, and the sauce delivers rich tomato goodness with just the right amount of seasoning.
Ingredients You’ll Need
For the Sauce:
- 2 tablespoons extra virgin olive oil
- 1 large yellow onion, finely diced
- 5 cloves garlic, minced
- 2 tablespoons tomato paste
- 2 (28-ounce) cans San Marzano whole peeled tomatoes
- 1 teaspoon dried oregano
- 1 teaspoon dried basil
- ½ teaspoon red pepper flakes (optional)
- 2 bay leaves
- 1 tablespoon granulated sugar
- Salt and freshly ground black pepper, to taste
- ¼ cup fresh basil leaves, chopped
For the Filling:
- 32 ounces whole milk ricotta cheese
- 2 cups shredded mozzarella cheese, divided
- 1 cup freshly grated Parmesan cheese, divided
- 2 large eggs, lightly beaten
- ¼ cup fresh parsley, finely chopped
- 2 tablespoons fresh basil, finely chopped
- 2 cloves garlic, minced
- 1 teaspoon lemon zest
- ½ teaspoon nutmeg, freshly grated
- 1 teaspoon kosher salt
- ½ teaspoon freshly ground black pepper
Additional Ingredients:
- 14 manicotti shells
- 2 tablespoons fresh parsley, chopped (for garnish)
Essential Equipment
Before diving into the cooking process, make sure you have these kitchen tools on hand:
- Large pot for boiling pasta
- Colander for draining
- 9×13 inch baking dish
- Large mixing bowl
- Medium saucepan
- Wooden spoon
- Measuring cups and spoons
- Pastry bag or zip-top bag (for filling the manicotti)
- Aluminum foil
Step-by-Step Preparation
Preparing the Sauce:
- Heat olive oil in a medium saucepan over medium heat.
- Add the diced onion and cook until translucent, about 5 minutes.
- Add minced garlic and cook for another 30 seconds until fragrant.
- Stir in tomato paste and cook for 1-2 minutes until it darkens slightly.
- Pour in the San Marzano tomatoes, crushing them with your hands or a potato masher as you add them to the pot.
- Add dried oregano, dried basil, red pepper flakes (if using), bay leaves, and sugar.
- Season with salt and pepper to taste.
- Bring the sauce to a simmer, then reduce heat to low and cook uncovered for 30-40 minutes, stirring occasionally, until the sauce has thickened.
- Remove from heat, discard bay leaves, and stir in fresh basil.
- Set aside while you prepare the rest of the dish.
Making the Filling:
- In a large mixing bowl, combine ricotta cheese, 1½ cups of the mozzarella cheese, ¾ cup of the Parmesan cheese, and beaten eggs.
- Add chopped parsley, chopped basil, minced garlic, lemon zest, nutmeg, salt, and pepper.
- Mix thoroughly until all ingredients are well incorporated.
- Taste and adjust seasoning if needed.
- Transfer the filling to a pastry bag or a large zip-top bag with a corner snipped off.
Cooking the Pasta:
- Preheat your oven to 375°F (190°C).
- Bring a large pot of water to a boil. Add a generous amount of salt.
- Cook the manicotti shells for about 5-6 minutes (about 2 minutes less than package directions). They should be slightly undercooked as they’ll continue cooking in the oven.
- Carefully drain the pasta and rinse with cold water to stop the cooking process.
- Lay the cooked manicotti shells on a clean kitchen towel to prevent them from sticking together.
Assembling and Baking:
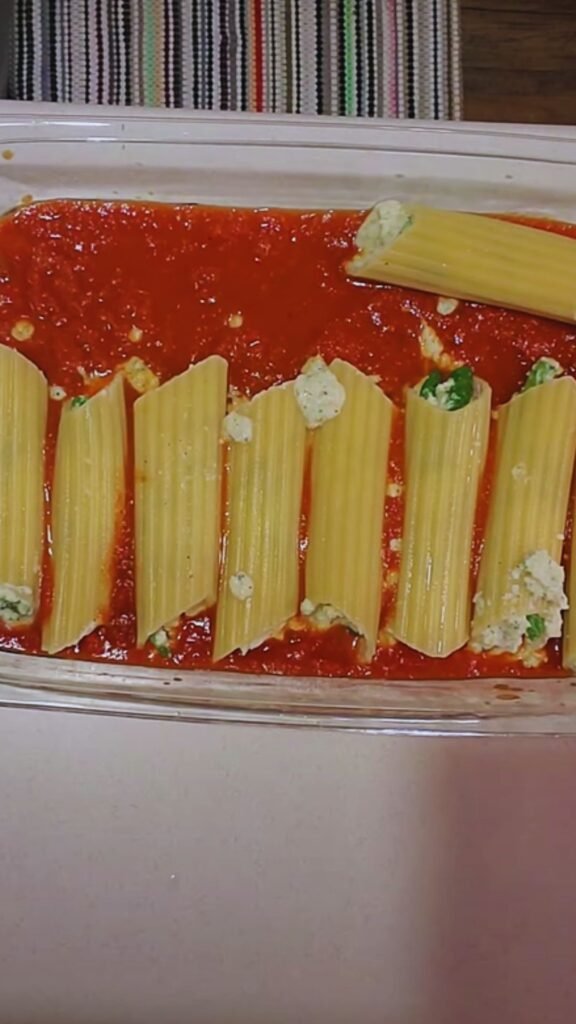
- Spread 1 cup of sauce evenly across the bottom of a 9×13 inch baking dish.
- Gently squeeze the filling into each manicotti tube using your pastry bag or zip-top bag.
- Arrange the filled manicotti in a single layer in the baking dish.
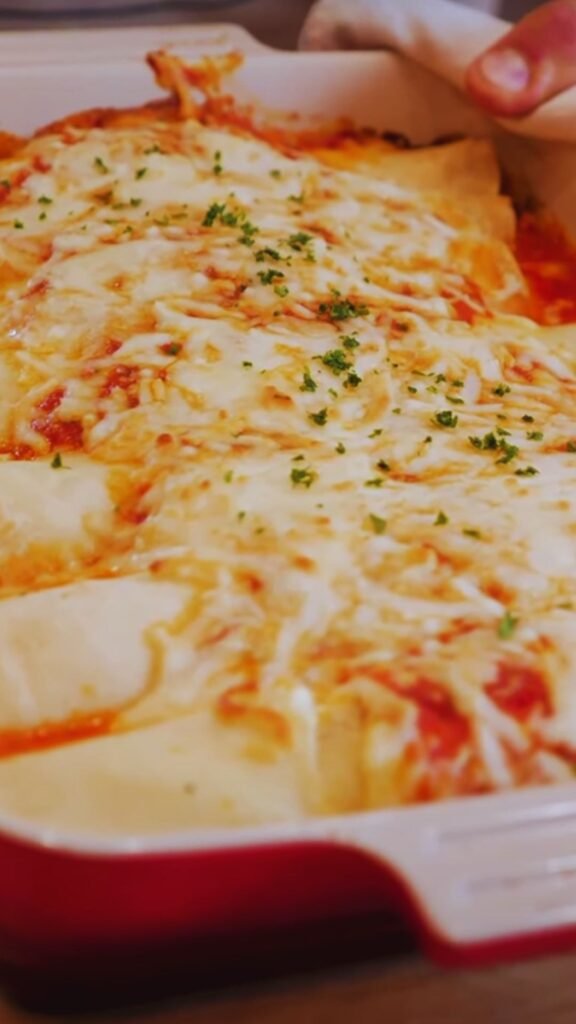
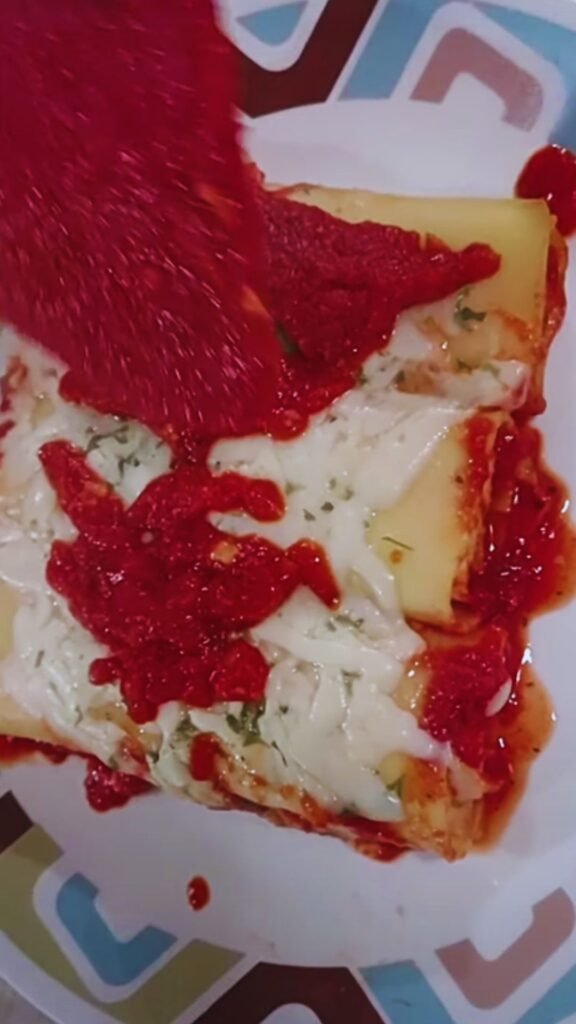
- Pour the remaining sauce over the manicotti, ensuring all pasta is covered.
- Sprinkle with the remaining ½ cup mozzarella and ¼ cup Parmesan cheese.
- Cover the dish with aluminum foil, making sure it doesn’t touch the cheese.
- Bake for 25 minutes covered.
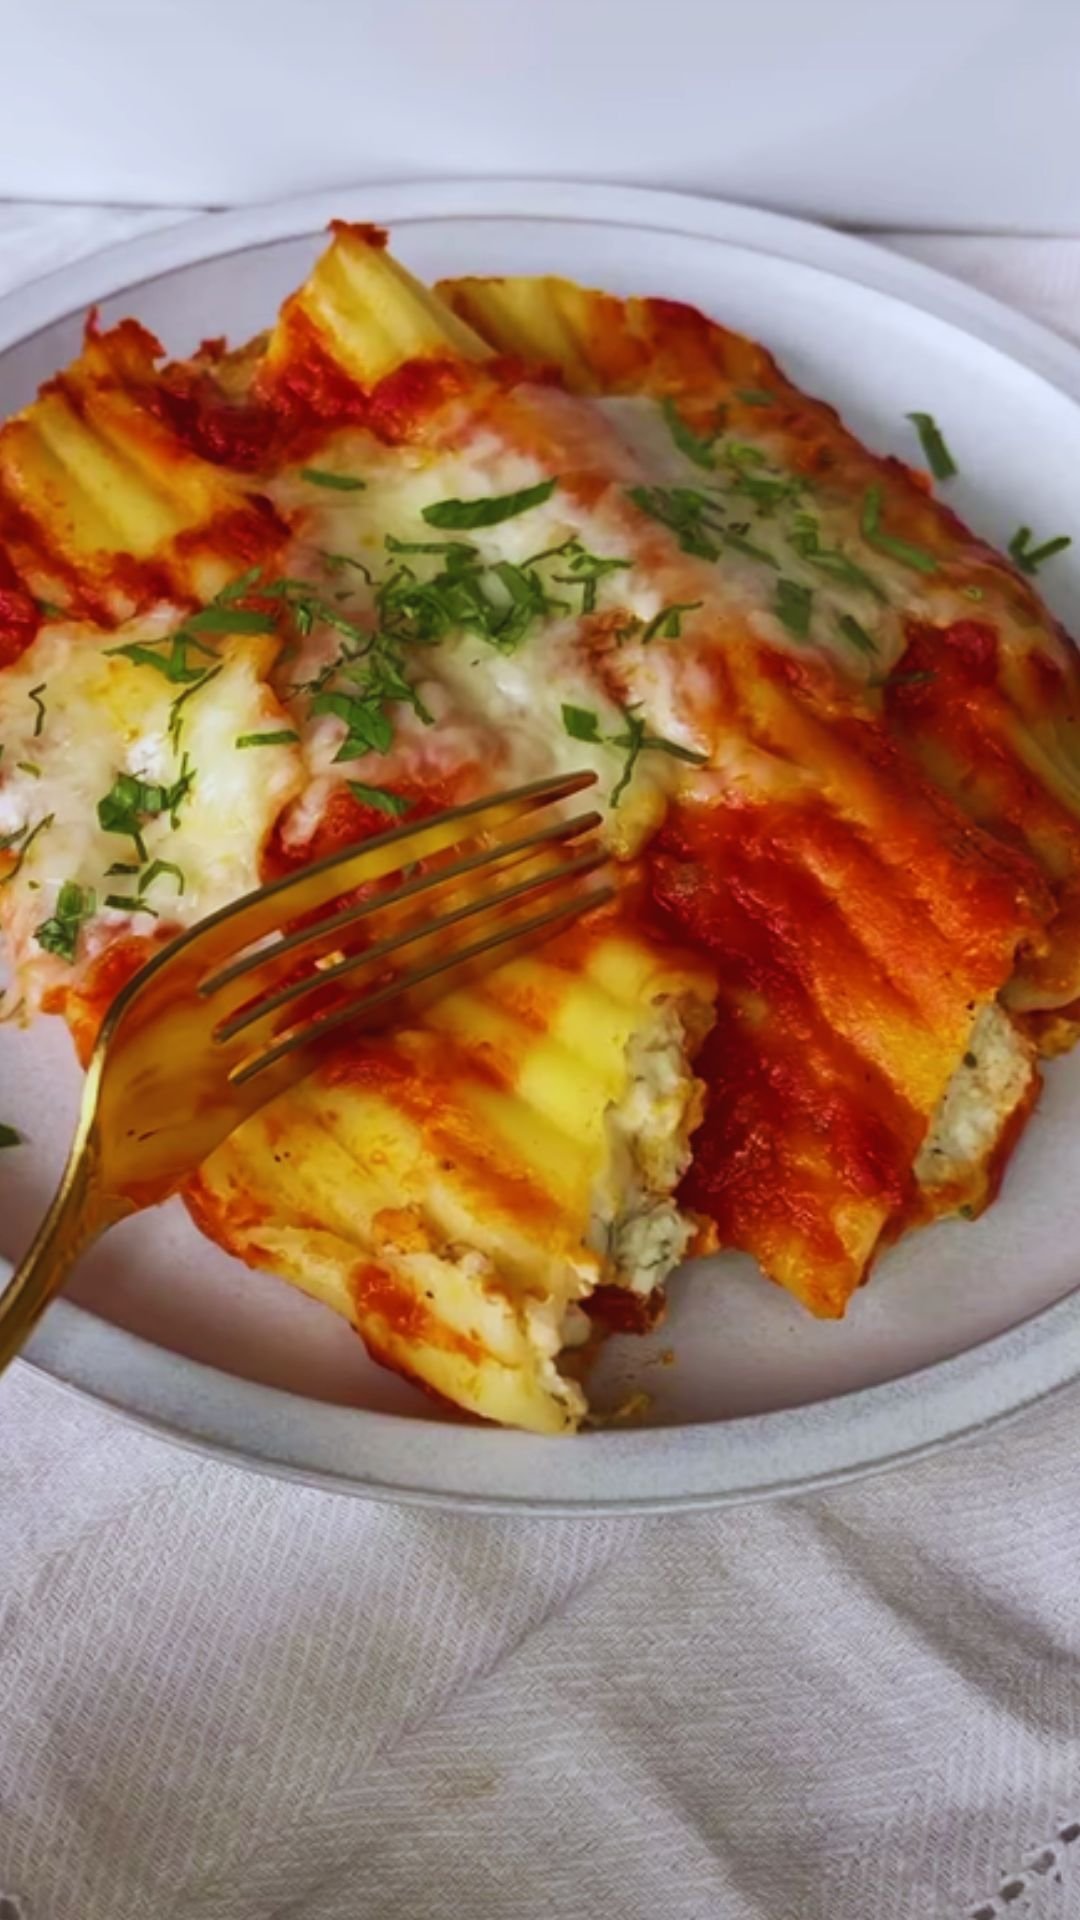
- Remove the foil and bake for an additional 10-15 minutes, until the cheese is bubbly and slightly golden.
- Let stand for 10 minutes before serving.
- Garnish with chopped fresh parsley.
Pro Tips for Perfect Manicotti
Every great recipe has its secrets. Here are mine for foolproof stuffed manicotti:
- Don’t overcook the pasta: Manicotti shells will continue to cook in the oven, so boiling them until just pliable (about 2 minutes less than the package directions) ensures they won’t turn mushy.
- Filling technique: If you don’t have a pastry bag, a zip-top bag works perfectly. Just fill it with the ricotta mixture, snip off one corner, and squeeze the filling into each shell.
- Handling delicate shells: If a shell tears, don’t worry! You can place it in the baking dish with the tear side down, and no one will ever know.
- Make-ahead option: You can assemble the entire dish up to 24 hours in advance and refrigerate it, covered. Just add 10-15 minutes to the baking time if cooking from cold.
- The cheese matters: Using whole milk ricotta rather than part-skim makes a creamier, more luxurious filling. It’s worth the splurge!
- Sauce consistency: If your sauce seems too thick, add a little pasta water to thin it out. If it’s too thin, simmer it longer to reduce and concentrate the flavors.
Nutritional Information
Understanding the nutritional content of what we eat is important. Here’s a breakdown of what you can expect per serving of this stuffed manicotti recipe (assuming 4-5 manicotti shells per serving):
| Nutrient | Amount per Serving |
|---|---|
| Calories | 520 |
| Total Fat | 28g |
| Saturated Fat | 16g |
| Cholesterol | 145mg |
| Sodium | 980mg |
| Total Carbohydrates | 38g |
| Dietary Fiber | 3g |
| Sugars | 9g |
| Protein | 32g |
| Calcium | 580mg |
| Iron | 3mg |
| Potassium | 620mg |
| Vitamin A | 1200IU |
| Vitamin C | 18mg |
Variations to Try
While this classic stuffed manicotti recipe is delicious as is, don’t be afraid to experiment with these tasty variations:
Spinach and Ricotta Filling
Add 1 package (10 ounces) of frozen chopped spinach, thawed and well-drained, to the ricotta mixture for extra nutrition and a pop of color.
Meat Lover’s Manicotti
Brown 1 pound of ground beef, Italian sausage, or a combination of both, and mix it into your tomato sauce or the filling for a heartier dish.
Mushroom Manicotti
Sauté 8 ounces of finely chopped mushrooms with the onions when making the sauce for an earthy flavor boost.
Seafood Twist
Add 1 cup of cooked, chopped shrimp or crabmeat to the filling for an elegant seafood version.
Roasted Vegetable Medley
Mix 2 cups of finely diced, roasted vegetables (like bell peppers, zucchini, and eggplant) into the cheese filling for added texture and flavor.
Serving Suggestions
To transform your stuffed manicotti into a complete Italian feast, consider these complementary side dishes:
- A crisp Caesar salad with homemade croutons
- Garlic bread or crusty Italian bread for sauce-sopping
- Sautéed broccolini or rapini with garlic and red pepper flakes
- Simple roasted vegetables tossed with olive oil, salt, and herbs
- A light arugula salad with lemon vinaigrette and shaved Parmesan
Storage and Reheating Instructions
One of the great things about this stuffed manicotti is that it stores and reheats beautifully, making it perfect for meal prep or leftovers.
Refrigerator Storage:
Store leftover manicotti in an airtight container in the refrigerator for up to 4 days.
Freezer Storage:
For longer storage, you can freeze baked or unbaked manicotti:
- Unbaked: Assemble the dish but don’t bake it. Cover tightly with plastic wrap and then aluminum foil. Freeze for up to 3 months.
- Baked: Allow the manicotti to cool completely, then portion into airtight containers. Freeze for up to 2 months.
Reheating Instructions:
| Storage Method | Reheating Method | Time | Temperature | Special Instructions |
|---|---|---|---|---|
| Refrigerated | Oven | 20-25 min | 350°F | Cover with foil for the first 15 minutes |
| Refrigerated | Microwave | 2-3 min | High | Cover with a damp paper towel |
| Frozen (unbaked) | Oven | 50-60 min | 375°F | Bake covered for 40 min, then uncovered |
| Frozen (baked) | Oven | 35-45 min | 350°F | Cover with foil until heated through |
Common Mistakes to Avoid
Even experienced cooks can run into issues with stuffed manicotti. Here’s how to avoid some common pitfalls:
- Overcooking the pasta: This leads to tears and a mushy final dish. Cook until just pliable.
- Using cold filling: Cold ricotta straight from the refrigerator is difficult to pipe. Let it sit at room temperature for 15-20 minutes before filling your pastry bag.
- Forgetting to season the filling: Cheeses need salt and herbs to shine. Always taste your filling (before adding raw eggs) and adjust seasonings.
- Skimping on sauce: Manicotti needs plenty of sauce, as the pasta absorbs quite a bit during baking.
- Not allowing resting time: Cutting into the manicotti immediately after baking will result in filling that spills out everywhere. The 10-minute rest period is crucial.
Historical Background
Manicotti has a rich history in Italian-American cuisine. While similar stuffed pasta dishes exist in Italy (particularly cannelloni), manicotti as we know it today was popularized by Italian immigrants in the United States during the early 20th century.
Originally, these large pasta tubes were actually made by home cooks who would make crepe-like pancakes, fill them with cheese, and roll them up. The pre-made pasta tubes we use today are a more convenient modern adaptation of this traditional technique.
In Italian-American communities, stuffed manicotti became a staple at Sunday family dinners and special occasions, symbolizing the warmth and hospitality that are hallmarks of Italian food culture.
Q&A Section
Q: Can I make stuffed manicotti without boiling the pasta first? A: Yes! You can use no-boil manicotti shells, or regular shells without pre-boiling, but you’ll need to adjust the recipe. Increase the sauce by about 1 cup, making it slightly thinner with ¼ cup water. Cover tightly with foil and bake for 45-50 minutes. The extra moisture will cook the pasta during baking.
Q: What’s the best way to fill manicotti shells without breaking them? A: Using a piping bag or zip-top bag with the corner snipped off is the easiest method. Alternatively, you can split each shell lengthwise, fill it, and then close it back up before placing it in the baking dish with the seam side down.
Q: Can I make this recipe vegetarian/vegan? A: This recipe is already vegetarian. For a vegan version, substitute the ricotta with a tofu-based ricotta alternative, use vegan cheese substitutes, and replace the eggs with 2 tablespoons of cornstarch mixed with 2 tablespoons of water.
Q: How can I reduce the calories in this dish? A: Try using part-skim ricotta and mozzarella, reduce the amount of cheese in the filling by about 25%, and use a homemade tomato sauce with no added sugar. You can also add more vegetables to the filling to increase the nutritional value while reducing the calorie density.
Q: What’s the difference between manicotti and cannelloni? A: While both are stuffed pasta tubes, manicotti are typically ridged, pre-formed pasta tubes that are boiled before filling. Cannelloni are smooth pasta sheets that are rolled around filling. In the United States, the terms are sometimes used interchangeably, but traditionally they are distinct pasta types.
Q: My sauce seems too watery. How can I fix it? A: If your sauce is too thin, continue simmering it uncovered to reduce and thicken. For a quick fix, mix 1 tablespoon of tomato paste with 2 tablespoons of the hot sauce in a small bowl, then stir this mixture back into the main sauce.
Final Thoughts
Creating the perfect stuffed manicotti is about balancing flavors and textures while paying attention to the details. The combination of tender pasta, creamy cheese filling, and rich tomato sauce makes this dish a true crowd-pleaser for any occasion.
What I love most about this recipe is its versatility. Whether you’re serving it for a casual family dinner or an elegant gathering with friends, stuffed manicotti always feels special. Plus, the make-ahead option makes it ideal for entertaining when you don’t want to be stuck in the kitchen while your guests are arriving.
Remember, cooking is about making food that brings joy to those around your table. Don’t stress if your manicotti aren’t picture-perfect – the wonderful flavors will more than make up for any aesthetic imperfections. Buon appetito!