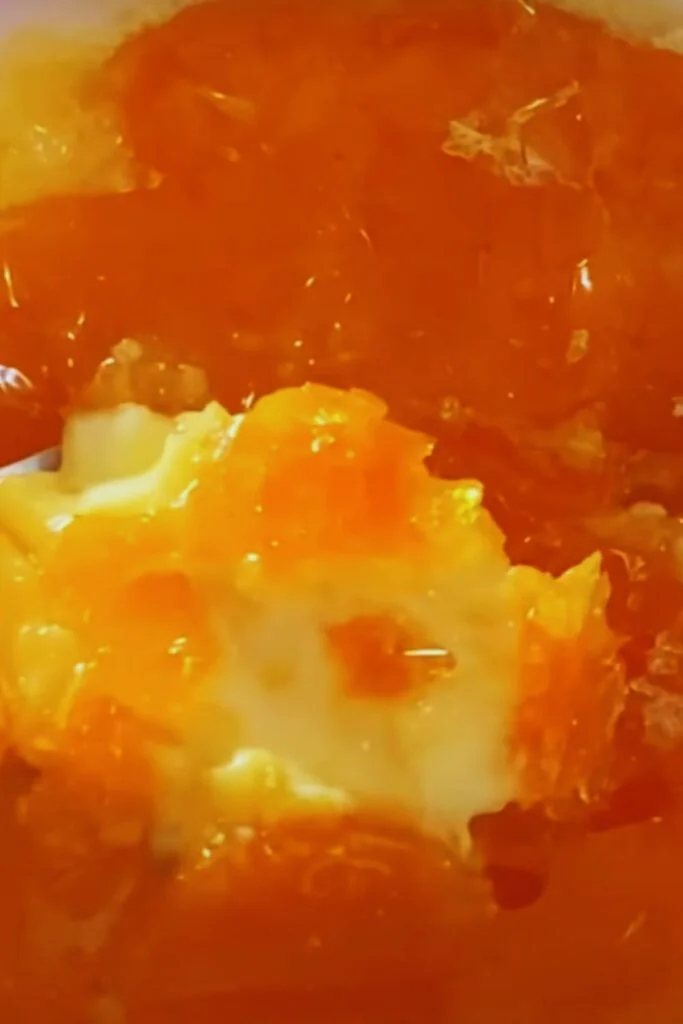
There’s something magical about cracking through that glassy caramelized sugar surface to reach the silky smooth custard beneath. I’ve spent years perfecting my creme brulee technique, and today I’m sharing all my secrets for creating this iconic French dessert at home.
What Makes a Perfect Creme Brulee?
Before we dive into the recipe, let’s understand what makes a truly exceptional creme brulee. The perfect creme brulee should have:
- A paper-thin, crackling caramel top that breaks with a gentle tap of your spoon
- A silky-smooth custard with a rich vanilla flavor
- A consistent texture throughout, with no bubbles or curdling
- A gentle wobble when shaken, but firm enough to hold its shape
- A subtle vanilla aroma that doesn’t overwhelm the delicate cream
Essential Equipment
For the best results, you’ll need:
- 6 shallow ramekins (4-6 oz each)
- A kitchen torch
- A large baking dish for the water bath
- A fine-mesh strainer
- An instant-read thermometer
- A heavy-bottomed saucepan
- Whisk and mixing bowls
Ingredients
For 6 servings:
For the Custard:
- 4 cups heavy cream (36-40% fat content)
- 1 vanilla bean or 2 teaspoons pure vanilla extract
- 8 large egg yolks, room temperature
- ¾ cup granulated sugar
- ¼ teaspoon fine sea salt
For the Caramel Top:
- 6 tablespoons demerara sugar (about 1 tablespoon per ramekin)
The Science Behind Perfect Custard
Understanding the science helps achieve better results:
Egg proteins begin to set at 144°F (62°C) and become fully firm at 180°F (82°C). We’re aiming for a temperature of 170-175°F (76-79°C) for the perfect custard consistency. Any higher, and you’ll get a rubbery texture; any lower, and it won’t set properly.
Step-by-Step Instructions
1. Preparing the Cream Base
- Preheat your oven to 300°F (150°C).
- If using a vanilla bean, split it lengthwise and scrape out the seeds.
- In a heavy-bottomed saucepan, combine the cream and vanilla (bean, seeds, or extract).
- Heat until small bubbles form around the edges (about 180°F/82°C).
- Remove from heat and let steep for 15 minutes if using a vanilla bean.
2. Making the Custard
- In a large bowl, whisk egg yolks, sugar, and salt until pale yellow (about 2-3 minutes).
- Slowly stream the hot cream into the egg mixture while constantly whisking.
- Strain the mixture through a fine-mesh sieve to remove any bits of cooked egg.
- Let rest for 5 minutes and skim off any foam.
3. Baking Process
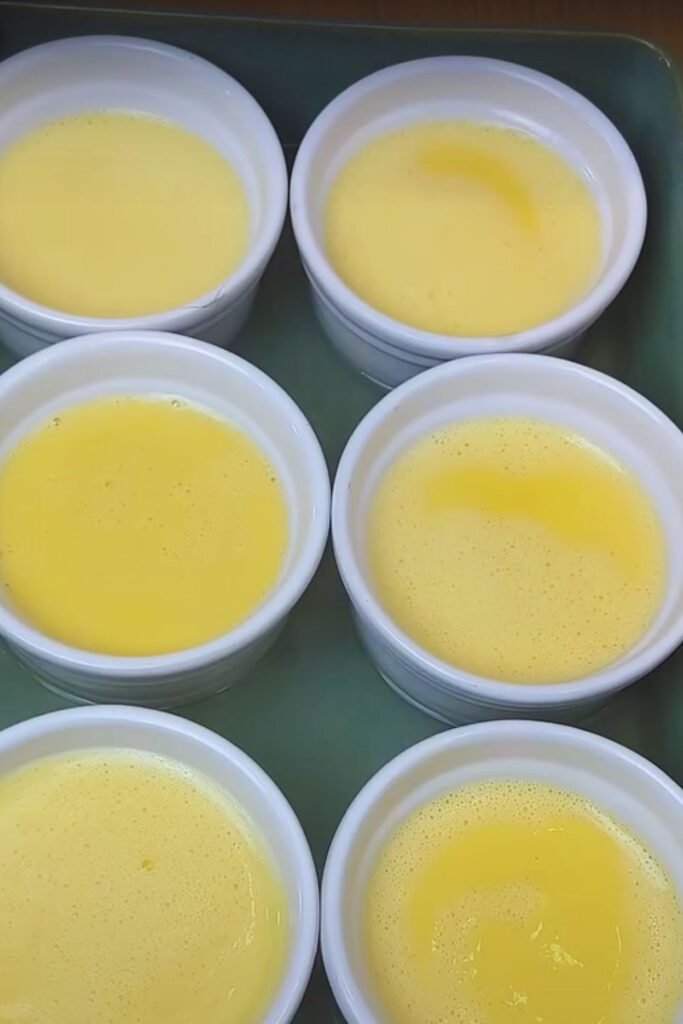
- Place ramekins in a deep baking dish.
- Fill ramekins with custard mixture, leaving ¼ inch at the top.
- Pour hot water into the baking dish until it reaches halfway up the sides of the ramekins.
- Carefully transfer to the oven.
- Bake for 30-35 minutes until the edges are set but centers still wobble slightly.
- Internal temperature should reach 170-175°F (76-79°C).
4. Cooling and Setting
- Remove ramekins from water bath immediately.
- Cool at room temperature for 30 minutes.
- Cover with plastic wrap, pressing it directly onto the surface.
- Refrigerate for at least 4 hours or up to 3 days.
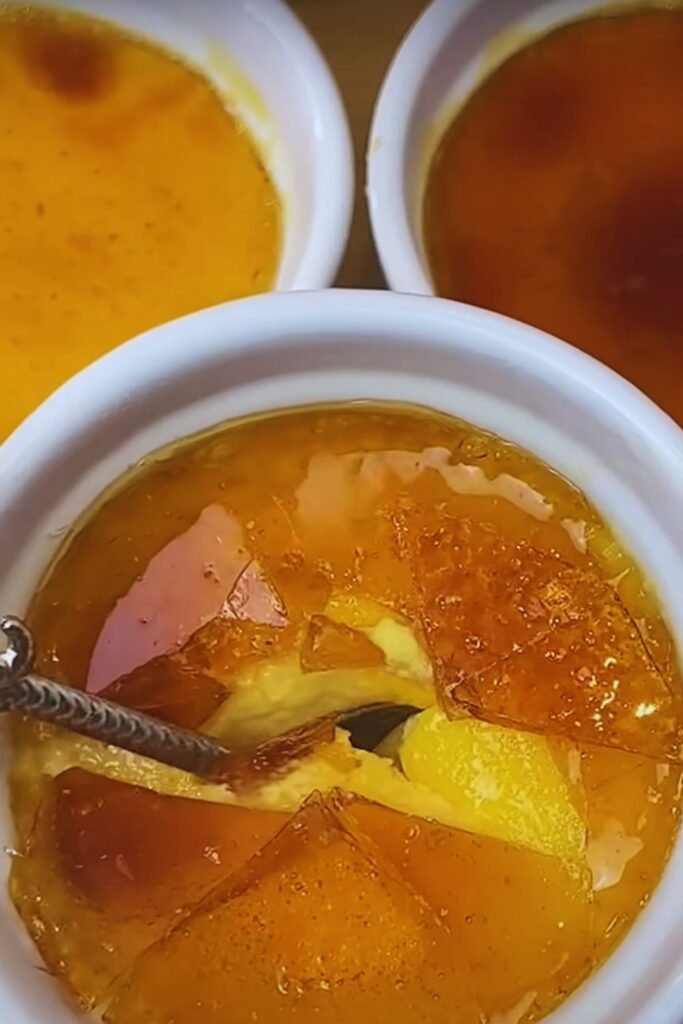
5. The Perfect Caramel Top
- Just before serving, remove from refrigerator and blot any moisture.
- Sprinkle 1 tablespoon demerara sugar evenly over each custard.
- Hold torch 4-6 inches from surface, moving constantly in circular motions.
- Heat until sugar melts and turns amber (about 30 seconds per ramekin).
- Let caramel harden for 3-5 minutes before serving.
Troubleshooting Guide
| Issue | Cause | Solution |
|---|---|---|
| Custard is curdled | Temperature too high or uneven heating | Use water bath and monitor temperature carefully |
| Caramel won’t harden | Too much moisture on surface | Thoroughly blot surface before adding sugar |
| Custard is too firm | Overbaking | Reduce cooking time or temperature |
| Bubbles in custard | Mixture wasn’t strained or rested | Strain mixture and let rest before baking |
| Caramel burns too quickly | Sugar layer too thick | Use less sugar, spread more evenly |
Serving Suggestions
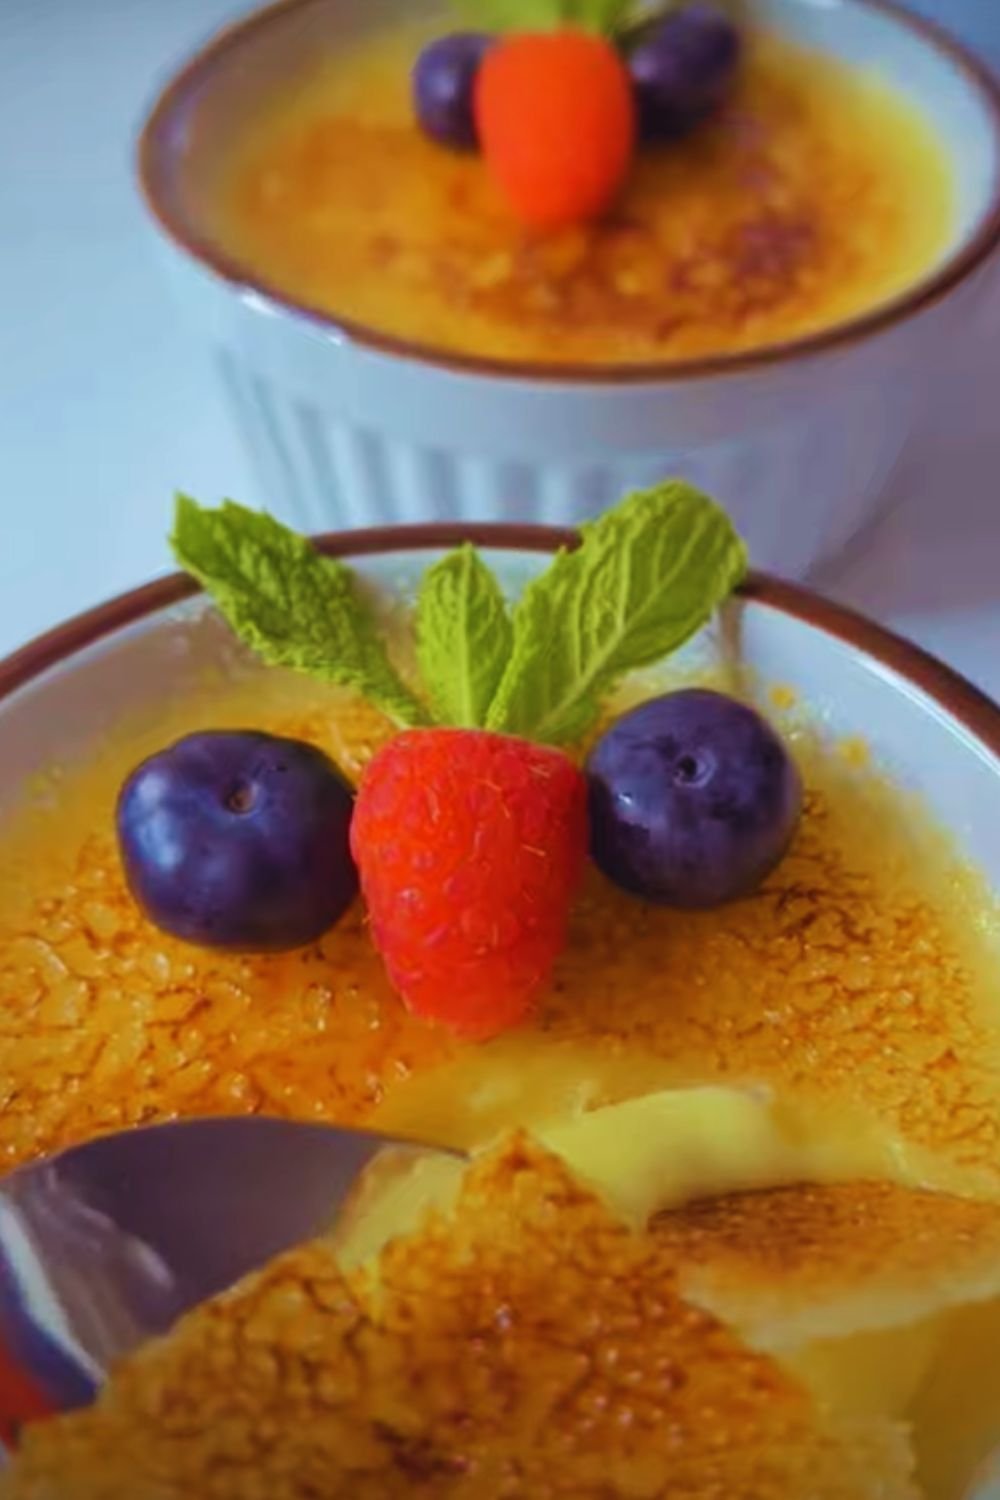
- Serve immediately after caramelizing for the best texture contrast
- Garnish with fresh berries or a mint leaf
- Add a small shortbread cookie on the side
- Consider a light dusting of cocoa powder around the plate
- Fresh edible flowers make an elegant garnish
Storage Tips
- Unbaked custard mixture can be refrigerated for up to 24 hours
- Baked custards (without caramel) keep for up to 3 days, covered
- Never freeze creme brulee
- Don’t add the caramel top until just before serving
Common Questions
Q: Can I make creme brulee without a torch?
A: While a torch gives the best results, you can use your oven’s broiler. Place ramekins 4-6 inches from the heating element and watch carefully to prevent burning.
Q: Why did my custard curdle?
A: Curdling typically occurs when the eggs are overcooked or the hot cream is added too quickly to the egg mixture. Always use a water bath and temper the eggs carefully.
Q: Can I use vanilla extract instead of vanilla beans?
A: Yes, though vanilla beans provide superior flavor. Use 2 teaspoons of pure vanilla extract as a substitute for one vanilla bean.
Q: How do I know when the custard is done baking?
A: The edges should be set but the center should still have a slight wobble when gently shaken. An instant-read thermometer should read 170-175°F (76-79°C).
Q: Can I make this ahead of time?
A: Yes! The custards can be baked up to 3 days in advance. Just add the caramel top right before serving.
Recipe Variations
While the classic vanilla creme brulee is perfect on its own, here are some elegant variations:
- Lavender: Add 2 tablespoons dried culinary lavender to the cream while heating
- Coffee: Add 2 tablespoons espresso powder to the hot cream
- Citrus: Add orange or lemon zest to the cream while heating
- Matcha: Whisk 2 tablespoons high-quality matcha powder into the hot cream
- Earl Grey: Steep 2 Earl Grey tea bags in the hot cream for 5 minutes
Remember, the key to perfect creme brulee lies in patience, precision, and practice. Don’t be discouraged if your first attempt isn’t perfect – with each try, you’ll get closer to mastering this elegant French dessert.