There’s something magical about transforming simple ingredients into a perfect pizza dough that bakes into a crispy, chewy crust. After spending years perfecting my technique and learning from mistakes, I’m excited to share my comprehensive guide to crafting authentic artisan pizza dough that rivals any pizzeria.
Understanding the Basics
The journey to perfect pizza dough begins with understanding the science behind it. The interaction between flour, water, yeast, and salt creates a living, breathing entity that transforms into the foundation of an unforgettable pizza experience.
Essential Ingredients
| Ingredient | Purpose | Recommended Type | Notes |
|---|---|---|---|
| Flour | Structure & Texture | 00 or Bread Flour | 12-14% protein content |
| Water | Hydration & Development | Filtered | Room temperature |
| Salt | Flavor & Fermentation Control | Fine Sea Salt | 2-3% of flour weight |
| Yeast | Leavening | Active Dry or Fresh | Adjust based on fermentation time |
| Olive Oil | Texture & Flavor | Extra Virgin | Optional but recommended |
The Science of Gluten Development
Understanding gluten development is crucial for achieving that perfect chewy texture. When water meets flour proteins (glutenin and gliadin), they form gluten networks. This process requires:
- Proper hydration (60-70% water to flour ratio)
- Adequate mixing time (10-15 minutes)
- Rest periods for optimal development
- Temperature control (room temperature, 68-72°F)
Step-by-Step Recipe
Basic Artisan Pizza Dough (Makes 4 250g Dough Balls)
Ingredients
- 1000g high-protein bread flour
- 650g filtered water (65% hydration)
- 20g fine sea salt
- 3g active dry yeast
- 30g extra virgin olive oil
Equipment Needed
- Digital scale
- Large mixing bowl
- Dough scraper
- Proofing containers
- Clean kitchen towels
Process
- Initial Mix
- Combine flour and water (reserve 50g water)
- Mix until shaggy dough forms
- Cover and rest for 30 minutes (autolyse)
- Final Mix
- Add salt, yeast, and remaining water
- Mix until smooth (8-10 minutes)
- Add olive oil gradually
- Develop until dough passes window pane test
- Bulk Fermentation
- Place in oiled container
- Perform 3 sets of stretch and folds
- Rest 2 hours at room temperature
- Division and Pre-shape
- Divide into 250g portions
- Pre-shape into tight balls
- Place in proofing containers
- Final Proof
- Cover and refrigerate
- Cold ferment 24-72 hours
- Remove 2 hours before use

Troubleshooting Guide
| Issue | Possible Cause | Solution |
|---|---|---|
| Tough Dough | Over-mixing | Reduce mixing time, watch dough development |
| Sticky Dough | Too much hydration | Reduce water or add flour gradually |
| Dense Crumb | Under-proofed | Extend fermentation time |
| Irregular Bubbles | Improper shaping | Practice gentle dough handling |
| Lack of Flavor | Insufficient fermentation | Extend cold proof time |
Advanced Techniques
Long Fermentation Method
For enhanced flavor development:
- Reduce yeast to 1g
- Extend bulk fermentation to 4-6 hours
- Cold ferment for up to 5 days
High-Hydration Variation
For more open crumb structure:
- Increase water to 70-75%
- Use strong bread flour (14% protein)
- Implement coil folds during bulk fermentation
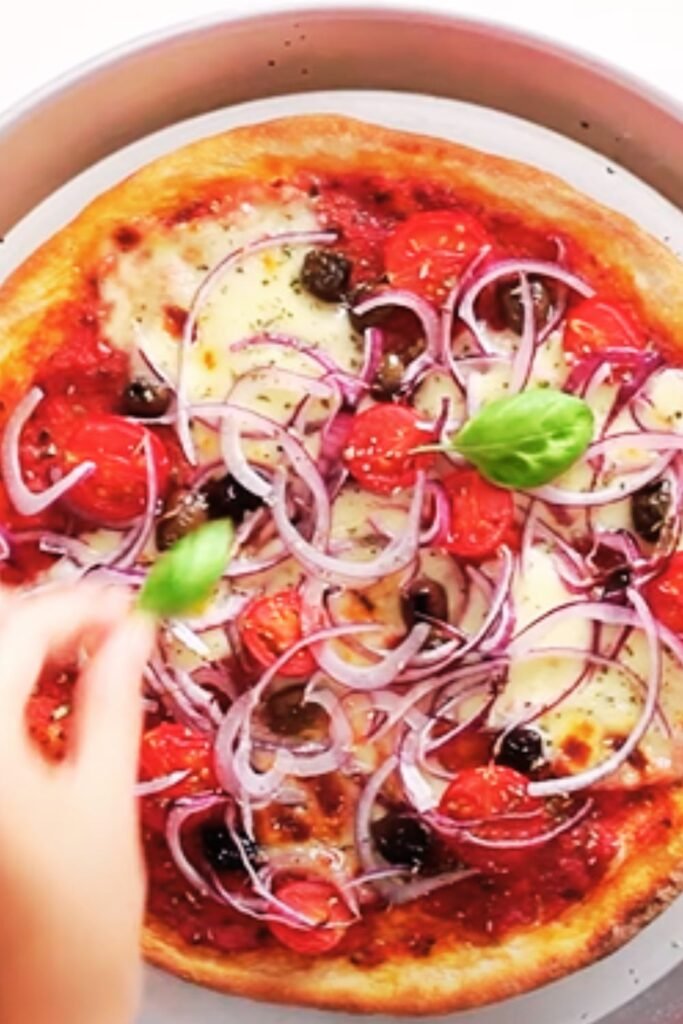
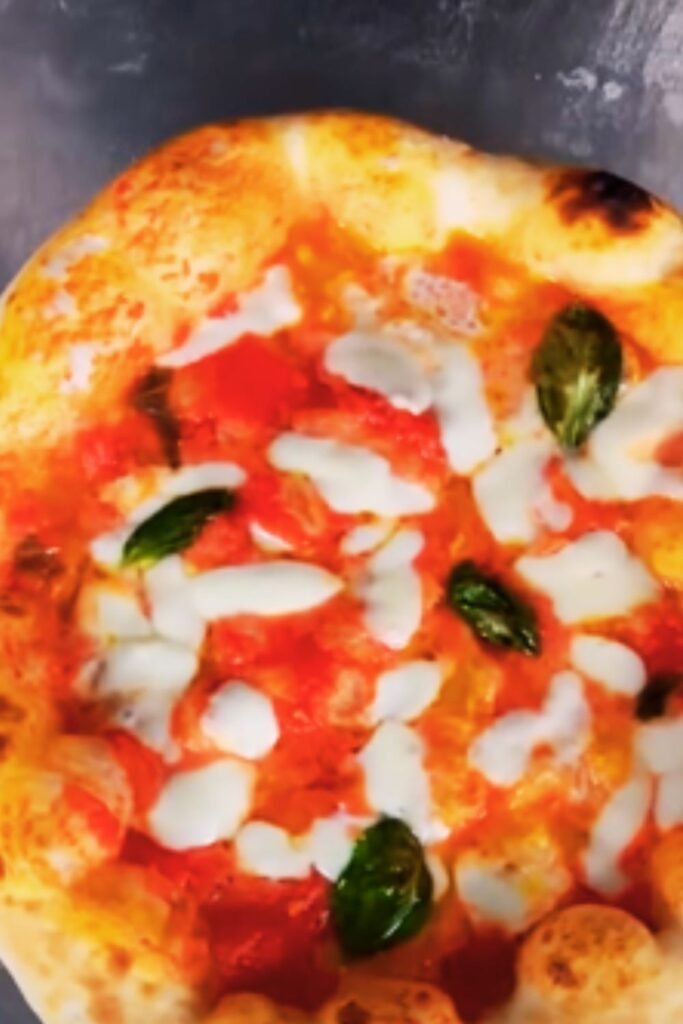
Serving Suggestions
Perfect pizza dough deserves thoughtful toppings. Here are some classic combinations:
- Margherita: San Marzano tomatoes, fresh mozzarella, basil
- Marinara: Crushed tomatoes, garlic, oregano, olive oil
- Bianca: Ricotta, mozzarella, garlic, olive oil
- Seasonal: Local vegetables, herbs, quality cheese
Storage and Freezing
To maximize convenience:
- Store shaped dough balls in refrigerator up to 5 days
- Freeze after shaping for up to 3 months
- Thaw frozen dough 24 hours in refrigerator
- Bring to room temperature before use
Common Questions
Q: Why is my dough too sticky to handle?
A: This often results from incorrect flour-to-water ratio or insufficient development. Ensure accurate measurements and proper mixing time. During shaping, use minimal flour and develop technique rather than adding excess flour.
Q: How can I achieve better oven spring?
A: Proper dough temperature (65-70°F), adequate proofing, and gentle handling are key. Use a pizza stone or steel preheated for at least an hour at maximum oven temperature.
Q: Why does my crust become tough?
A: Over-mixing or excessive flour during shaping can lead to tough crust. Mix just until proper development and use minimal bench flour.
Q: Can I use all-purpose flour instead of bread flour?
A: While possible, bread flour’s higher protein content (12-14%) provides better structure and chewiness. All-purpose flour will yield softer results.
Q: How do I know when my dough is properly proofed?
A: Properly proofed dough should:
- Double in volume
- Feel light and airy
- Spring back slowly when gently poked
- Have visible air bubbles
Q: What’s the ideal temperature for fermentation?
A: Room temperature (68-72°F) for bulk fermentation, 38-40°F for cold fermentation.
Tips for Success
- Temperature Control
- Monitor dough temperature
- Adjust water temperature seasonally
- Consider environment factors
- Ingredient Quality
- Use fresh, quality flour
- Ensure yeast viability
- Filter water if necessary
- Technique Development
- Practice gentle handling
- Master stretching methods
- Understand fermentation signs
- Equipment Care
- Maintain clean tools
- Season proofing containers
- Calibrate scales regularly
Remember, creating perfect artisan pizza dough is a journey of continuous learning and improvement. Each batch teaches something new, and even mistakes contribute to mastery. Start with this foundation and adjust based on your preferences and environment.