
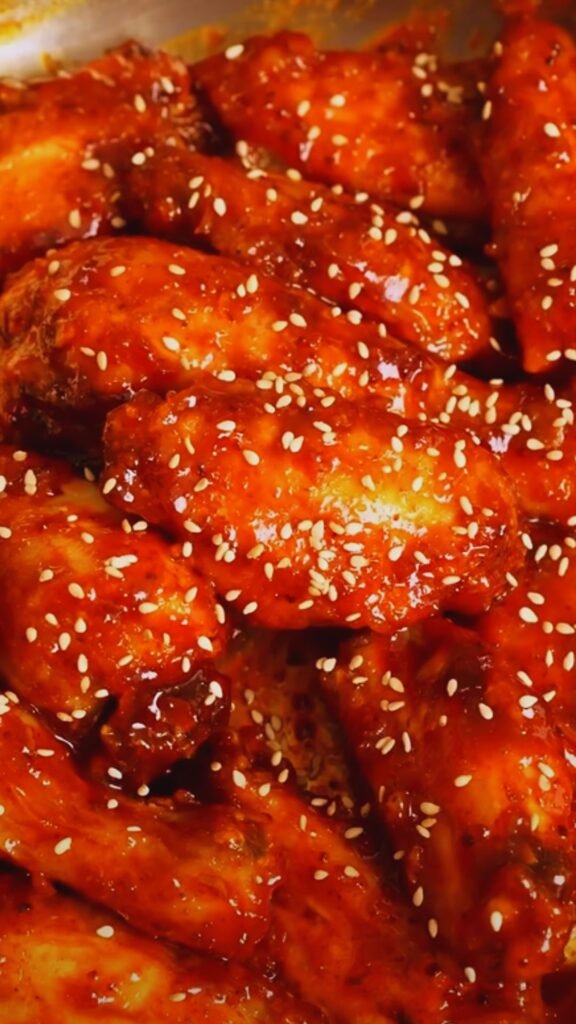
There’s something magical about the combination of crispy chicken wings and the bold, complex flavors of Thai cuisine. I’ve been obsessed with perfecting this recipe for years, and I’m thrilled to finally share my ultimate version with you. These Thai style chicken wings hit all the right notes – they’re crispy on the outside, juicy on the inside, and coated in a glaze that’s the perfect balance of sweet, spicy, tangy, and savory. Whether you’re hosting a game day gathering or just craving something deliciously different for dinner, these wings deliver big flavor with relatively little effort.
The Secret to Truly Crispy Wings
Before we dive into the recipe itself, let’s talk about what makes these wings special. The secret to achieving that restaurant-quality crispiness at home isn’t complicated, but it does involve a few key techniques:
- Double drying method: After patting the wings dry with paper towels, I let them air dry in the refrigerator for at least an hour (or overnight if possible). This removes excess moisture from the skin, which is crucial for crispiness.
- Baking powder trick: A light coating of baking powder (not baking soda!) mixed with salt changes the pH of the chicken skin, helping it to brown and crisp beautifully.
- Two-stage cooking: First at a lower temperature to render the fat, then at a higher temperature to crisp the skin.
Let me tell you, these steps make all the difference. I’ve tried every method under the sun, and this combination consistently produces wings that stay crispy even after being coated in the delicious Thai glaze.
Ingredients You’ll Need
For the wings:
- 2 kg (about 4.5 lbs) chicken wings, split at the joints, tips removed
- 2 tablespoons baking powder (aluminum-free)
- 1 teaspoon kosher salt
- 1/2 teaspoon white pepper
For the Thai glaze:
- 4 tablespoons fish sauce
- 3 tablespoons palm sugar (or brown sugar)
- 2 tablespoons fresh lime juice
- 1 tablespoon sriracha (adjust according to your heat preference)
- 3 cloves garlic, minced
- 1 tablespoon fresh ginger, grated
- 2 tablespoons neutral oil (like grapeseed or canola)
- 2 Thai red chilies, finely chopped (optional, for extra heat)
- 1 stalk lemongrass, tender inner part only, minced
- 1 tablespoon soy sauce
For garnish:
- 3 green onions, thinly sliced
- 1/4 cup fresh cilantro leaves
- 2 tablespoons fresh mint leaves, torn
- 1 lime, cut into wedges
- 1 tablespoon toasted sesame seeds
- 1/4 cup crushed roasted peanuts (optional)
Equipment Needed
: Wire rack : Baking sheet : Mixing bowls : Small saucepan : Whisk : Tongs : Paper towels
Step-by-Step Instructions
Preparing the Wings
- Pat the chicken wings thoroughly dry with paper towels. This is crucial for crispy results.
- In a large bowl, combine the baking powder, salt, and white pepper.
- Add the dried wings to the bowl and toss until they’re evenly coated with the mixture.
- Arrange the wings on a wire rack set over a baking sheet, making sure they’re not touching each other.
- Place the wings, uncovered, in the refrigerator for at least 1 hour, or ideally overnight. This drying step is essential for ultra-crispy skin.
Cooking the Wings
- Preheat your oven to 120°C (250°F).
- Place the baking sheet with the wings on the center rack of the oven and bake for 30 minutes. This lower-temperature stage helps render the fat from the skin.
- Increase the oven temperature to 220°C (425°F) and continue baking for another 40-50 minutes, until the wings are golden brown and crispy. You might need to rotate the baking sheet halfway through for even browning.
- While the wings are cooking, prepare the Thai glaze.
Making the Thai Glaze
- In a small saucepan over medium heat, add the oil, then sauté the garlic, ginger, lemongrass, and Thai chilies (if using) until fragrant, about 1-2 minutes. Be careful not to burn the garlic.
- Add the palm sugar and stir until it begins to melt, about 1 minute.
- Pour in the fish sauce, lime juice, sriracha, and soy sauce. Stir to combine.
- Bring the mixture to a simmer and cook for about 5-7 minutes, until it reduces slightly and becomes syrupy. The glaze should coat the back of a spoon.
- Remove from heat and set aside.
Bringing It All Together
- When the wings are done, transfer them to a large mixing bowl.
- Pour about two-thirds of the warm glaze over the wings and toss to coat evenly. Save the remaining glaze for serving.
- Return the glazed wings to the wire rack and place back in the oven for 5 minutes to set the glaze.
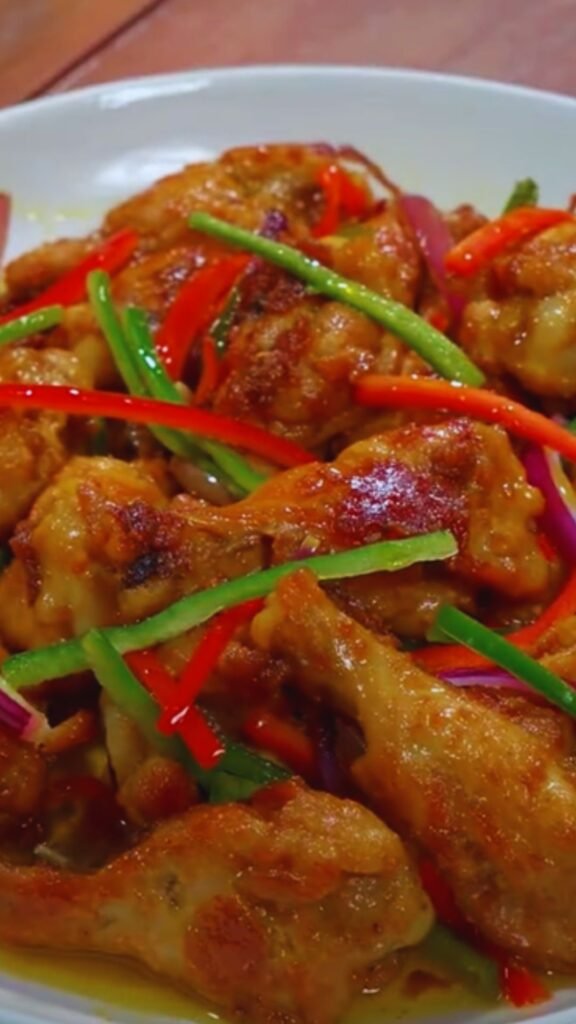
- Transfer the wings to a serving platter, drizzle with the remaining glaze, and sprinkle with the garnishes.

Nutritional Information
Here’s a breakdown of the nutritional content per serving (assuming 4 servings):
| Nutrient | Amount | % Daily Value* |
|---|---|---|
| Calories | 540 | – |
| Total Fat | 38g | 49% |
| Saturated Fat | 11g | 55% |
| Cholesterol | 145mg | 48% |
| Sodium | 1420mg | 62% |
| Total Carbohydrate | 12g | 4% |
| Dietary Fiber | 1g | 4% |
| Sugars | 8g | – |
| Protein | 42g | 84% |
| Vitamin D | 0μg | 0% |
| Calcium | 50mg | 4% |
| Iron | 2.2mg | 12% |
| Potassium | 380mg | 8% |
*Percent Daily Values are based on a 2,000 calorie diet.
Flavor Variations
What I love about this recipe is how versatile it is. Here are some delicious variations to try:
| Variation | Key Ingredients | Flavor Profile |
|---|---|---|
| Honey-Lime | Replace sriracha with honey, double the lime juice | Sweet and tangy, less spicy |
| Green Curry | Add 2 tbsp green curry paste, 1/4 cup coconut milk | Herbaceous, complex, creamy |
| Peanut Butter | Add 2 tbsp peanut butter, reduce fish sauce | Rich, nutty, slightly milder |
| Tamarind | Add 2 tbsp tamarind paste, increase sugar | Tangy, sweet, distinctly sour |
| Extra Spicy | Double the sriracha, add 1 tbsp dried chili flakes | Fiery hot with lingering heat |
Tips for Perfect Wings Every Time
- Quality matters: Start with fresh, not frozen wings for the best texture.
- Size consistency: Try to select wings that are similar in size so they cook evenly.
- Don’t rush: The drying time in the refrigerator is not optional if you want truly crispy wings.
- Check your baking powder: Make sure it’s aluminum-free to avoid any metallic taste.
- Watch the glaze: The sugar can burn quickly, so keep an eye on it while it’s reducing.
- Taste and adjust: Thai cuisine is all about balancing sweet, sour, salty, and spicy. Taste your glaze and adjust the components to suit your preference.
Serving Suggestions
I like to serve these wings with a few complementary sides to create a complete meal:
- Steamed jasmine rice to soak up the extra glaze
- A crisp cucumber salad with rice vinegar and a touch of sugar
- Papaya salad for an authentic Thai pairing
- Fresh herb platter with mint, cilantro, and Thai basil
- Coconut sticky rice for something a bit more special
Make-Ahead and Storage Tips
These wings are best enjoyed fresh from the oven when they’re at their crispiest, but if you need to prepare components ahead of time:
- The wings can be prepared with the baking powder coating and dried in the refrigerator up to 24 hours in advance.
- The glaze can be made up to 3 days ahead and stored in an airtight container in the refrigerator. Gently reheat before using.
- Leftover cooked wings will keep in the refrigerator for 3-4 days. To reheat, place them on a wire rack over a baking sheet in a 180°C (350°F) oven for 10-15 minutes until heated through and re-crisped.
- I don’t recommend freezing the cooked wings as they’ll lose their crispy texture.
The Cultural Background
Thai cuisine is renowned for its intricate balance of five fundamental flavors: sweet, sour, salty, spicy, and bitter. This wing recipe honors that tradition by incorporating:
- Sweet: Palm sugar provides a deeper, more complex sweetness than regular sugar
- Sour: Fresh lime juice adds brightness and acidity
- Salty: Fish sauce contributes umami depth and saltiness
- Spicy: Sriracha and fresh chilies bring the heat
- Aromatic: Lemongrass, ginger, and garlic create the distinctive fragrance of Thai cooking
I’ve been fortunate enough to travel throughout Thailand, from bustling Bangkok to serene Chiang Mai, and I’ve always been amazed by how even simple street food achieves this perfect harmony of flavors. These wings are my humble attempt to capture that magic in a form that’s accessible to home cooks while remaining true to the essence of Thai cooking.
Common Mistakes to Avoid
- Skipping the drying time: This results in steamed rather than crispy skin.
- Using baking soda instead of baking powder: A common mix-up that will give your wings an unpleasant, metallic taste.
- Glazing the wings too early: Wait until they’re fully crisp before adding the glaze.
- Burning the aromatics: When making the glaze, keep the heat moderate to prevent bitter flavors.
- Overcrowding the baking sheet: Give those wings space! Overcrowding leads to steaming rather than crisping.
Q&A Section
Q: Can I use frozen chicken wings for this recipe?
A: Yes, but with some modifications. Thaw the wings completely first, then pat them very thoroughly dry as frozen wings tend to release more moisture. You might need to extend the drying time in the refrigerator to 24 hours for best results. The final texture might not be quite as crispy as with fresh wings, but they’ll still be delicious.
Q: What can I substitute for fish sauce if I don’t have it or want a vegetarian option?
A: For a vegetarian alternative, try using soy sauce mixed with a touch of mushroom powder or MSG to replicate the umami quality. Coconut aminos also work well but reduce the added salt elsewhere in the recipe as they’re less salty than fish sauce. However, I must note that fish sauce has a very distinctive flavor that’s central to authentic Thai cuisine – substitutions will change the final profile.
Q: How can I make these wings less spicy but still flavorful?
A: Simply omit the fresh chilies and reduce or eliminate the sriracha. To maintain flavor complexity, increase the ginger, garlic, and lemongrass slightly, and add an extra tablespoon of lime juice for brightness. You could also add a tablespoon of honey to further balance the reduced heat level.
Q: Can I grill these wings instead of baking them?
A: Absolutely! Prepare them with the baking powder rub and refrigeration step as directed. Then grill them over indirect medium heat (about 350°F) for 30-35 minutes, turning occasionally, until crispy and cooked through. Move them to direct heat for the last few minutes to get nice grill marks. Add the glaze during the last 5 minutes of cooking, turning frequently to prevent burning.
Q: Why doesn’t the glaze stick well to my wings?
A: This usually happens when either the wings are too wet or the glaze is too thin. Make sure your wings are truly crispy before glazing (they should make a distinct sound when tapped with tongs). For the glaze, ensure it’s reduced enough to coat the back of a spoon. If it’s still too thin, you can mix 1/2 teaspoon of cornstarch with 1 teaspoon of cold water and stir this into the simmering glaze to thicken it.
A Final Note
What I love most about these Thai-style wings is how they transform a familiar favorite into something extraordinary. The first time I made them for friends, they couldn’t believe the depth of flavor – that perfect balance of sweet, tangy, spicy, and savory that defines great Thai food.
Don’t be intimidated by the ingredient list or steps – most of the process is hands-off, and the payoff is absolutely worth it. Once you master the technique, you’ll find yourself craving these wings regularly and experimenting with your own variations.
Remember, the heart of great cooking isn’t just following instructions – it’s understanding the “why” behind each step and making a recipe your own. So while I hope you’ll try these wings exactly as written the first time, I also encourage you to play with the flavors and make them uniquely yours. Happy cooking!

