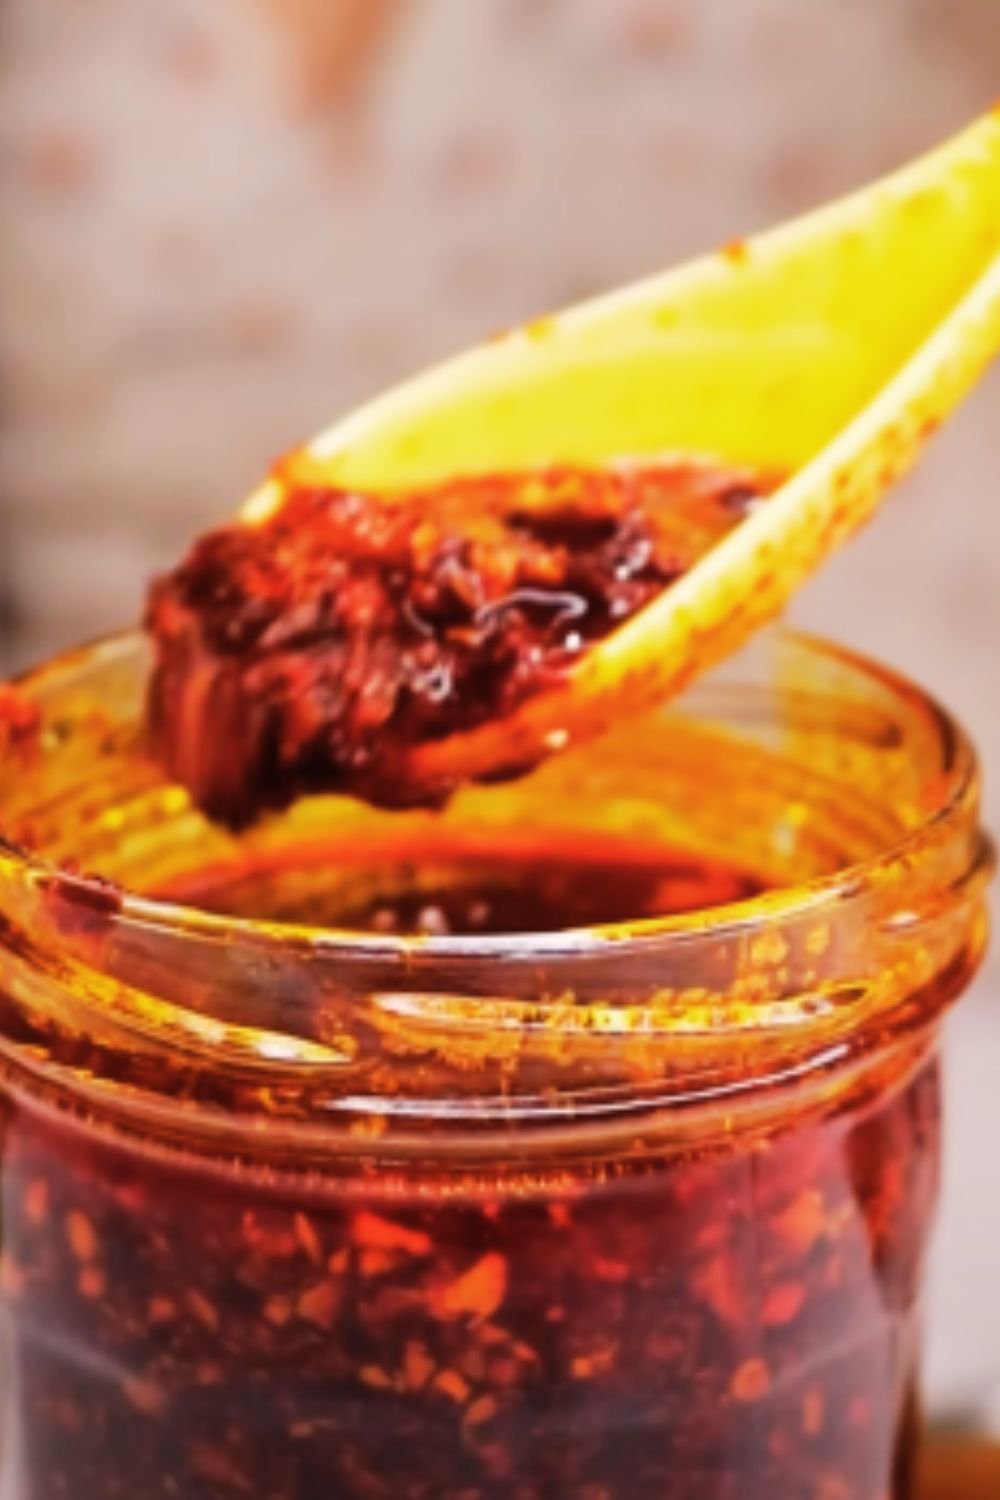
Have you ever tasted a store-bought chili sauce and thought, “I wish this had more kick to it”? Or perhaps you’ve wondered what exactly goes into those mysterious bottles lining the condiment aisle? I certainly have, and that’s exactly why I started making my own chili sauce at home.
After years of experimenting with different chili varieties, spice combinations, and cooking techniques, I’ve perfected a recipe that delivers that perfect balance of heat, flavor, and versatility. Today, I’m sharing my go-to homemade chili sauce recipe that will elevate everything from eggs to stir-fries to a simple bowl of rice.
Why Make Your Own Chili Sauce?
Before we dive into the recipe, let me share why homemade chili sauce is worth the effort:
- Control over heat level: You decide exactly how spicy your sauce will be by selecting the chilies and adjusting quantities.
- No preservatives or additives: Commercial sauces often contain stabilizers, colorants, and excessive amounts of sugar or sodium.
- Customizable flavor profile: Want it more garlicky? More vinegary? Slightly sweet? It’s entirely up to you.
- Cost-effective: Especially if you grow your own chilies, making sauce at home can save you money in the long run.
- Satisfaction: There’s something deeply rewarding about creating your own condiments from scratch.
I started making my own chili sauce after growing an abundance of chilies in my garden one summer. What began as a practical solution to avoid waste has become a cherished kitchen ritual that connects me to culinary traditions around the world.
Ingredients You’ll Need
For a basic yet flavorful red chili sauce, gather these ingredients:
- 1 pound (about 450g) fresh red chilies (Thai, Fresno, or red jalapeños work well)
- 6 cloves garlic, peeled
- 1 medium onion, roughly chopped
- 1 red bell pepper (for sweetness and body)
- 2 tablespoons neutral oil (like vegetable or sunflower)
- 3 tablespoons white vinegar (or apple cider vinegar for a different flavor profile)
- 2 tablespoons granulated sugar
- 1 tablespoon salt
- 1/2 cup water (plus more if needed)
- 1 teaspoon paprika (optional, for color enhancement)
- 1/2 teaspoon cumin (optional, for depth)
Choosing Your Chilies
The variety of chilies you select will dramatically impact your final sauce. Here’s a breakdown of popular options:
| Chili Type | Heat Level (1-10) | Flavor Notes | Best For |
|---|---|---|---|
| Thai Bird’s Eye | 8-9 | Sharp, clean heat | Traditional Asian-style sauce |
| Fresno | 4-6 | Bright, fruity | All-purpose sauce |
| Jalapeño (red) | 3-5 | Vegetal, green notes | Mexican-inspired sauce |
| Cayenne | 6-7 | Earthy, pure heat | Hot sauce purists |
| Árbol | 7-8 | Smoky, grassy | Authentic Latin flavors |
| Serrano | 5-7 | Clean, bright | Fresh-tasting sauce |
| Habanero | 9-10 | Fruity, floral | For serious heat lovers |
You can use a single variety or mix different types for a more complex flavor profile. For beginners, I recommend starting with a medium-heat chili like red jalapeños or Fresnos, perhaps mixed with a milder bell pepper to moderate the heat.
Equipment List
Before getting started, make sure you have:
- Sharp knife and cutting board
- Gloves for handling chilies
- Heavy-bottomed saucepan
- Blender or food processor
- Fine mesh strainer (optional)
- Sterilized glass bottles or jars for storage
- Funnel for transferring sauce
Preparation Steps
- Safety first: Wearing gloves is not optional when handling large quantities of chilies. Trust me, I’ve learned this lesson the hard way! The capsaicin oils can cause severe burning on your skin, and if you touch your eyes afterward… well, let’s just say it’s an experience you don’t want to have.
- Prepare your chilies: Wash chilies thoroughly under cold running water. For a milder sauce, remove the seeds and membranes (where most of the heat resides). For a spicier version, leave them in. Roughly chop the chilies.
- Prep remaining ingredients: Peel and roughly chop the garlic and onion. Remove the seeds and stem from the bell pepper and chop into chunks.
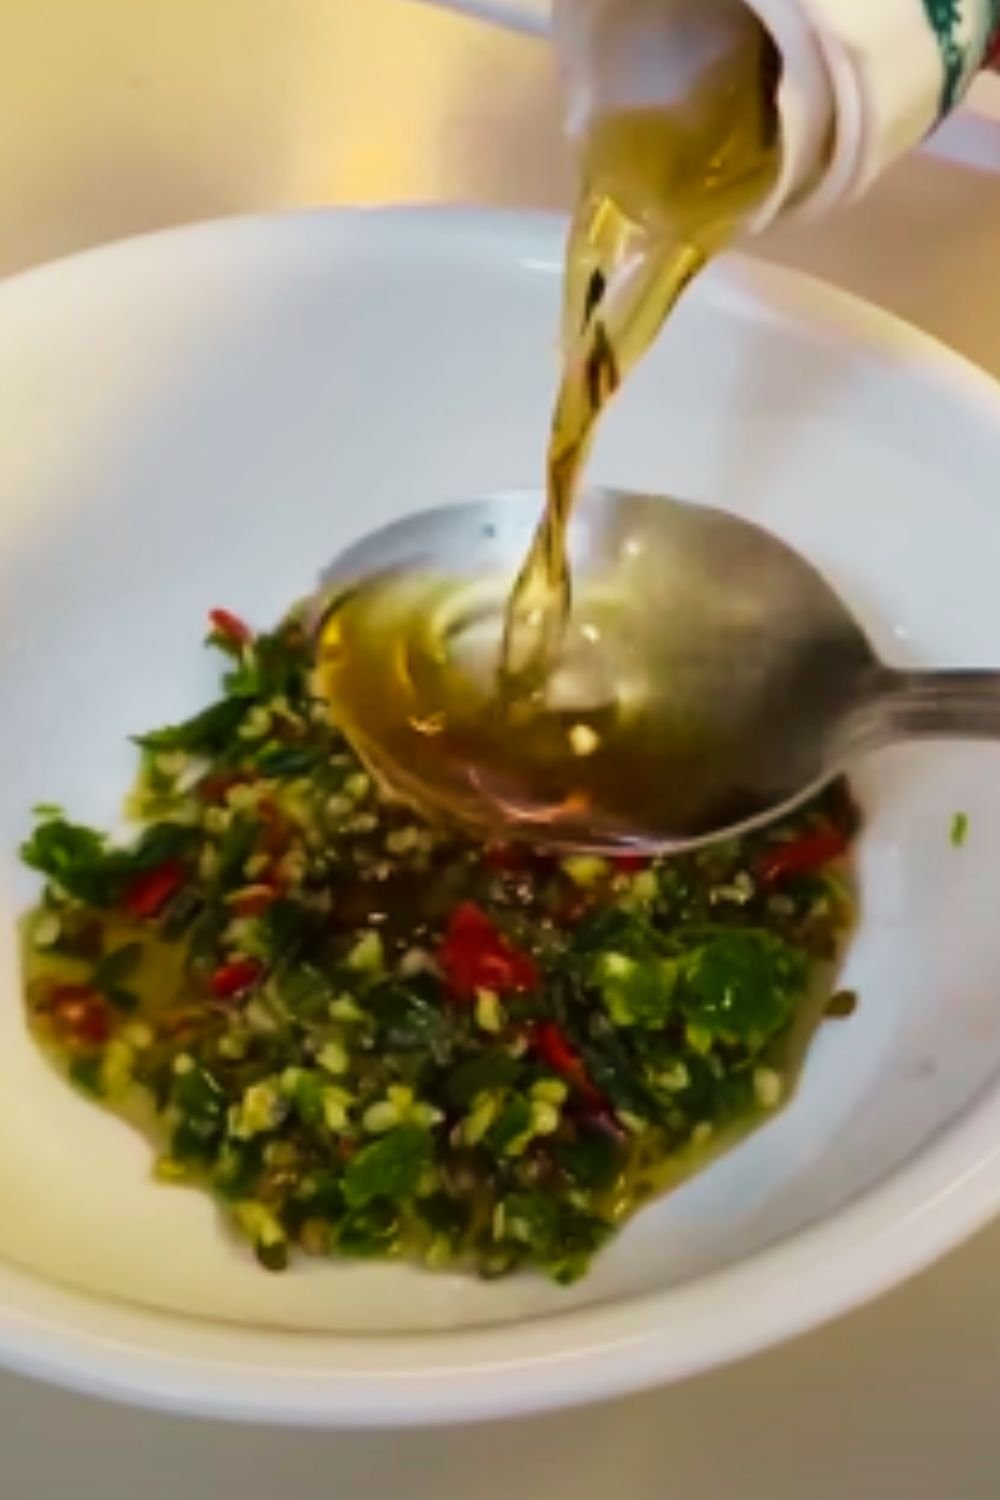
Cooking Method
Now let’s get cooking! I’ve refined this process over many batches to extract maximum flavor while maintaining that vibrant color:
- Heat oil in a heavy-bottomed saucepan over medium heat.
- Add the onions and sauté until translucent, about 3-4 minutes.
- Add the garlic and cook for another minute until fragrant but not browned.
- Add the chopped chilies and bell pepper. Stir well to coat everything in oil.
- Pour in the water, reduce heat to low-medium, and simmer, covered, for about 15-20 minutes until the chilies have softened completely. The mixture should be quite saucy; add a splash more water if it seems too dry.
- Remove from heat and allow to cool slightly.
- Transfer the mixture to a blender or food processor. Add the vinegar, sugar, and salt.
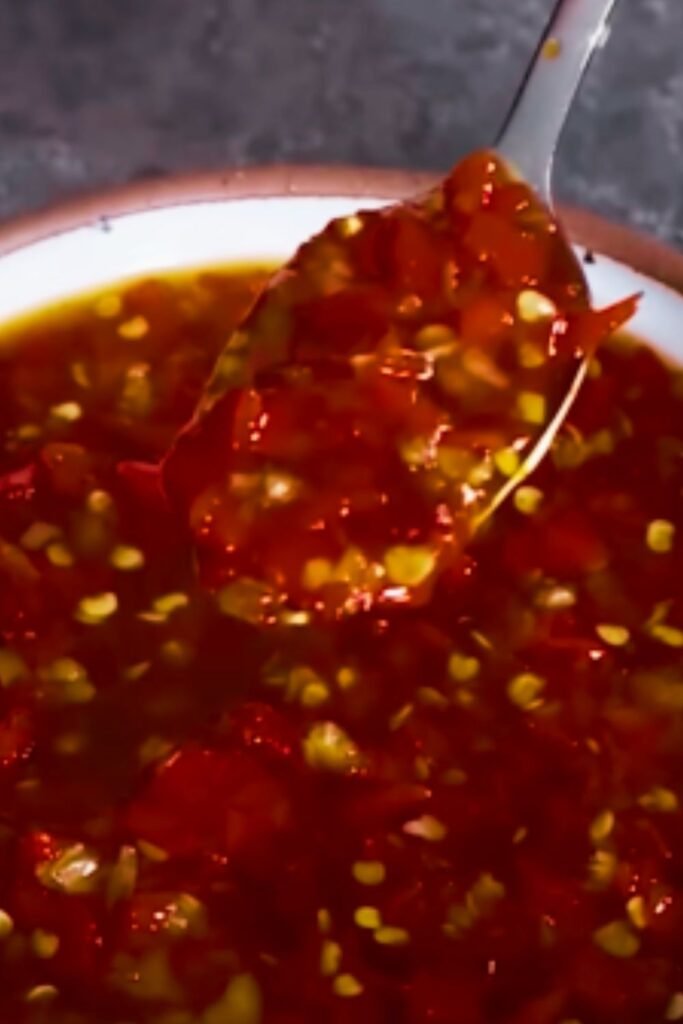
- Blend until completely smooth, approximately 2-3 minutes. For an ultra-smooth consistency, you may want to strain the mixture through a fine mesh sieve, but I usually skip this step as I prefer a bit of texture.
- Return the blended sauce to the pan and simmer on low heat for another 5-10 minutes to meld the flavors together. This step is crucial for developing depth of flavor!
- Taste and adjust seasoning as needed. Need more salt? More acidity? More sweetness? Now’s the time to fine-tune.
Consistency Adjustments
The perfect chili sauce consistency depends on your personal preference and intended use:
- For a thinner, more pourable sauce: Add additional water or vinegar in small increments.
- For a thicker, more concentrated sauce: Simmer longer to reduce moisture content.
- For a silky-smooth texture: Pass through a fine-mesh strainer after blending.
Bottling and Storage
Proper storage ensures your sauce maintains quality and safety:
- Sterilize glass bottles or jars by boiling them for 10 minutes or running them through a dishwasher’s sanitize cycle.
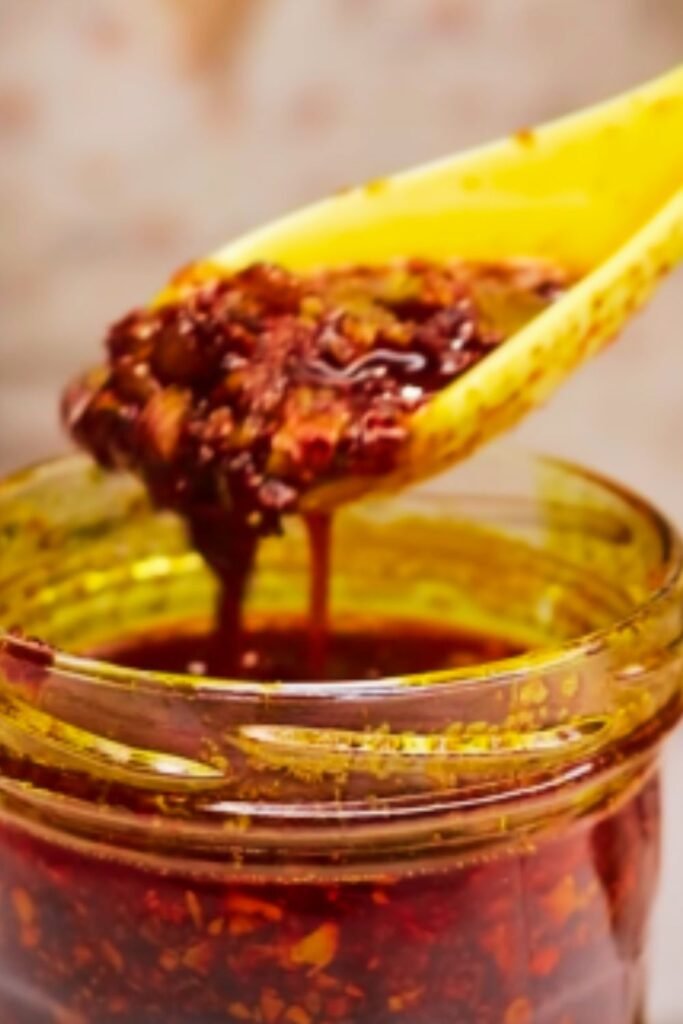
- While still hot (but not scalding), carefully pour the sauce into the containers using a funnel to avoid spills.
- Seal immediately and allow to cool completely before refrigerating.
Shelf Life Information
Understanding how long your sauce will last is important:
- Refrigerated: Properly stored in the refrigerator, homemade chili sauce typically lasts 3-4 weeks.
- Frozen: For longer storage, freeze portions in ice cube trays, then transfer to freezer bags. Frozen sauce maintains quality for up to 6 months.
- Canned: If processed using proper water bath canning techniques, your sauce can be shelf-stable for up to a year. However, this requires additional equipment and knowledge of safe canning practices.
Signs of Spoilage
Your homemade chili sauce has gone bad if you notice:
- Mold growing on the surface
- Fizzing or bubbling when the container is opened
- Off smells that are fermented or rotten
- Significant change in color
- Unusual texture
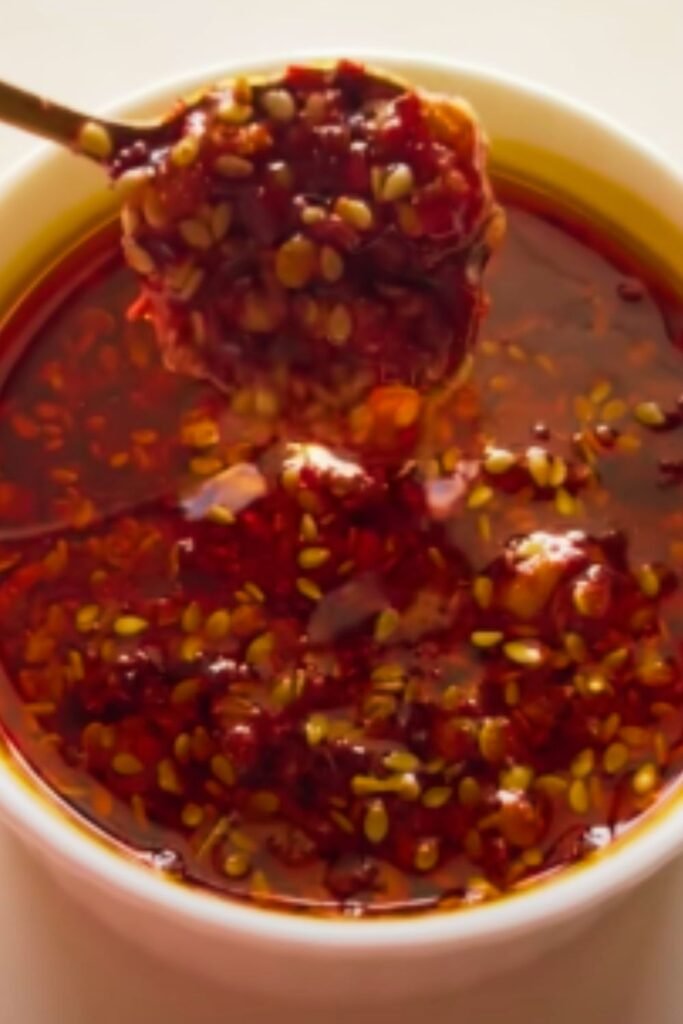
Flavor Variations
Once you’ve mastered the basic recipe, try these exciting variations:
Roasted Chili Sauce
Before cooking, roast chilies, garlic, and onion in the oven at 400°F (200°C) for 15-20 minutes until slightly charred. This adds a wonderful smoky dimension to your sauce.
Fermented Chili Sauce
For enthusiasts willing to experiment, fermenting your chilies before processing creates complex, tangy flavors similar to traditional Southeast Asian sauces:
- Combine chopped chilies with 2% salt by weight.
- Pack tightly into a clean jar, ensuring chilies are submerged in their own juices (add a small amount of brine if needed).
- Cover with a fermentation weight and seal.
- Ferment at room temperature for 5-14 days, then proceed with the regular cooking process.
Sweet Chili Sauce
Double the sugar amount and add 2 tablespoons of honey for a sticky, sweet chili sauce perfect for dipping spring rolls or drizzling over cream cheese.
Fruit-Infused Variations
Adding fruit can balance the heat while creating intriguing flavor profiles:
| Fruit Addition | Quantity | Flavor Profile | Pairs Well With |
|---|---|---|---|
| Mango | 1 medium, diced | Tropical, sweet | Grilled fish, chicken |
| Pineapple | 1 cup, diced | Tangy, bright | Hawaiian dishes, pork |
| Apple | 1 medium, peeled | Subtle sweetness | Pork chops, sausages |
| Cranberries | 1/2 cup | Tart, festive | Holiday appetizers |
| Peach | 2 medium, peeled | Mellow, sweet | Southern BBQ dishes |
Simply add your chosen fruit to the pan along with the chilies and proceed with the regular recipe.
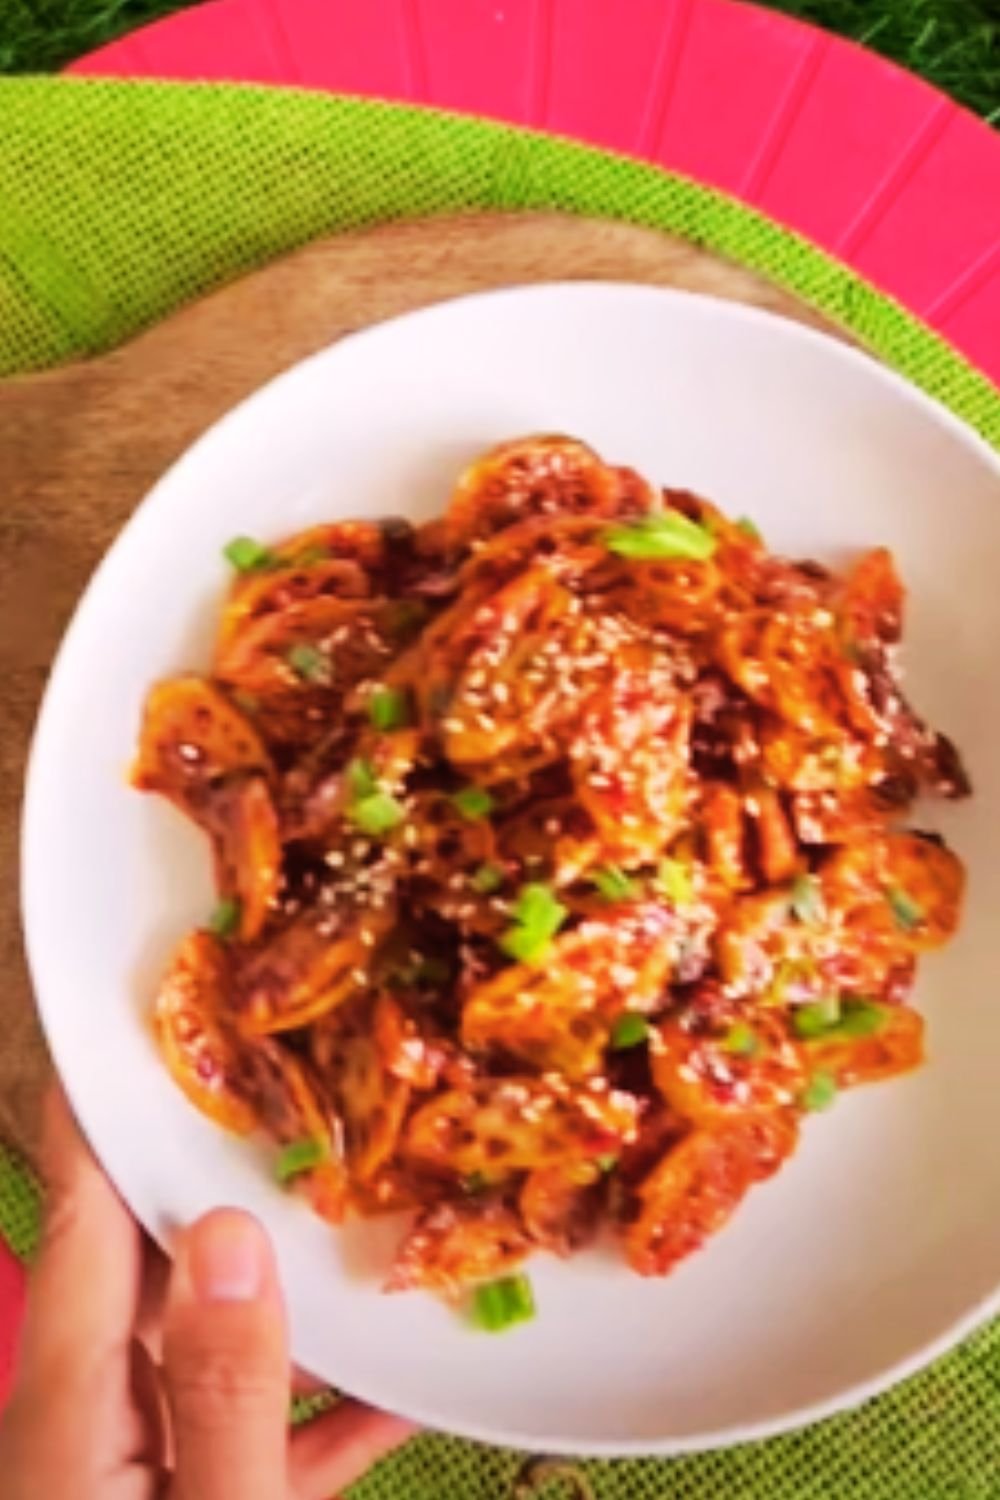
How to Use Your Homemade Chili Sauce
Your versatile chili sauce can enhance countless dishes:
As a Condiment
- Drizzle over eggs, tacos, burgers, or sandwiches
- Mix with mayonnaise for a spicy spread
- Blend with sour cream for a quick dipping sauce
- Add to avocado for kicked-up guacamole
In Cooking
- Stir into soups for added depth and heat
- Use as a marinade base for meats (particularly good with chicken)
- Add to stir-fries during the final minutes of cooking
- Mix into pasta sauce for a spicy arrabiata-style dish
- Brush onto vegetables before roasting
For Entertaining
- Serve alongside cheese boards
- Offer as a dipping sauce for finger foods
- Mix with cream cheese for an instant appetizer
Serving Suggestions
Here are some specific pairings that showcase your homemade chili sauce perfectly:
- Drizzled over crispy breakfast potatoes with a fried egg
- Stirred into a bowl of ramen or pho for extra heat
- Mixed with lime juice and drizzled over grilled fish tacos
- Combined with Greek yogurt for a zesty vegetable dip
- Brushed onto grilled corn on the cob
- Incorporated into a vinaigrette for a spicy salad dressing
- Added to hummus for a spicy variation
Troubleshooting Common Issues
Even experienced sauce makers encounter challenges. Here’s how to address them:
Sauce Is Too Hot
- Add more bell pepper and blend again
- Mix in a spoonful of honey or sugar
- Stir in some tomato paste to dilute the heat
- Add a splash of coconut milk for a creamy, milder sauce
Sauce Is Too Thick
- Thin with water, vinegar, or lime juice depending on desired flavor profile
- Add oil for a richer consistency
Sauce Separated During Storage
- This is normal! Simply shake well before using
- For future batches, consider adding 1/2 teaspoon of xanthan gum during blending to prevent separation
Color Is Dull or Brown
- Add a teaspoon of paprika for vibrant red color
- Use only fresh, bright red chilies
- Limit cooking time to preserve color
- Add a splash of lemon juice, which helps maintain vivid color
Nutritional Benefits
Homemade chili sauce isn’t just delicious—it’s nutritious too:
- Capsaicin: The compound that gives chilies their heat has anti-inflammatory properties and may boost metabolism.
- Vitamin C: Fresh chilies are extremely high in this immune-boosting vitamin.
- Antioxidants: The vibrant red color indicates presence of beneficial antioxidants.
- Low Calorie: Unlike many commercial sauces, homemade versions can be very low in calories when you control the oil and sugar.
Questions & Answers
Q: Can I use dried chilies instead of fresh ones? Yes! Rehydrate dried chilies by soaking them in hot water for 15-20 minutes until soft, then remove stems and seeds. The flavor will be different—often deeper and sometimes smokier.
Q: How can I make my sauce last longer without canning? Increasing the vinegar content improves preservation, as acidity inhibits bacterial growth. Aim for at least 1/4 cup vinegar per batch. Also, always use clean utensils when scooping from the jar.
Q: My sauce turned out bitter. What went wrong? Bitterness can come from burned garlic or overcooked chilies. Next time, sauté garlic just until fragrant and don’t overcook the chili mixture. Adding a touch more sugar can help balance existing bitterness.
Q: Can I make this sauce without sugar? Absolutely! The sugar balances the heat and acidity, but you can omit it or substitute with honey, maple syrup, or even grated carrot for natural sweetness.
Q: Is this sauce gluten-free and vegan? Yes, this basic recipe is naturally gluten-free and vegan. Just ensure your vinegar is gluten-free if you have celiac disease, as some vinegars may be derived from gluten-containing grains.
Q: How can I make a milder version for kids? Use mostly bell peppers with just a few milder chilies like Anaheim or poblano. Remove all seeds and membranes, and increase the ratio of sweet elements like bell pepper.
Q: Can I use this sauce as a base for hot wings? Definitely! Mix your chili sauce with melted butter in a 2:1 ratio and toss with fried or baked wings for a delicious homemade wing sauce.
Final Thoughts
Making your own chili sauce connects you to culinary traditions around the world while giving you complete control over heat, flavor, and ingredients. The process itself is wonderfully aromatic and therapeutic—filling your kitchen with spicy, vibrant scents that signal something delicious is in the works.
I encourage you to start with this basic recipe, then experiment with different chili varieties and flavor additions until you create your signature sauce. Whether you prefer it fiery hot or gently warming, there’s something deeply satisfying about reaching for a bottle of chili sauce you crafted yourself.
The journey from fresh chilies to finished sauce might seem time-consuming at first, but the process becomes second nature with practice. The reward—having jars of vibrant, flavorful sauce ready to enhance almost any meal—is well worth the effort. Happy sauce-making!