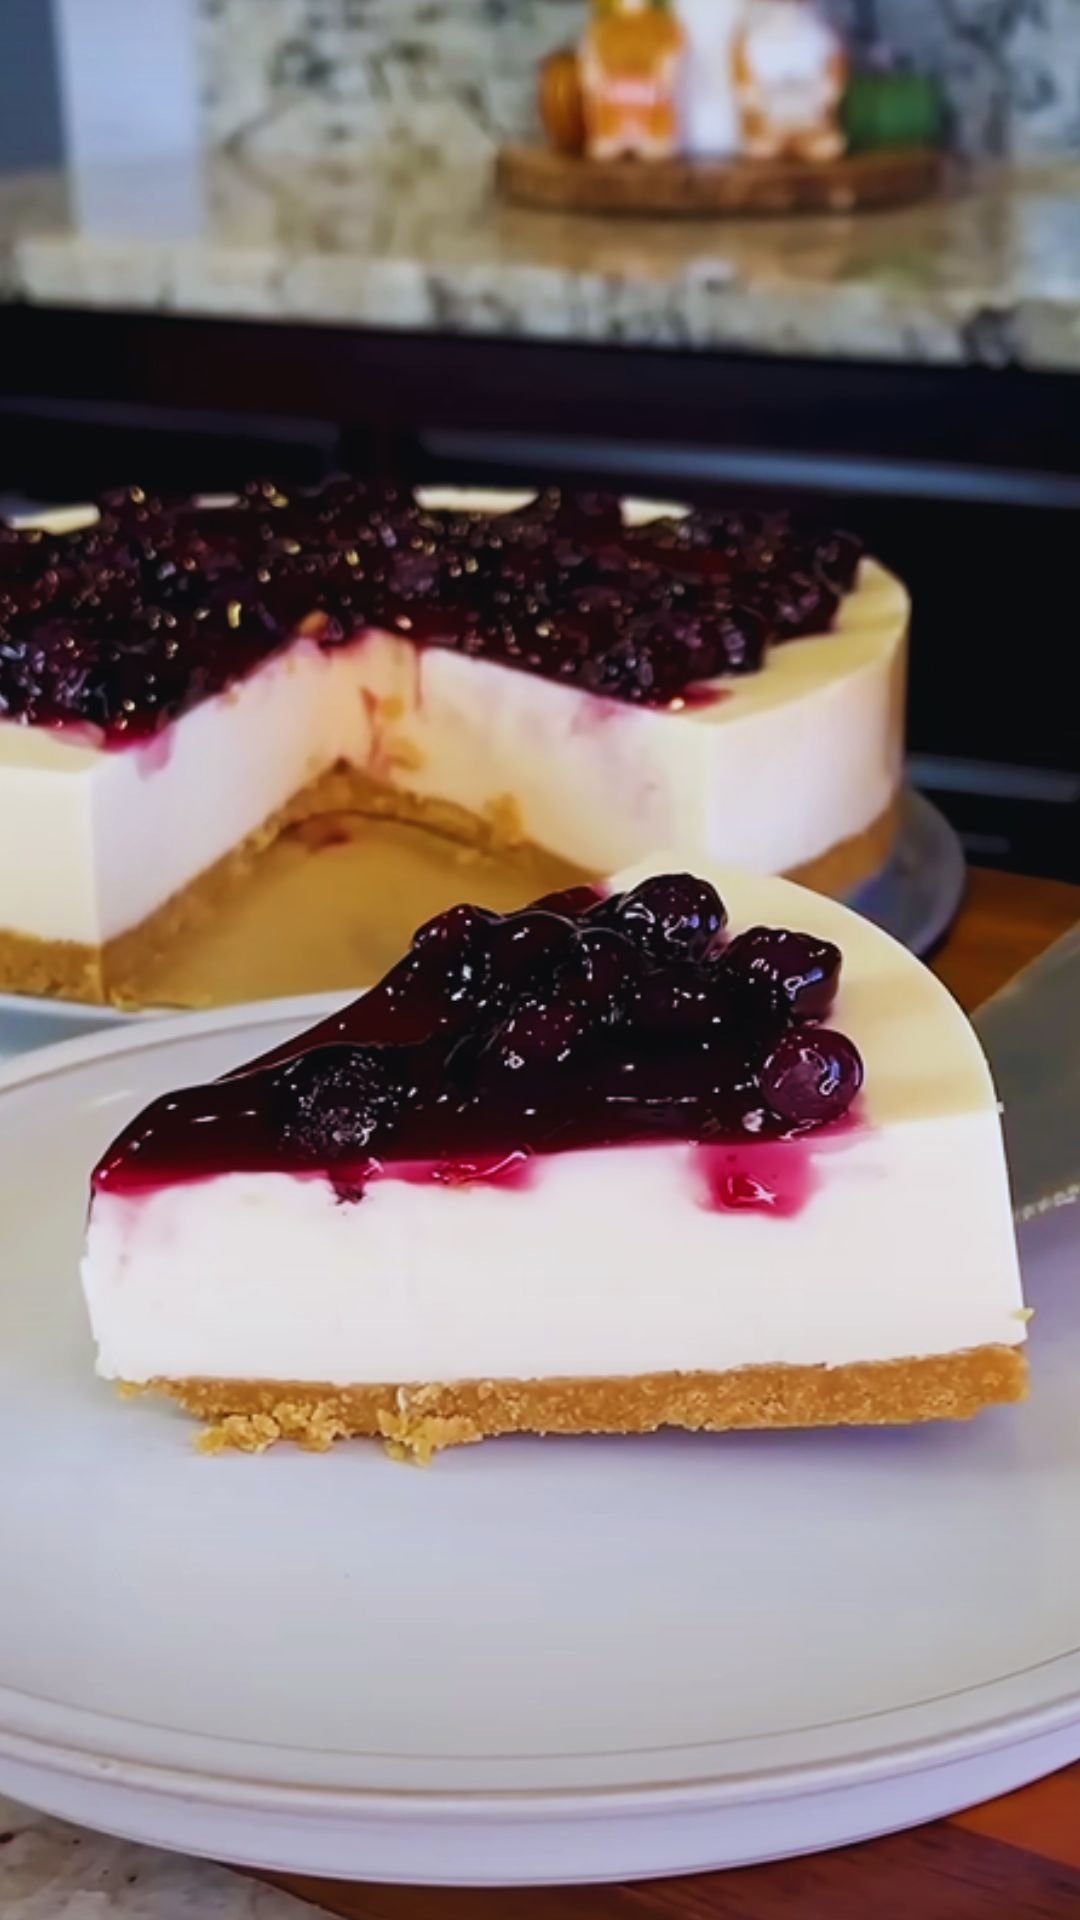
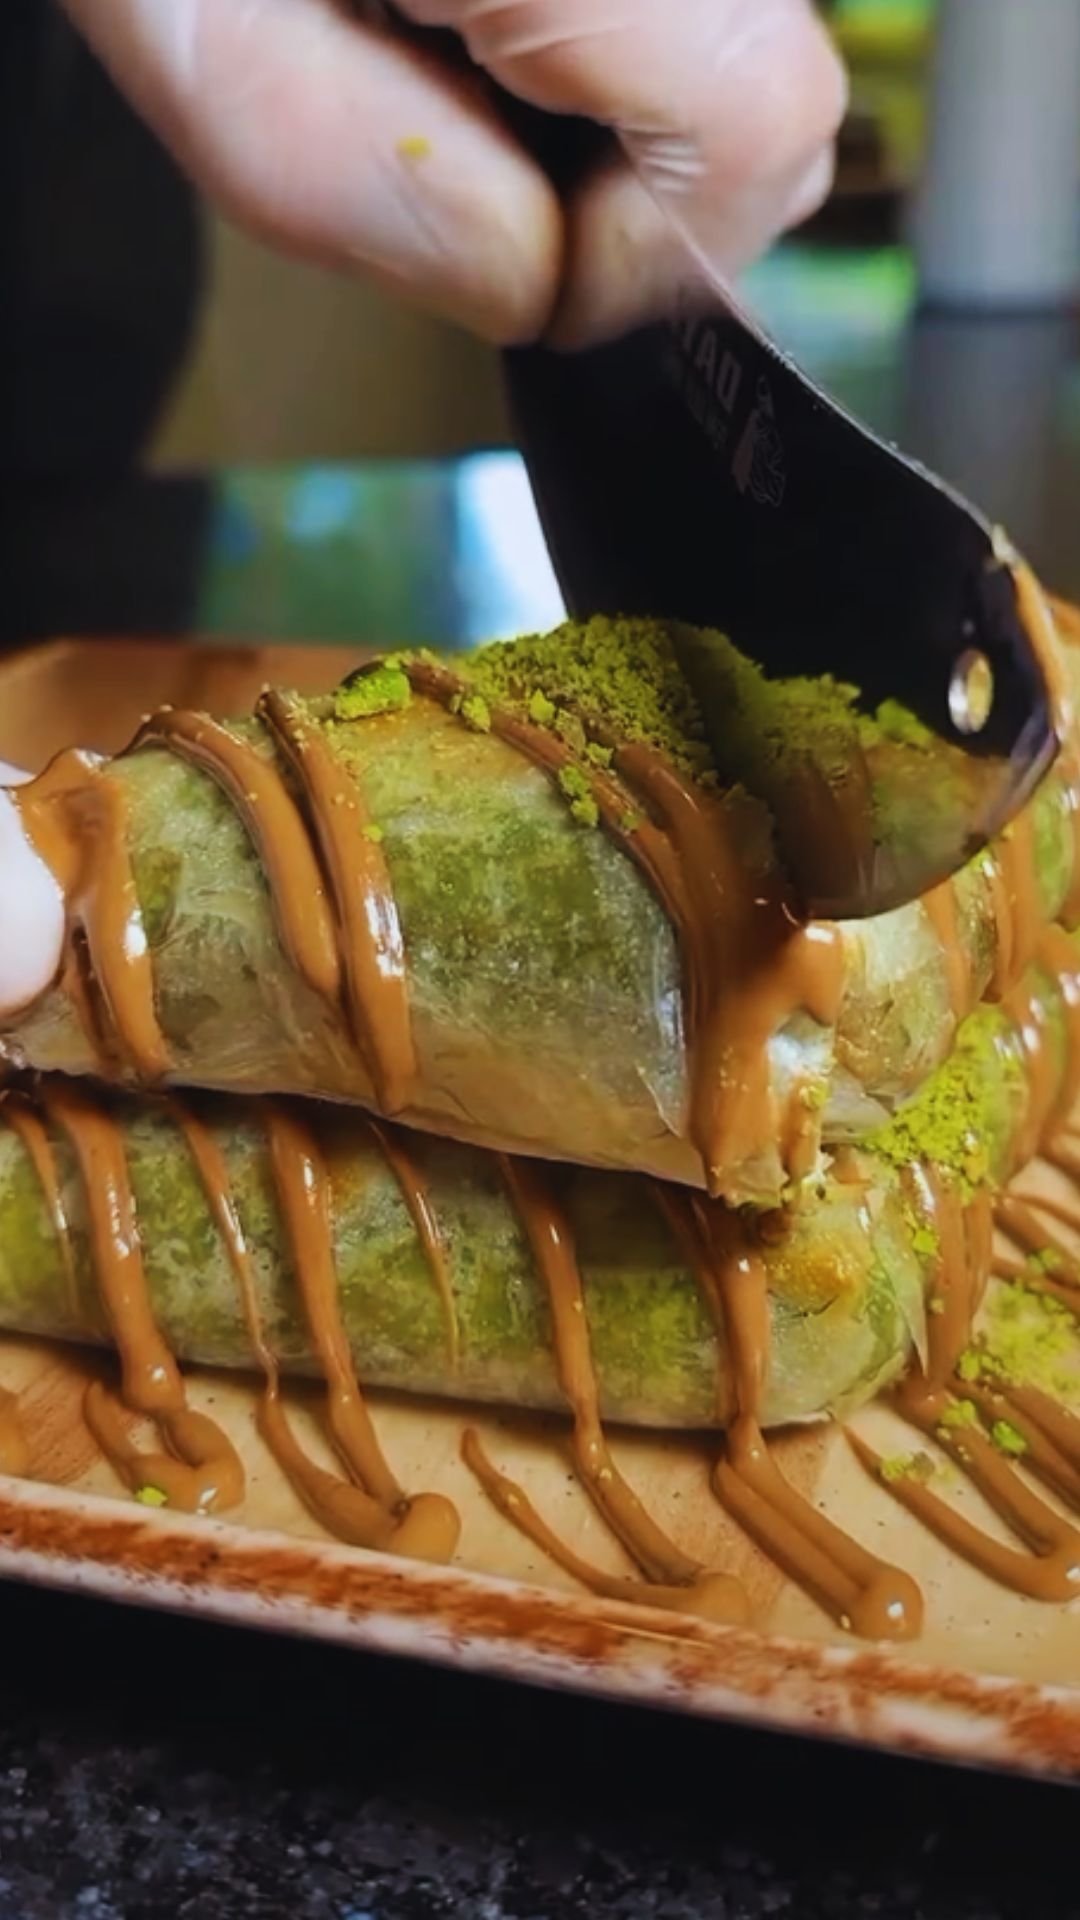
Have you ever experienced that moment when you bite into a dessert and time seems to stand still? That’s exactly what happens with these delightful pastry balls filled with cream and berries. I’ve been perfecting this recipe for years, and today I’m thrilled to share it with you. These petite confections combine the crispness of perfectly baked pastry with the luxurious smoothness of cream and the tangy burst of fresh berries. They’re elegant enough for special occasions yet simple enough to make when you crave something extraordinary on an ordinary day.
The Magic Behind Pastry Balls
There’s something magical about the combination of flaky pastry, silky cream, and juicy berries. The contrast in textures and flavors creates a symphony in your mouth that’s impossible to resist. What I love most about these treats is their versatility – they can be dressed up for formal gatherings or kept casual for family desserts.
When I first attempted these pastry balls, I struggled with achieving the perfect balance between a sturdy shell that could hold the filling and a delicate crumb that would melt in your mouth. After countless experiments (and delicious failures), I’ve cracked the code to creating the ideal pastry base for these little wonders.
Essential Ingredients for Perfect Pastry Balls
The secret to exceptional pastry balls lies in selecting quality ingredients. Here’s what you’ll need to gather:
For the Pastry Shell:
- 2½ cups all-purpose flour, sifted
- 1 tablespoon granulated sugar
- ½ teaspoon fine sea salt
- 1 cup cold unsalted butter, cubed
- ¼ cup ice-cold water
- 1 tablespoon apple cider vinegar
- 1 large egg, beaten (for egg wash)
For the Cream Filling:
- 2 cups heavy cream
- ½ cup mascarpone cheese
- ⅓ cup powdered sugar
- 1 tablespoon vanilla bean paste (or extract)
- Zest of one lemon
For the Berry Component:
- 2 cups mixed berries (strawberries, blueberries, raspberries, blackberries)
- 3 tablespoons granulated sugar
- 1 tablespoon fresh lemon juice
- 1 teaspoon cornstarch (optional, for thickening)
Additional Items:
- Powdered sugar for dusting
- Fresh mint leaves for garnish
- Edible flowers (optional, for special presentation)
The Science Behind Perfect Pastry
Before diving into the preparation, I want to share some pastry science that transformed my baking. The perfect pastry depends on three crucial factors:
Temperature : Keep everything cold! Cold butter creates steam pockets that make the pastry flaky. I even chill my flour and mixing bowl before starting.
Minimal Handling : The more you work the dough, the more gluten develops, resulting in tough pastry. Gentle, quick movements are key.
Resting Time : Never skip this step. Allowing the dough to rest in the refrigerator relaxes the gluten and firms up the butter.
Step-by-Step Preparation
Creating the Perfect Pastry Shell
- In a large bowl, combine the sifted flour, sugar, and salt.
- Add the cold cubed butter and use a pastry cutter to work it into the flour until the mixture resembles coarse crumbs with some pea-sized pieces remaining.
- Mix the ice-cold water and apple cider vinegar in a small bowl.
- Gradually add the liquid to the flour mixture, using a fork to gently incorporate until the dough just begins to come together. (You might not need all the liquid.)
- Turn the dough onto a lightly floured surface and gather it into a ball. Divide it in half, form each half into a disk, wrap in plastic, and refrigerate for at least 1 hour or overnight.
- When ready to bake, preheat your oven to 375°F (190°C) and line two baking sheets with parchment paper.
- Working with one disk at a time, roll the dough to about ⅛-inch thickness on a lightly floured surface.
- Using a 3-inch round cutter, cut out as many circles as possible. Re-roll scraps once to cut additional circles.
- Place the circles on the prepared baking sheets and refrigerate for 15 minutes.
- Brush each circle lightly with beaten egg wash.
- Bake for 12-15 minutes until golden brown. If making shells rather than filled pastries, place small balls of foil in the center of each circle before baking to create an indentation.
- Cool completely on wire racks before filling.
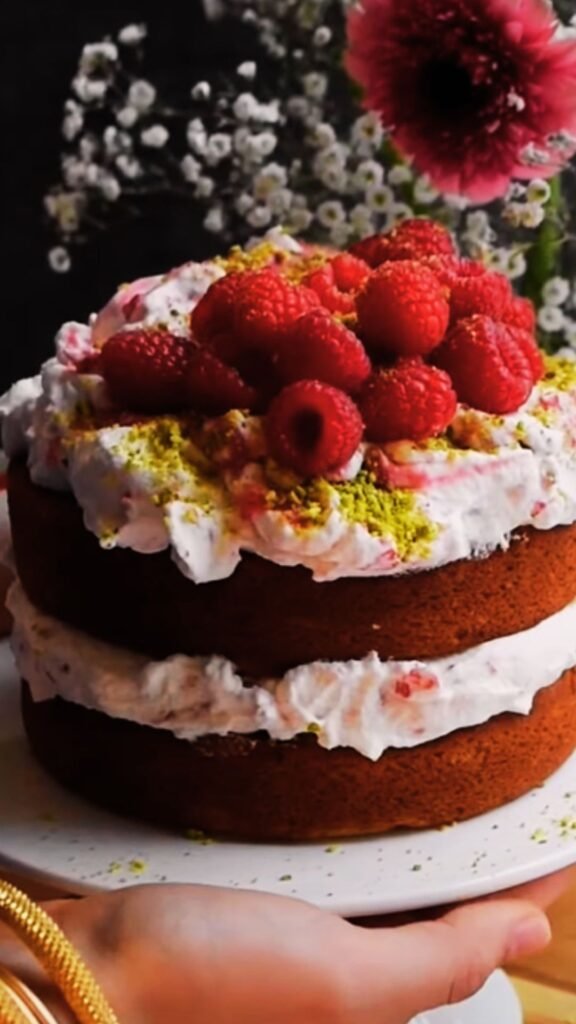
Preparing the Luxurious Cream Filling
- In a chilled mixing bowl, whip the heavy cream until soft peaks form.
- In a separate bowl, whisk together the mascarpone, powdered sugar, vanilla bean paste, and lemon zest until smooth.
- Gently fold the mascarpone mixture into the whipped cream until fully incorporated. Be careful not to deflate the cream.
- Transfer the cream filling to a piping bag fitted with a star tip and refrigerate until ready to use.
Berry Preparation Options
I offer two methods for preparing the berries, depending on whether you prefer fresh or compote:
Fresh Berry Option:
- Gently wash and thoroughly dry all berries.
- Hull and quarter strawberries; keep smaller berries like blueberries whole.
- Toss berries with 1 tablespoon sugar and lemon juice.
- Let sit for 15-20 minutes to allow flavors to meld.
Berry Compote Option:
- Combine berries, sugar, and lemon juice in a saucepan.
- Simmer over medium-low heat for 5-7 minutes until berries release their juices.
- If desired, mix cornstarch with 1 teaspoon water and add to the simmering berries to thicken.
- Cool completely before using.
Assembly Techniques
Now comes the fun part – bringing everything together! I’ve developed three different assembly methods, each offering a unique presentation:
Method 1: Cream-Filled Shells with Berry Topping
- Pipe cream filling into each cooled pastry shell.
- Top with fresh berries or a small spoonful of berry compote.
- Dust with powdered sugar just before serving.
Method 2: Berry-Bottom Surprise
- Place a small amount of berry compote in the bottom of each shell.
- Pipe cream filling over the berries, covering them completely.
- Garnish with a single perfect berry and a tiny mint leaf.
Method 3: Sandwich Style
- Pipe cream filling onto half of the pastry rounds.
- Arrange fresh berries or spread compote over the cream.
- Top with remaining pastry rounds.
- Dust with powdered sugar and garnish with additional berries.
Nutritional Profile
For those who are conscious about nutritional content, here’s a breakdown of what you can expect per serving (based on one pastry ball using Method 1):
| Nutrient | Amount | % Daily Value* |
|---|---|---|
| Calories | 245 | – |
| Total Fat | 18g | 23% |
| Saturated Fat | 11g | 55% |
| Cholesterol | 62mg | 21% |
| Sodium | 85mg | 4% |
| Total Carbohydrates | 19g | 7% |
| Dietary Fiber | 1g | 4% |
| Sugars | 8g | – |
| Protein | 3g | 6% |
| Vitamin A | – | 12% |
| Vitamin C | – | 15% |
| Calcium | – | 6% |
| Iron | – | 4% |
*Percent Daily Values are based on a 2,000 calorie diet.
Seasonal Berry Guide
One of the secrets to making these pastry balls truly exceptional is using the ripest, most flavorful berries available. Here’s my guide to selecting the best berries throughout the year:
| Berry Type | Peak Season | Selection Tips | Flavor Profile | Best Pairings |
|---|---|---|---|---|
| Strawberries | April-June | Bright red, no white shoulders, fragrant | Sweet with slight acidity | Mascarpone, lemon, basil |
| Blueberries | June-August | Firm, deep blue with silvery bloom | Sweet-tart, wine-like | Vanilla, cinnamon, honey |
| Raspberries | June-September | Plump, bright color, easily detaches from stem | Intensely sweet-tart | Chocolate, almond, peach |
| Blackberries | July-September | Plump, deep black, not shiny | Rich, woodsy, sweet | Lemon, apple, cream |
| Cranberries | September-December | Firm, bright red, bounce when fresh | Very tart, astringent | Orange, cinnamon, apple |
Troubleshooting Common Issues
Even with the best preparation, challenges can arise. Here are solutions to common problems you might encounter:
Soggy Pastry : Ensure shells are completely cooled before filling. Apply a thin layer of melted white chocolate inside shells to create a moisture barrier.
Runny Cream Filling : Chill bowl and beaters before whipping cream. Ensure mascarpone is cold when incorporated. If still too soft, refrigerate for 30 minutes before piping.
Bleeding Berry Juices : Pat berries completely dry before using. For compote, ensure it’s cooled and thickened properly. Assemble just before serving.
Cracked Pastry : Dough was likely too cold when rolled or overworked. Let it warm slightly before rolling and handle minimally.
Serving Suggestions and Presentation Ideas
The way you present these pastry balls can elevate them from delicious treats to showstopping desserts. Here are my favorite presentation ideas:
- Arrange on a three-tiered cake stand sprinkled with edible flower petals for an elegant afternoon tea.
- Create a dessert board with pastry balls alongside chocolate truffles, fresh fruit, and honey for dipping.
- Serve individually on small plates with a drizzle of berry coulis and a quenelle of lightly sweetened cream.
- For special occasions, stack in a pyramid and dust with gold-infused powdered sugar.
- Present in individual clear glass dessert cups with alternating layers of pastry, cream, and berries for a deconstructed version.
Beverage pairings that complement these pastry balls beautifully include:
- Sparkling water with fresh berries and mint
- Hibiscus tea, served hot or iced
- A creamy hot chocolate with a hint of cinnamon
- French press coffee with a splash of vanilla cream
Make-Ahead and Storage Tips
I know how important it is to prepare in advance, especially when entertaining. Here’s how to plan ahead:
Pastry Shells : Can be baked up to 3 days in advance. Store in an airtight container at room temperature. Refresh in a 300°F oven for 3-5 minutes if they lose crispness.
Cream Filling : Can be prepared up to 24 hours in advance. Keep refrigerated in a piping bag or airtight container.
Berry Compote : Keeps well for up to 5 days refrigerated. Bring to room temperature before using.
Assembled Pastry Balls : Best consumed within 2-3 hours of assembly. If necessary, can be refrigerated for up to 4 hours, but the pastry will gradually soften.
Variations to Explore
While the classic version is divine, I love experimenting with variations. Here are some of my favorites:
Seasonal Adaptations:
- Spring: Add fresh rhubarb to the berry compote and incorporate a hint of rose water in the cream
- Summer: Include stone fruits like peaches or nectarines alongside the berries
- Fall: Replace some berries with poached pears and add a touch of cardamom to the cream
- Winter: Use citrus segments and cranberries with a hint of warming spices
Dietary Adaptations:
- Gluten-Free: Substitute a quality gluten-free flour blend with ¼ teaspoon xanthan gum
- Dairy-Free: Use coconut cream instead of heavy cream and a plant-based cream cheese alternative
- Reduced Sugar: Replace sugar with monk fruit sweetener or stevia (adjust quantities to taste)
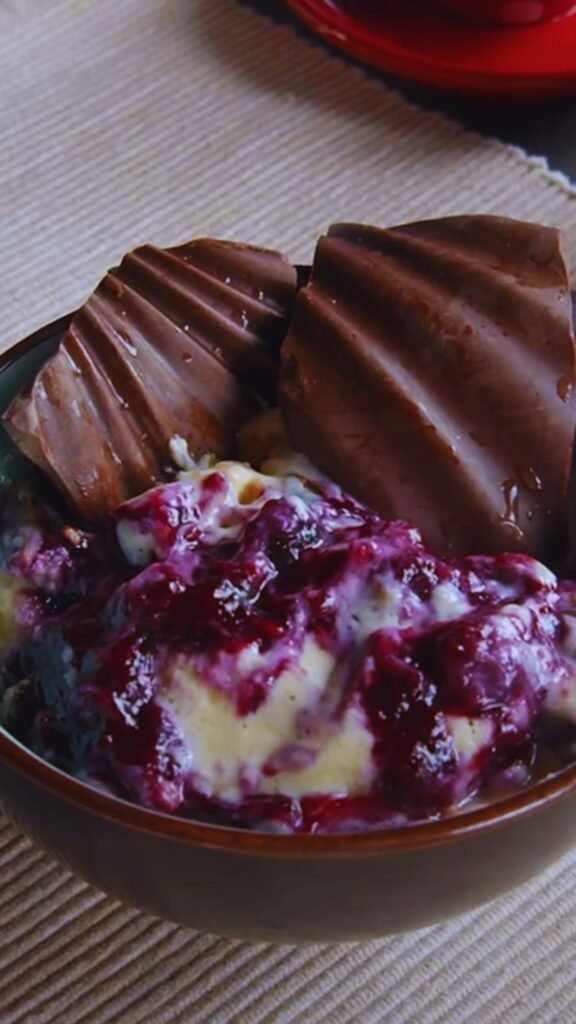
Why These Pastry Balls Will Become Your Signature Dessert
After years of baking and countless desserts later, I’ve found that these pastry balls consistently receive the most enthusiastic reactions. They strike that perfect balance between impressive and approachable. They’re adaptable enough to work with what you have on hand yet special enough to make any occasion memorable.
What I appreciate most about this recipe is its foundation in classic techniques while allowing for personal expression. The basic method remains the same, but the flavors can tell your unique culinary story.
Whether you’re an experienced baker or trying your hand at pastry for the first time, these cream and berry-filled delights will reward your efforts with a dessert that’s both visually stunning and incomparably delicious.
Questions & Answers
Q: Can I make these pastry balls in advance for a party?
Yes, but with some strategic planning. The pastry shells can be baked 2-3 days ahead and stored in an airtight container. The cream filling can be prepared up to 24 hours in advance and kept refrigerated. The berry component can be made 1-2 days ahead. However, I recommend assembling the pastry balls no more than 2-3 hours before serving to maintain the perfect texture contrast between crisp pastry and creamy filling.
Q: I’m not confident in my pastry-making skills. Is there a shortcut I can use?
Absolutely! While homemade pastry offers the best flavor and texture, you can substitute with store-bought puff pastry in a pinch. Roll it slightly thinner than it comes, cut into circles, and bake according to the package directions. Another option is to use pre-baked mini tart shells, which work beautifully with this filling. The key is to ensure whatever base you use is fully baked and cooled before adding the cream and berries.
Q: How can I ensure my cream filling holds its shape and doesn’t become runny?
Three key tips: First, make sure your heavy cream is very cold before whipping. I even chill my mixing bowl and beaters in the freezer for 15 minutes before starting. Second, don’t overwhip the cream – stop at firm peaks, not stiff peaks. Finally, fold in the mascarpone mixture gently but thoroughly. If you’re still concerned, you can stabilize the whipped cream by dissolving 1 teaspoon of gelatin in 1 tablespoon of water, heating until dissolved, cooling slightly, then drizzling into the cream while whipping.
Q: Can I make a larger version of this as a tart instead of individual pastry balls?
Definitely! This recipe adapts beautifully to a 9-inch tart. Line a tart pan with the pastry, blind bake it at 375°F for about 20-25 minutes until golden, then cool completely. Spread the cream filling evenly in the shell and arrange the berries on top in a decorative pattern. This makes a stunning centerpiece dessert that serves 8-10 people.
Q: My berries are releasing too much juice and making the pastry soggy. How can I prevent this?
This is a common challenge! Try these solutions: First, make sure your berries are completely dry after washing. Second, create a barrier between the pastry and the filling by brushing the inside of the baked shells with a thin layer of melted white chocolate or a light coating of apricot jam that’s been heated and strained. Let this set completely before adding fillings. Third, if using a compote, make sure it’s properly thickened with cornstarch and completely cooled before using.
Q: I don’t have mascarpone cheese. What can I substitute?
Cream cheese is the best substitute, though the flavor will be slightly tangier. Allow it to soften and beat it until very smooth before incorporating. You can add an extra tablespoon of powdered sugar and a drop of almond extract to more closely mimic mascarpone’s flavor. In a pinch, you could also use ricotta cheese that’s been processed until smooth, or even Greek yogurt strained overnight to remove excess moisture, though these will produce a lighter filling.
Q: How can I make these pastry balls more festive for a holiday gathering?
There are so many ways to dress these up for holidays! For Christmas, add a touch of peppermint extract to the cream and garnish with sugared cranberries and rosemary sprigs. For Valentine’s Day, shape the pastry into hearts and use all red berries. For Easter, tint portions of the cream pastel colors and arrange in a nested pattern. For July 4th, use a combination of strawberries, blueberries, and white chocolate shavings. The possibilities are endless!
Final Thoughts
Creating these pastry balls has brought me countless moments of joy – both in the meditative process of making them and in the pleasure of sharing them with loved ones. There’s something deeply satisfying about transforming simple ingredients into something so exquisite.
I encourage you to approach this recipe with a spirit of adventure. Yes, there are techniques to master and timing to consider, but remember that even imperfect pastry balls are delicious! Each time you make them, you’ll discover something new about the process and gradually develop your own signature version.
The true magic of these pastry balls lies not just in their delectable taste but in their ability to create moments of connection. When you present a plate of these little wonders, time slows down, conversations flow, and memories are made.
So preheat your oven, chill your butter, and prepare for a baking adventure that’s as rewarding as it is delicious. Your journey to pastry perfection begins now.
