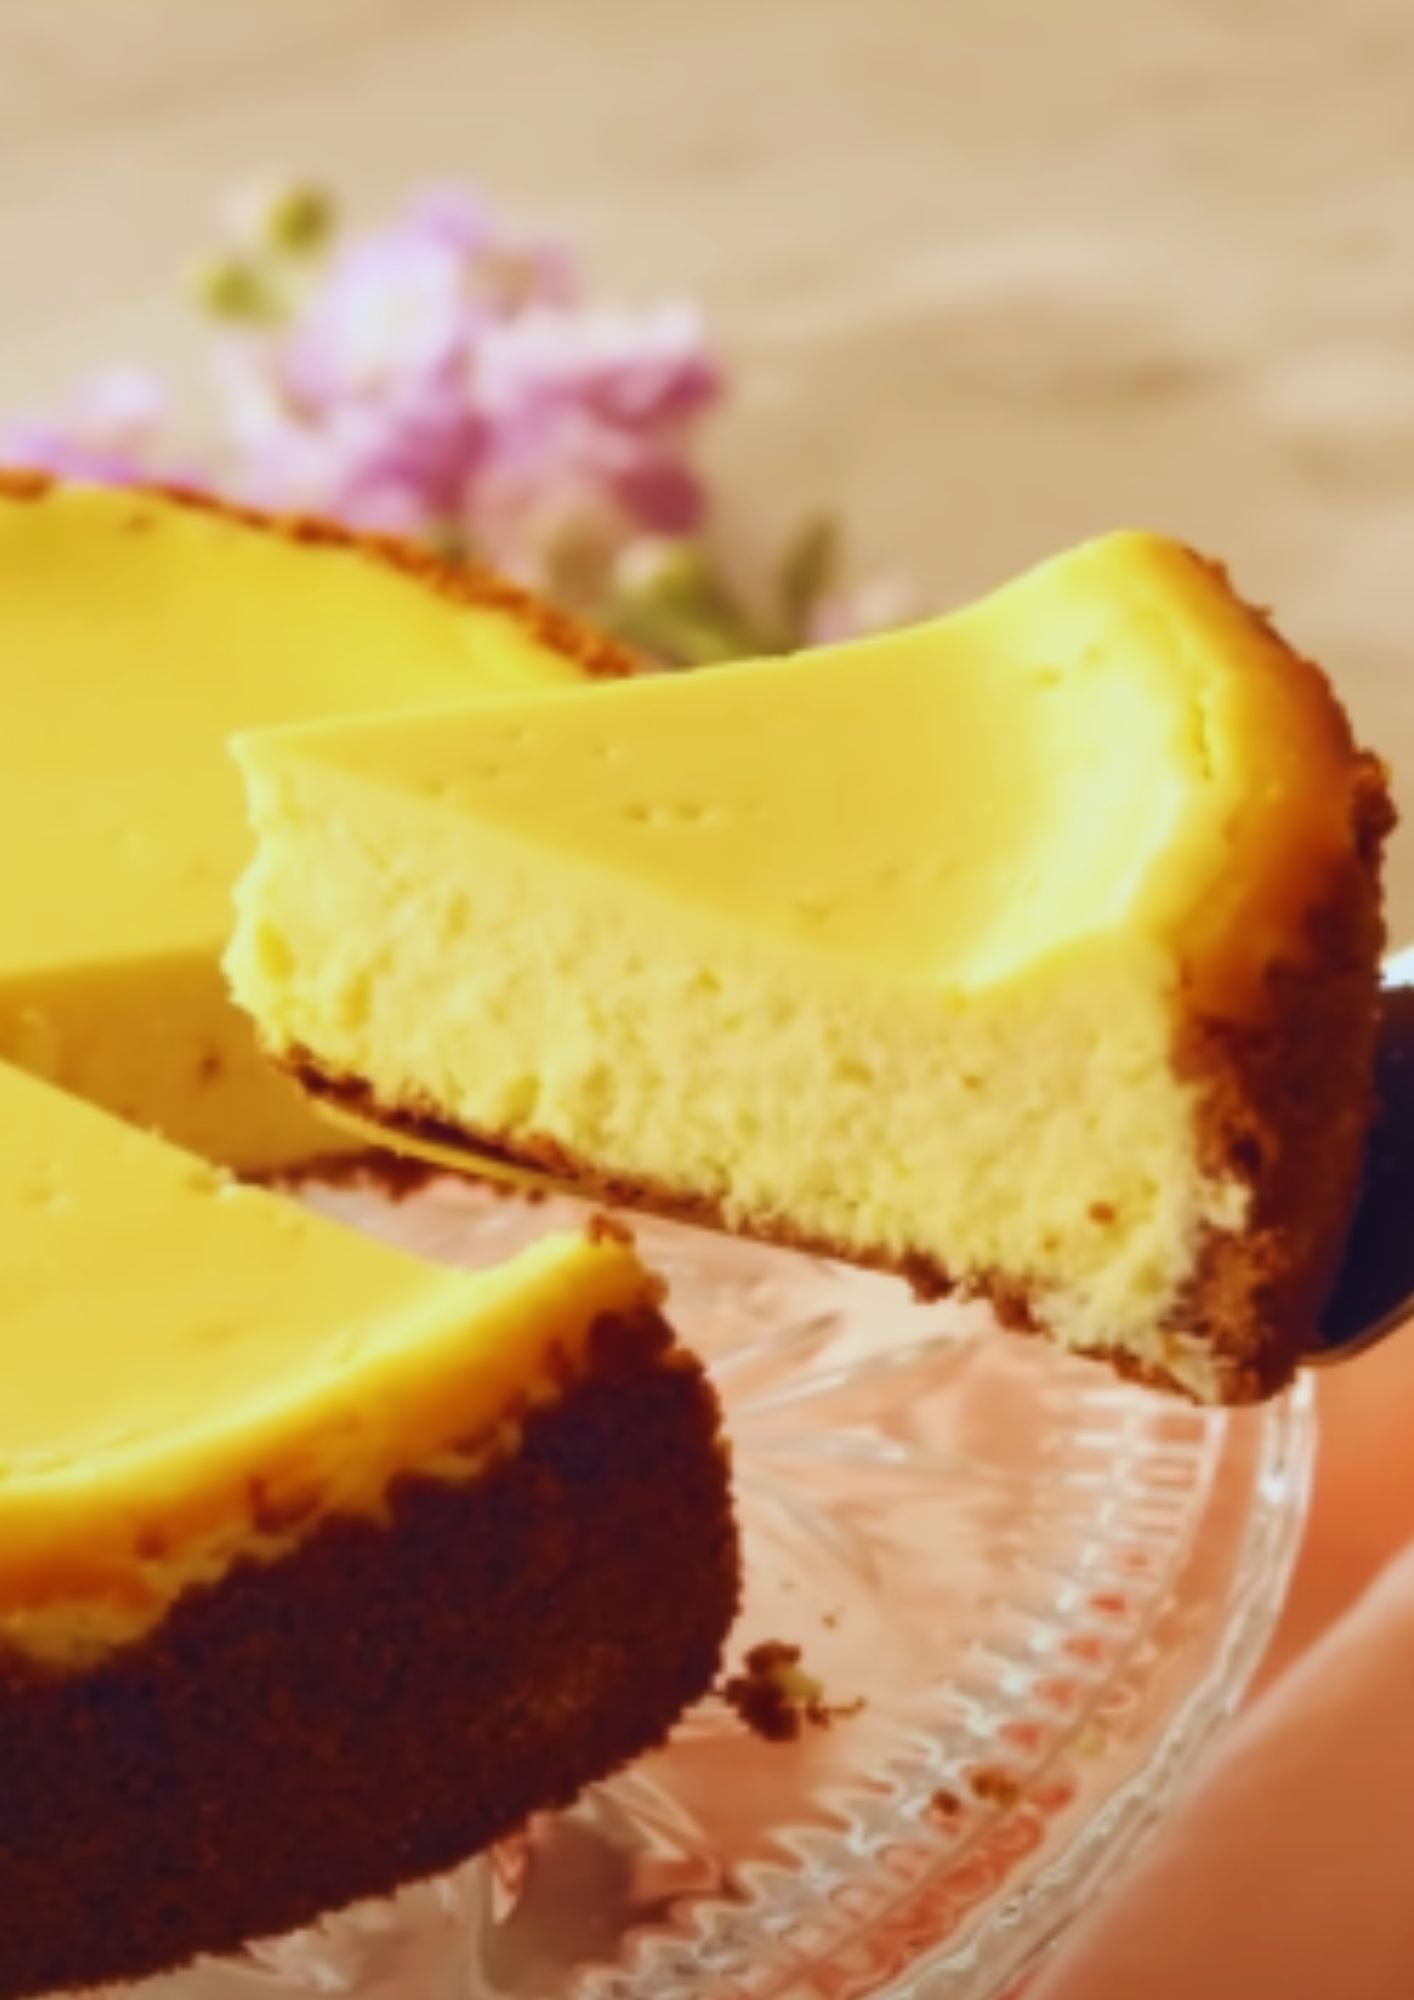
There’s something magical about the combination of chocolate and cheesecake that makes my heart skip a beat. Today, I’m thrilled to share my favorite no-bake chocolate cheesecake recipe that I’ve perfected over countless kitchen adventures. This luxurious dessert promises to deliver all the richness of a traditional cheesecake without ever turning on your oven – perfect for warm summer days or when you’re craving something spectacular without the wait.
Why You’ll Love This Recipe
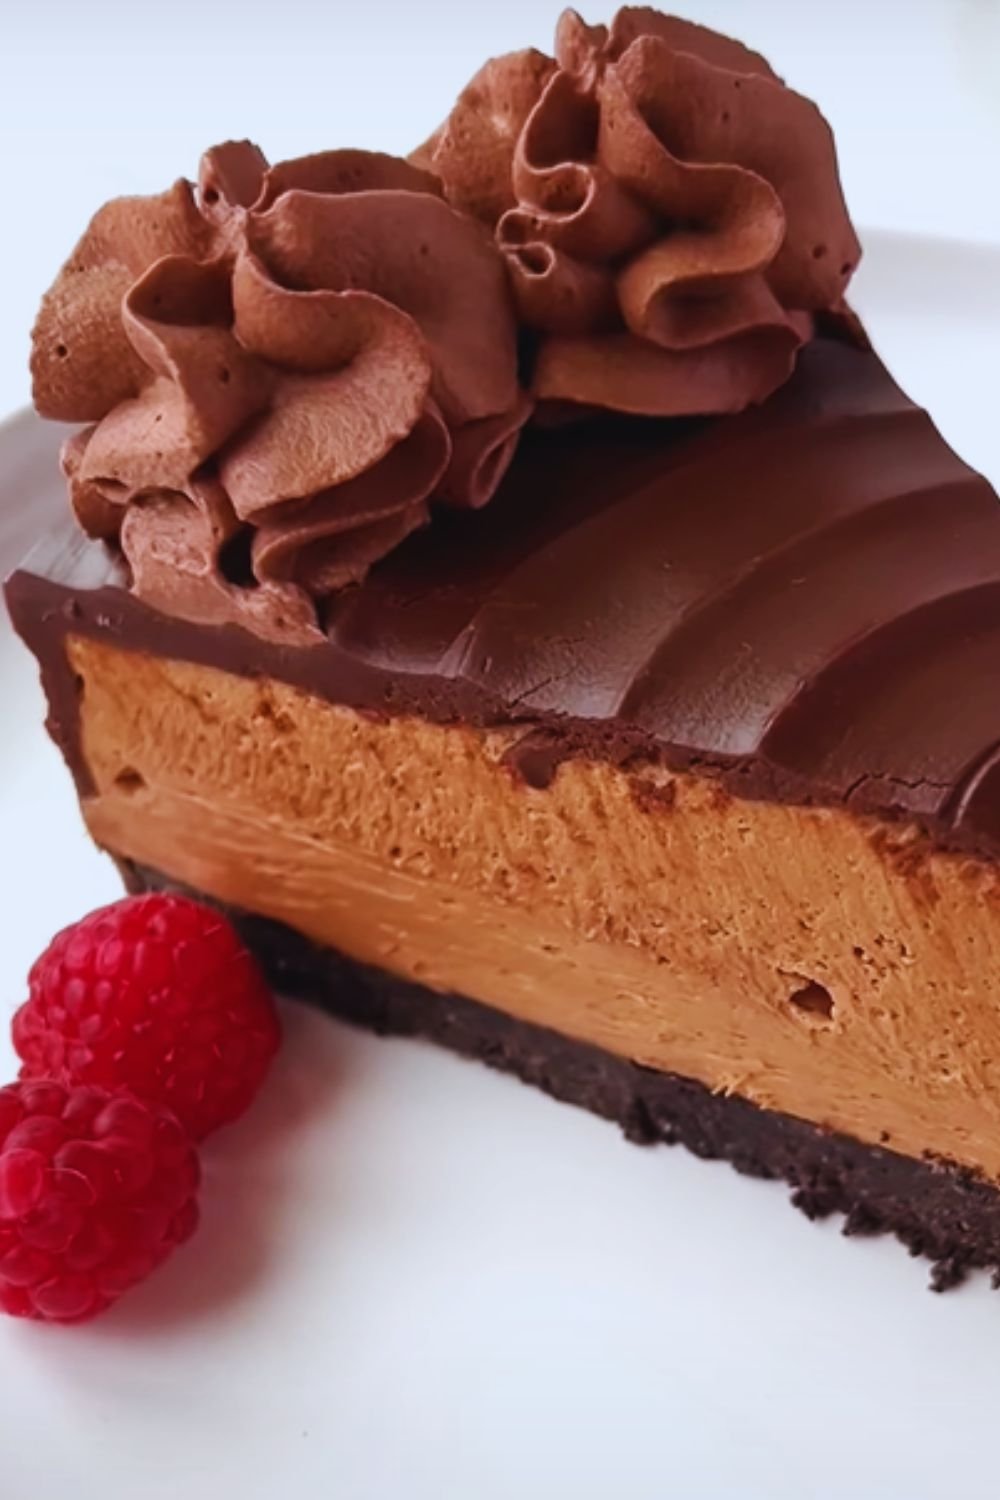
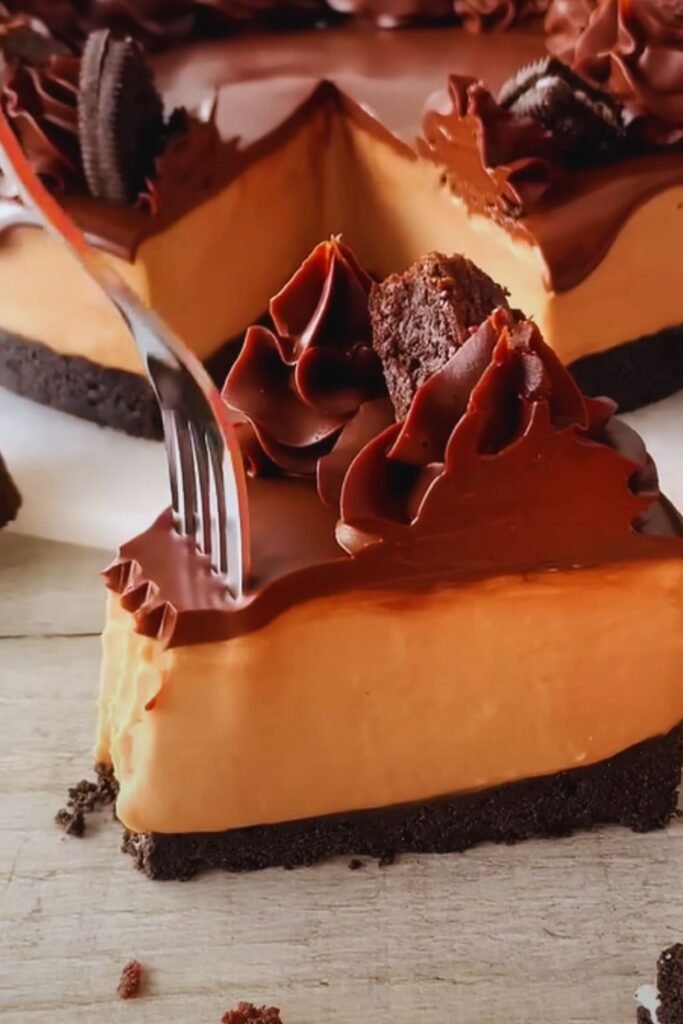
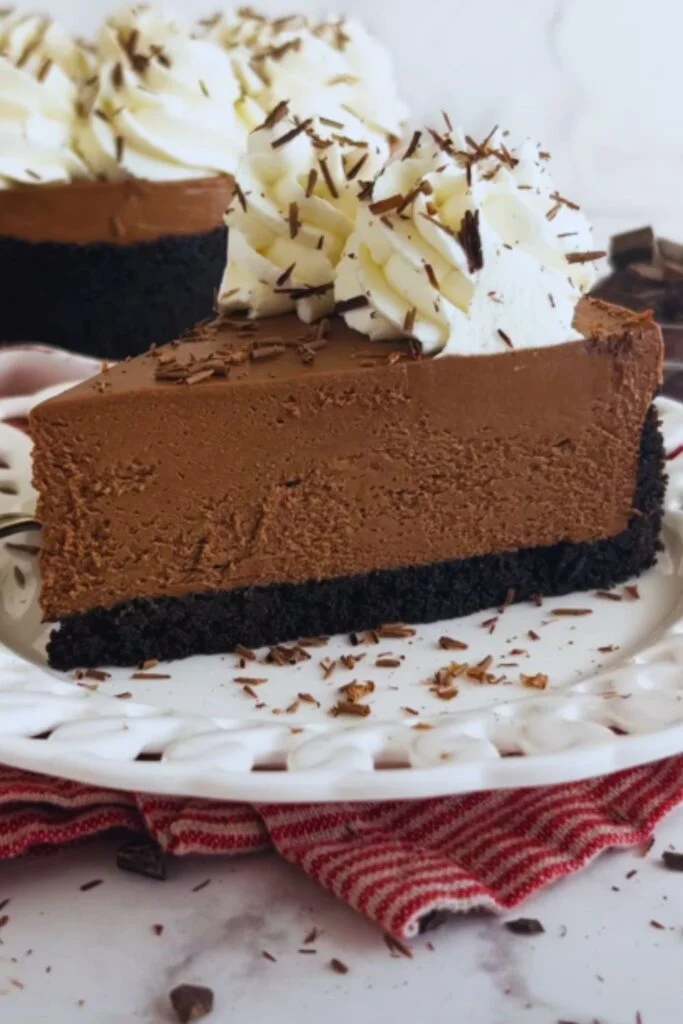
Before we dive into the details, let me tell you why this no-bake chocolate cheesecake has become my go-to dessert for both special occasions and everyday indulgence. The silky-smooth chocolate filling sits atop a buttery cookie crust, creating a perfect harmony of textures that will make your taste buds dance. What’s even better? You can prepare it ahead of time, making it an ideal choice for entertaining or when you want to impress without the stress.
Essential Equipment
Let’s start by gathering all the tools you’ll need for success:
- 9-inch springform pan
- Large mixing bowl
- Electric mixer (stand or hand-held)
- Rubber spatula
- Food processor or rolling pin
- Measuring cups and spoons
- Microwave-safe bowl
- Refrigerator with adequate space
Ingredients Breakdown
For the Crust:
- 2½ cups chocolate cookie crumbs (approximately 24 Oreo cookies, filling removed)
- 6 tablespoons unsalted butter, melted
- ¼ teaspoon salt
For the Filling:
- 24 oz cream cheese, softened at room temperature
- 1 cup granulated sugar
- 12 oz semi-sweet chocolate, melted and slightly cooled
- ¾ cup heavy cream
- 2 teaspoons pure vanilla extract
- ¼ teaspoon salt
- 2 tablespoons unsweetened cocoa powder
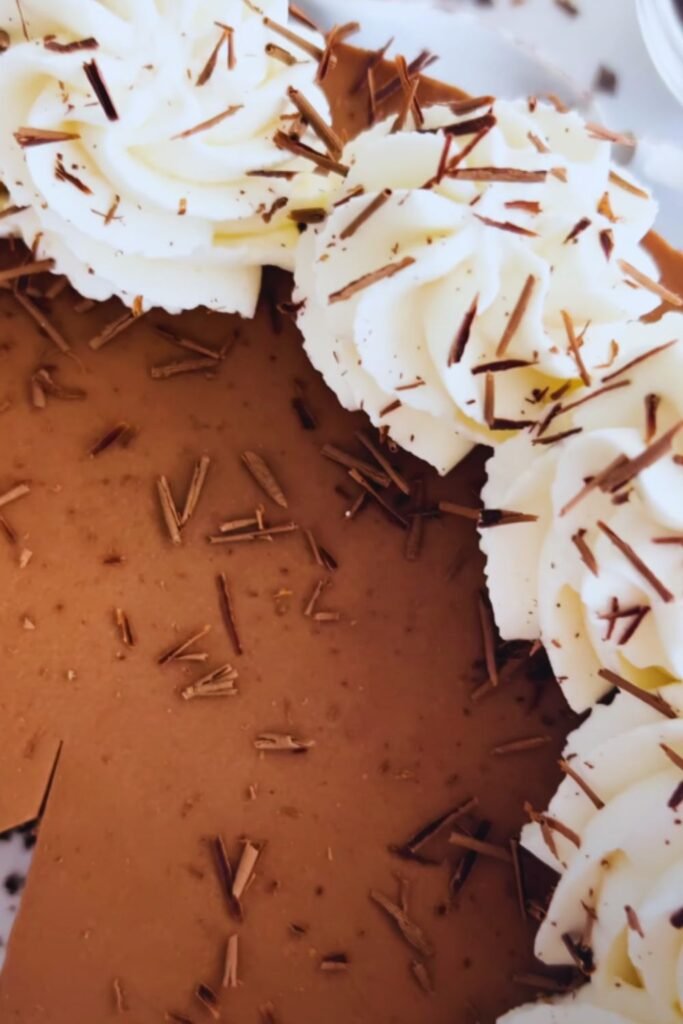
For the Topping:
- 1 cup heavy cream
- 2 tablespoons powdered sugar
- 1 teaspoon vanilla extract
- Chocolate shavings for garnish
- Fresh berries (optional)
Nutritional Information
| Nutrient | Amount per Serving |
|---|---|
| Calories | 425 |
| Total Fat | 32g |
| Saturated Fat | 19g |
| Cholesterol | 95mg |
| Sodium | 280mg |
| Total Carbohydrates | 34g |
| Dietary Fiber | 2g |
| Sugar | 26g |
| Protein | 6g |
| Serving Size | 1 slice (1/12 of cake) |
Step-by-Step Instructions
Preparing the Crust
- Line the bottom of your springform pan with parchment paper for easy removal later.
- In a food processor, pulse chocolate cookies until you achieve fine crumbs.
- Mix the cookie crumbs with melted butter and salt until the mixture resembles wet sand.
- Press the mixture firmly into the bottom and slightly up the sides of the pan.
- Refrigerate while preparing the filling.
Creating the Filling
- In a large bowl, beat the softened cream cheese until smooth and creamy (about 2-3 minutes).
- Gradually add the sugar, beating until well combined.
- Slowly pour in the melted chocolate while mixing on low speed.
- Add heavy cream, vanilla extract, salt, and cocoa powder.
- Beat until the mixture is completely smooth and no streaks remain.
Assembly and Chilling
- Pour the filling over the chilled crust.
- Smooth the top with a spatula.
- Refrigerate for at least 6 hours or overnight.
- Prepare the topping just before serving.
Troubleshooting Tips
Here are some common issues you might encounter and how to solve them:
Lumpy Filling
- Ensure cream cheese is fully softened
- Beat cream cheese alone before adding other ingredients
- Scrape bowl sides frequently while mixing
Cracking Surface
- Tap pan gently on counter before refrigerating
- Avoid overbeating after adding chocolate
- Maintain consistent refrigeration temperature
Loose Filling
- Use full-fat cream cheese
- Ensure chocolate is slightly cooled before mixing
- Chill for the full recommended time
Storage Instructions
- Refrigerator: Keeps well for up to 5 days
- Freezer: Can be frozen for up to 3 months (wrap tightly in plastic wrap and foil)
- Always store in an airtight container
- Let frozen cheesecake thaw overnight in the refrigerator
Serving Suggestions
- Fresh berries or fruit compote
- Additional whipped cream
- Chocolate sauce or ganache
- Mint leaves for garnish
- Paired with hot coffee or tea
- Fresh raspberry coulis
Frequently Asked Questions
Q: Can I use different cookies for the crust?
A: Absolutely! Graham crackers, digestive biscuits, or any chocolate cookie will work wonderfully. Just maintain the same crumb-to-butter ratio.
Q: Why isn’t my filling setting properly?
A: The most common cause is not chilling for long enough. Make sure to give it at least 6 hours, preferably overnight, to set completely.
Q: Can I make this cheesecake sugar-free?
A: Yes, you can substitute the sugar with a granulated sweetener designed for baking. Just be aware that the texture might be slightly different.
Q: How far in advance can I make this cheesecake?
A: You can make it up to 3 days ahead and keep it refrigerated. Add the toppings just before serving.
Q: Why did my chocolate seize when mixing?
A: This usually happens when the chocolate is too hot or cold. Make sure it’s melted but cooled to room temperature before incorporating.
Recipe Variations
- Mint Chocolate: Add ½ teaspoon peppermint extract to the filling
- Mocha: Dissolve 2 tablespoons instant coffee in 1 tablespoon hot water, add to filling
- Orange Chocolate: Add orange zest and ¼ teaspoon orange extract
- Triple Chocolate: Layer milk, dark, and white chocolate fillings
- Nutella Swirl: Swirl in ½ cup warmed Nutella before chilling
Pro Tips from My Kitchen
- Take cream cheese out of the refrigerator at least 2 hours before starting
- Use high-quality chocolate for the best results
- Don’t rush the chilling process
- Warm your knife in hot water before each cut for clean slices
- Pat berries dry before adding as garnish to prevent bleeding
- Keep springform sides on until ready to serve
Remember, patience is key with this recipe. The waiting time might seem long, but I promise it’s worth every minute when you bite into that perfectly set, creamy chocolate cheesecake. Happy baking (or should I say, no-baking)!