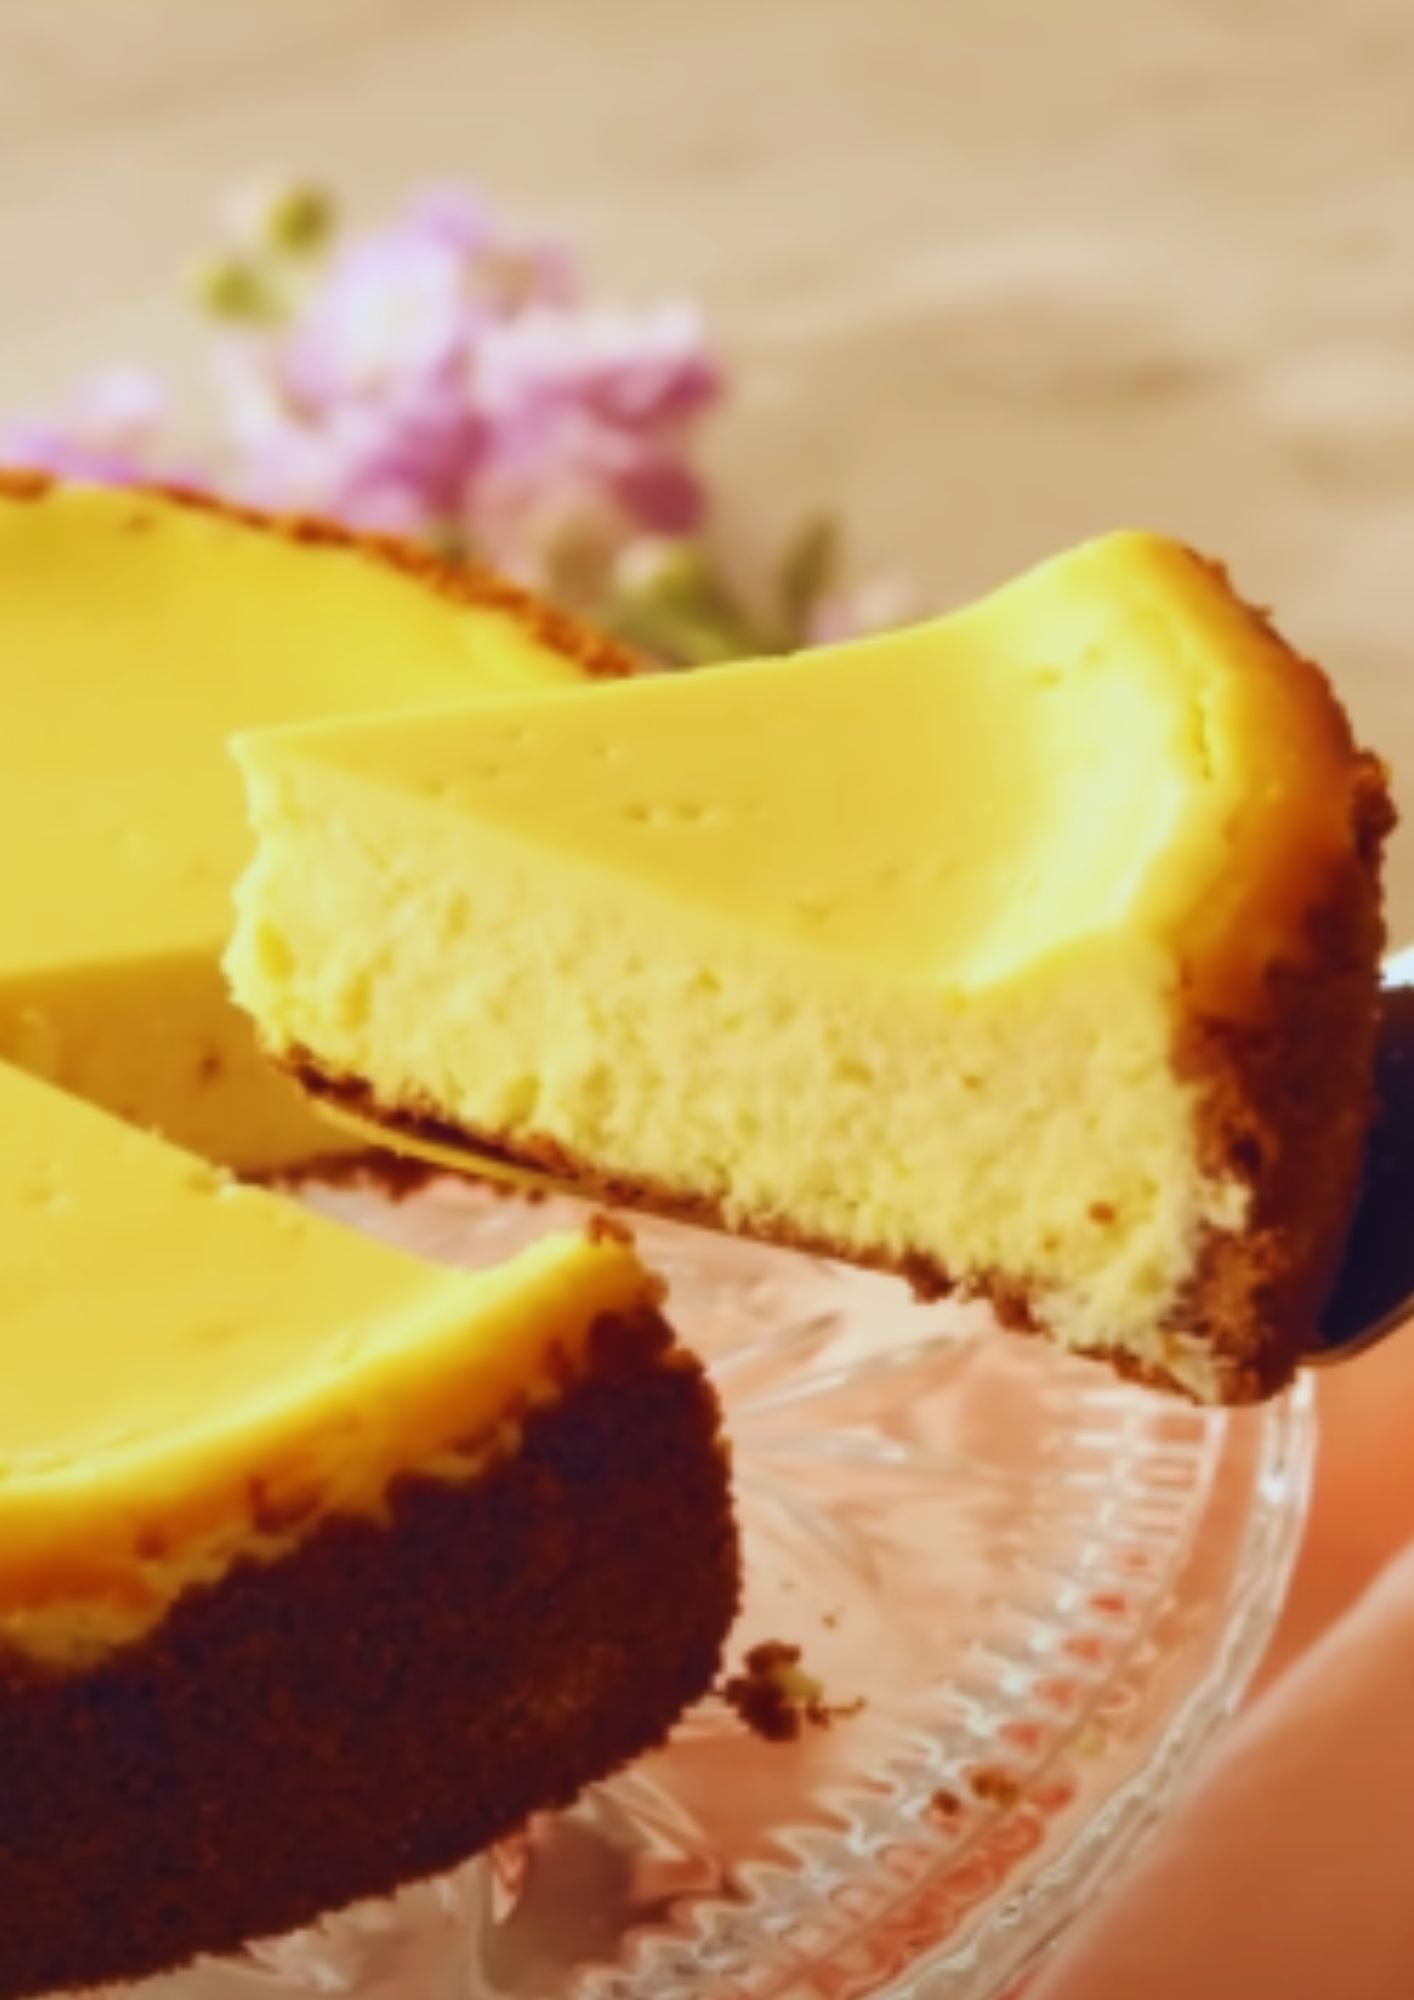
There’s something magical about the combination of tart lemons and creamy cheesecake that makes my taste buds dance with joy. As a pastry chef with over a decade of experience, I’ve made countless cheesecakes, but this no-bake lemon version holds a special place in my heart. Today, I’m excited to share my foolproof recipe that’s been perfected over hundreds of tries in both professional and home kitchens.
Why You’ll Love This Recipe
Before we dive into the details, let me tell you why this no-bake lemon cheesecake deserves a spot in your recipe collection. First, it’s incredibly forgiving – even novice bakers can create this stunning dessert. The bright, citrusy flavor perfectly balances the rich creaminess, making it refreshing yet indulgent. Plus, since there’s no baking involved, it’s perfect for hot summer days when you’d rather not turn on the oven.
Essential Equipment
- 9-inch springform pan
- Electric mixer (stand or hand-held)
- Microplane or fine grater
- Large mixing bowls
- Measuring cups and spoons
- Rubber spatula
- Food processor (for the crust)
Ingredients
For the Crust
- 300g graham crackers (about 20 full sheets)
- 150g unsalted butter, melted
- 50g granulated sugar
- 1/4 tsp sea salt
For the Filling
- 750g cream cheese, room temperature
- 300g sweetened condensed milk
- 250ml heavy cream
- 4 large lemons (for zest and juice)
- 15g powdered gelatin
- 60ml cold water
- 1 tsp vanilla extract
- 1/4 tsp salt
For the Topping
- 200ml heavy cream
- 30g powdered sugar
- Fresh lemon slices
- Fresh mint leaves
- Candied lemon peel (optional)
Detailed Instructions
Preparing the Crust
- Line the bottom of your springform pan with parchment paper and lightly grease the sides.
- In your food processor, pulse the graham crackers until you achieve fine crumbs. I find 12-15 pulses usually does the trick.
- Transfer the crumbs to a mixing bowl and stir in the melted butter, sugar, and salt until the mixture resembles wet sand.
- Press the mixture firmly into the bottom and about 1.5 inches up the sides of your prepared pan. I like using the bottom of a measuring cup for even compression.
- Refrigerate while preparing the filling.
Creating the Filling
- In a small bowl, sprinkle the gelatin over cold water and let it bloom for 5 minutes.
- Meanwhile, beat the cream cheese in a large bowl until completely smooth and free of lumps. This usually takes about 3 minutes.
- Gradually add the sweetened condensed milk, beating between additions until well combined.
- Zest all four lemons and set aside 1 tablespoon for garnish. Add the remaining zest to the cream cheese mixture.
- Juice the lemons – you’ll need 120ml (about 1/2 cup) of fresh juice.
- Microwave the bloomed gelatin for 10-15 seconds until fully melted. While beating the cream cheese mixture on low speed, slowly stream in the warm gelatin.
- Add the lemon juice, vanilla extract, and salt. Beat until well combined.
- In a separate bowl, whip the heavy cream until stiff peaks form.
- Gently fold the whipped cream into the cream cheese mixture until no streaks remain.
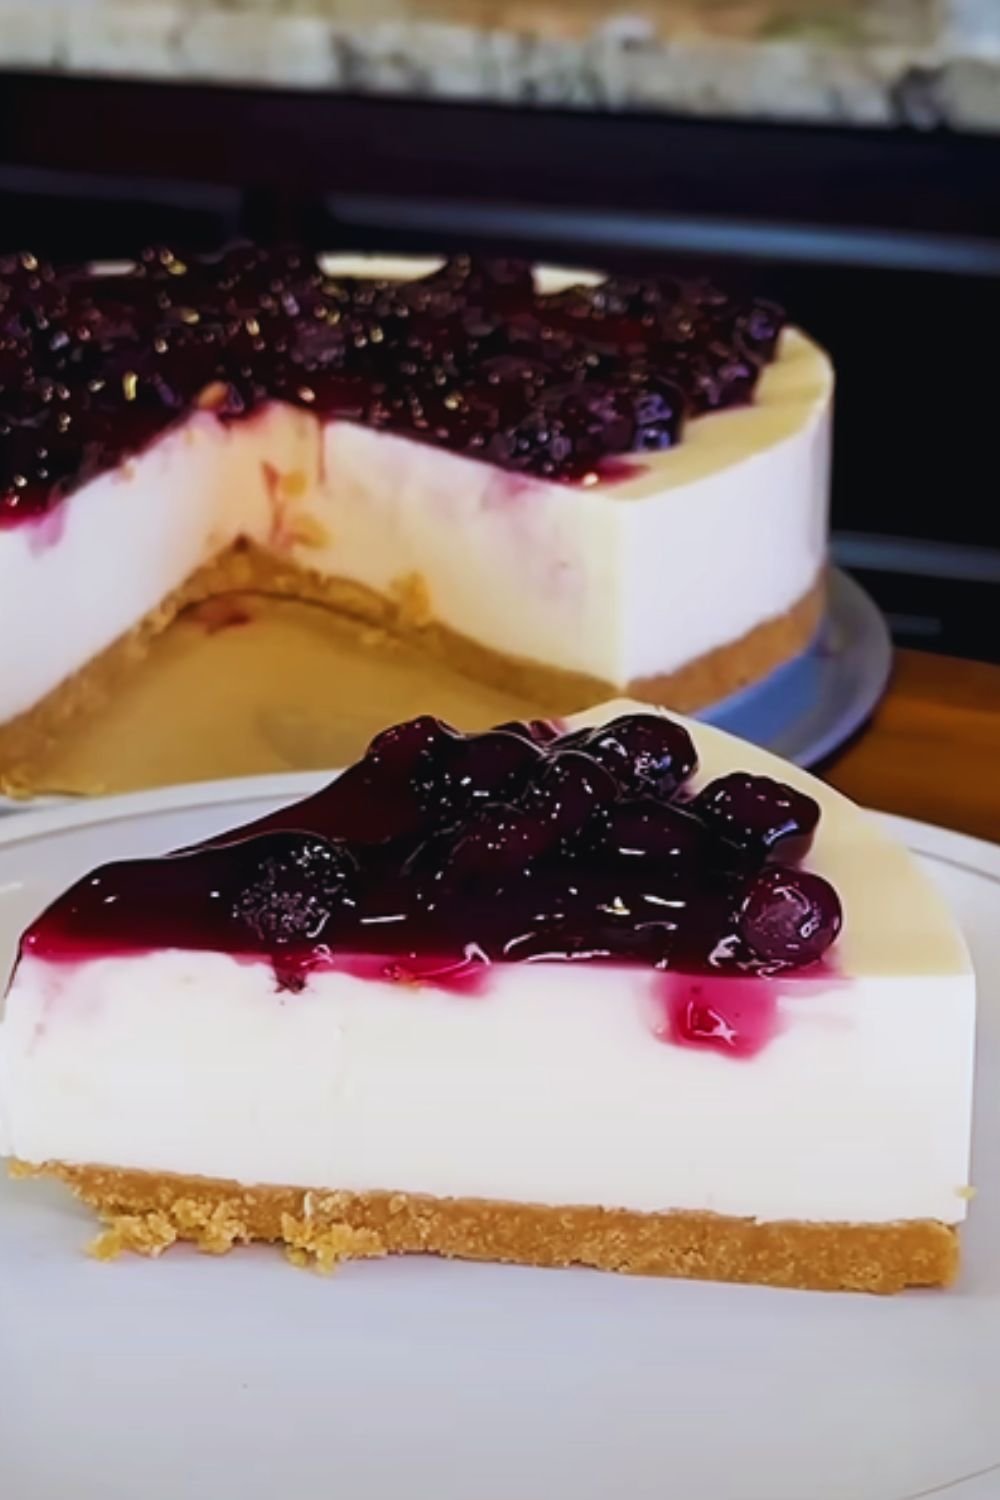
Assembly and Setting
- Pour the filling into your prepared crust, smoothing the top with an offset spatula.
- Refrigerate for at least 6 hours, preferably overnight.
Decoration
- Just before serving, whip the heavy cream with powdered sugar until soft peaks form.
- Pipe or spread the whipped cream around the edge of the cheesecake.
- Garnish with fresh lemon slices, reserved lemon zest, and mint leaves.
Pro Tips From My Kitchen
- Always use room temperature cream cheese to avoid lumps
- Fresh lemon juice is non-negotiable – bottled just won’t give you the same bright flavor
- Don’t rush the setting time – patience yields the perfect texture
- If your cheesecake seems too soft, add an extra teaspoon of gelatin
- Store in the refrigerator for up to 5 days (though it rarely lasts that long!)
Serving Suggestions
- Pair with a cup of hot Earl Grey tea
- Serve with a dollop of lemon curd for extra citrus punch
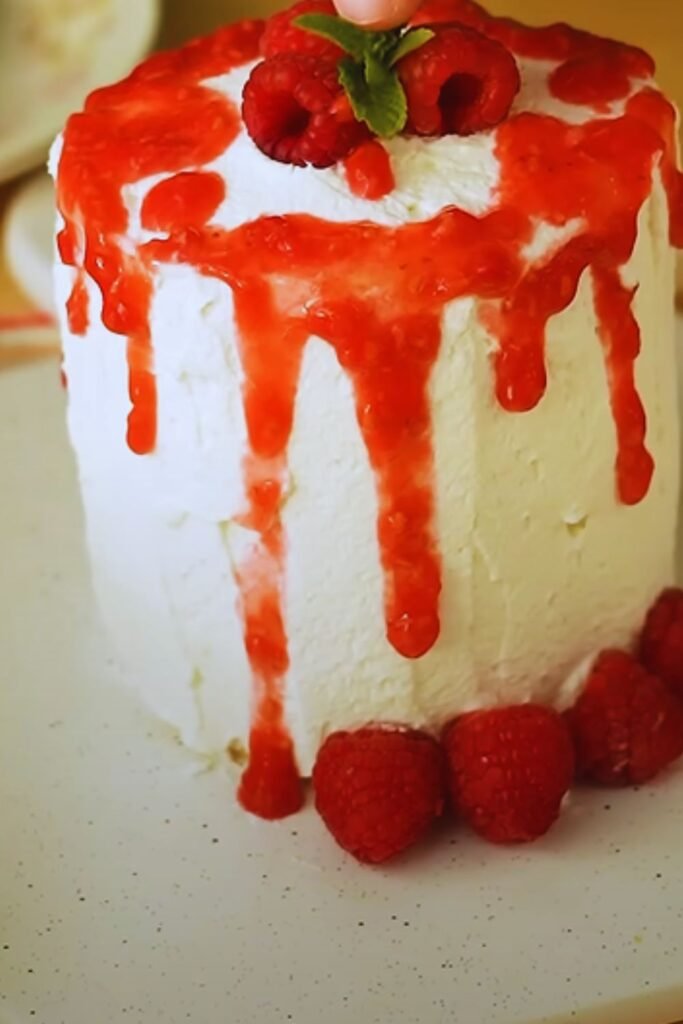
- Add fresh berries for a colorful contrast
- Drizzle with white chocolate sauce
- Accompany with a scoop of vanilla bean ice cream
Troubleshooting Guide
| Issue | Possible Cause | Solution |
|---|---|---|
| Lumpy filling | Cold cream cheese | Ensure cream cheese is at room temperature before starting |
| Crust is crumbly | Too little butter | Add 1-2 tablespoons more melted butter |
| Filling won’t set | Gelatin not properly bloomed | Make sure gelatin is fully dissolved before adding |
| Cracks on surface | Over-mixing | Mix just until ingredients are combined |
| Filling too soft | Too much liquid | Add additional gelatin or reduce lemon juice slightly |
Nutritional Information
| Nutrient | Amount per Slice |
|---|---|
| Calories | 450 |
| Total Fat | 32g |
| Saturated Fat | 19g |
| Carbohydrates | 38g |
| Protein | 7g |
| Sodium | 380mg |
| Sugar | 28g |
Common Questions
Q: Can I make this cheesecake without gelatin?
A: Yes, you can substitute with 2 tablespoons of agar-agar powder, though the texture will be slightly different.
Q: How long does it take to make this cheesecake?
A: Active preparation time is about 30 minutes, plus 6-8 hours setting time.
Q: Can I freeze this cheesecake?
A: Yes! It freezes beautifully for up to 2 months. Thaw overnight in the refrigerator.
Q: Why did my filling turn out runny?
A: This usually happens if the gelatin wasn’t properly bloomed or if the cream wasn’t whipped to stiff peaks.
Q: Can I use low-fat cream cheese?
A: While possible, I don’t recommend it as the texture won’t be as rich and creamy.
Variations
Feel free to experiment with these delicious twists:
- Add 1/2 cup of white chocolate to the filling
- Swap the graham crackers for gingersnaps
- Mix in 1/2 cup of crushed freeze-dried raspberries
- Add a layer of lemon curd before the topping
- Use lime instead of lemon for a different citrus kick
Remember, the best cheesecakes come from practice and patience. Don’t be afraid to make this recipe your own, and most importantly, enjoy the process of creating this delightful dessert!