There’s something magical about the caramelized spice flavor of Biscoff cookies that makes my taste buds dance. When I first combined this distinctive taste with the creamy richness of cheesecake, I knew I’d struck culinary gold. Today, I’m thrilled to share my absolute favorite no-bake dessert with you – a Biscoff cheesecake that’s impossibly smooth, delightfully easy to make, and guaranteed to impress everyone at your table.
What makes this recipe truly special is that you don’t need to fuss with water baths or worry about cheesecake cracks. This no-bake version delivers all the indulgence with minimal effort, making it perfect for both beginner bakers and seasoned dessert enthusiasts alike.
Why You’ll Fall in Love With This Recipe
Before we dive into the steps, let me tell you why this particular cheesecake has become my go-to dessert for gatherings:
- No oven required – perfect for hot summer days or when your oven is occupied with other dishes
- Make-ahead friendly – prepares the day before serving for stress-free entertaining
- Show-stopping presentation – looks professional with minimal decorating skills
- Unforgettable flavor – that distinctive Biscoff spice pairs perfectly with the tangy cheesecake
- Versatile serving options – easy to customize with various toppings
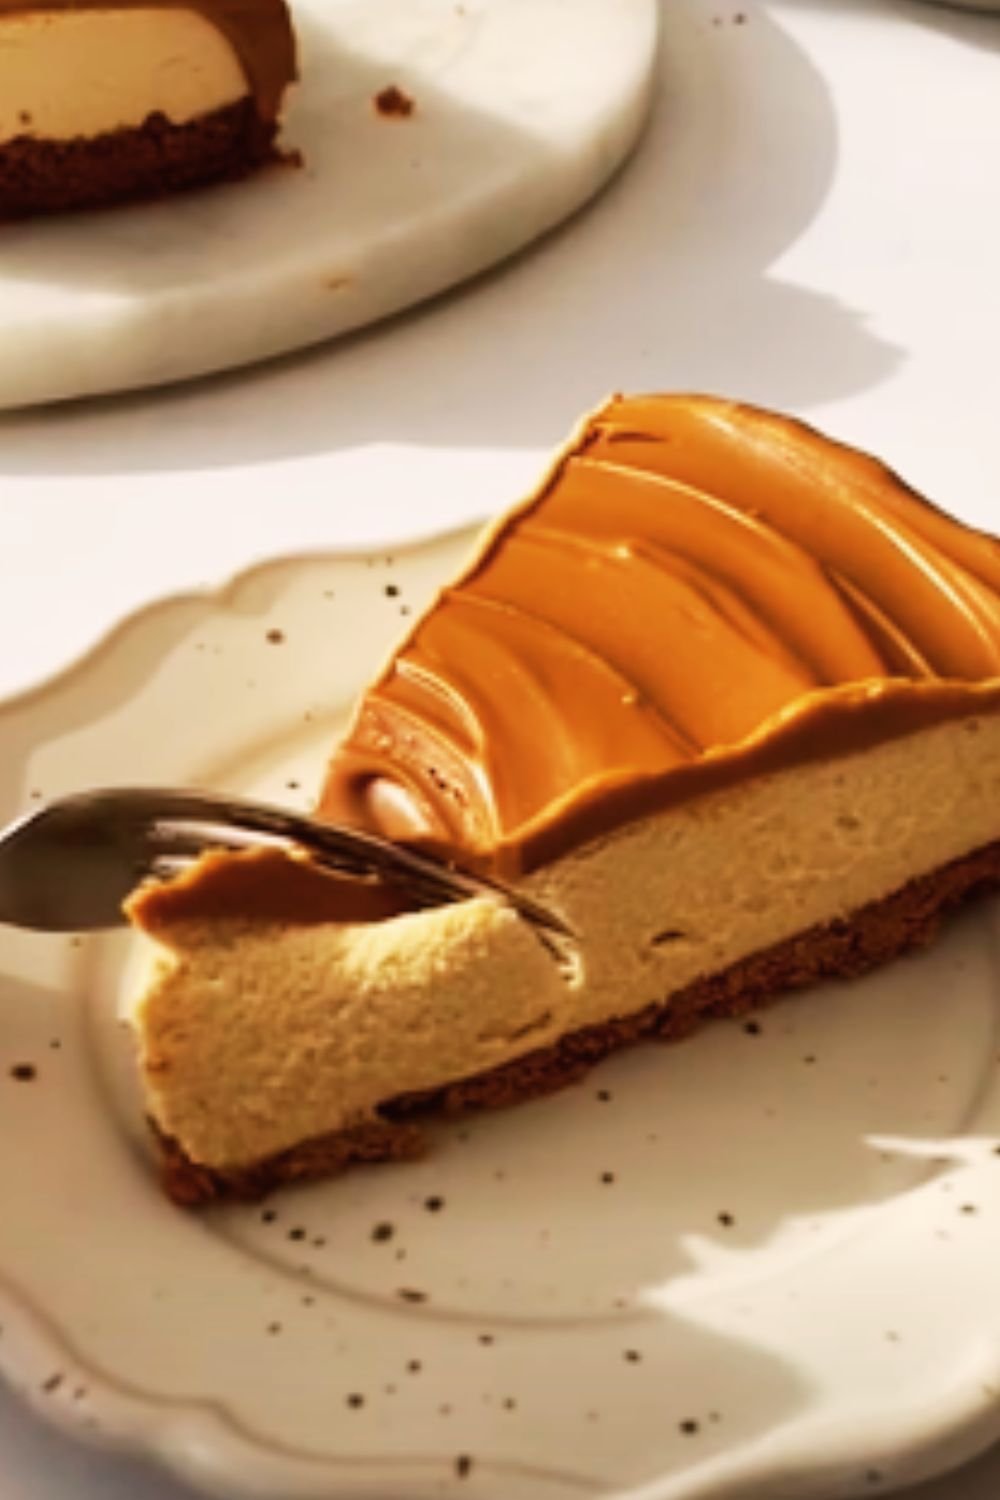
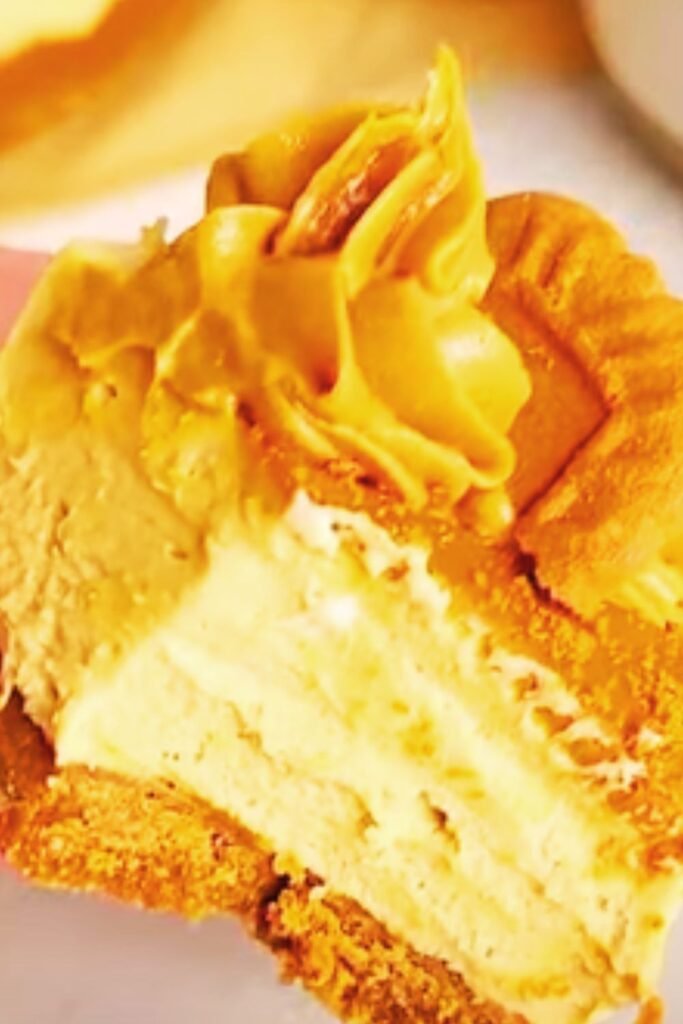
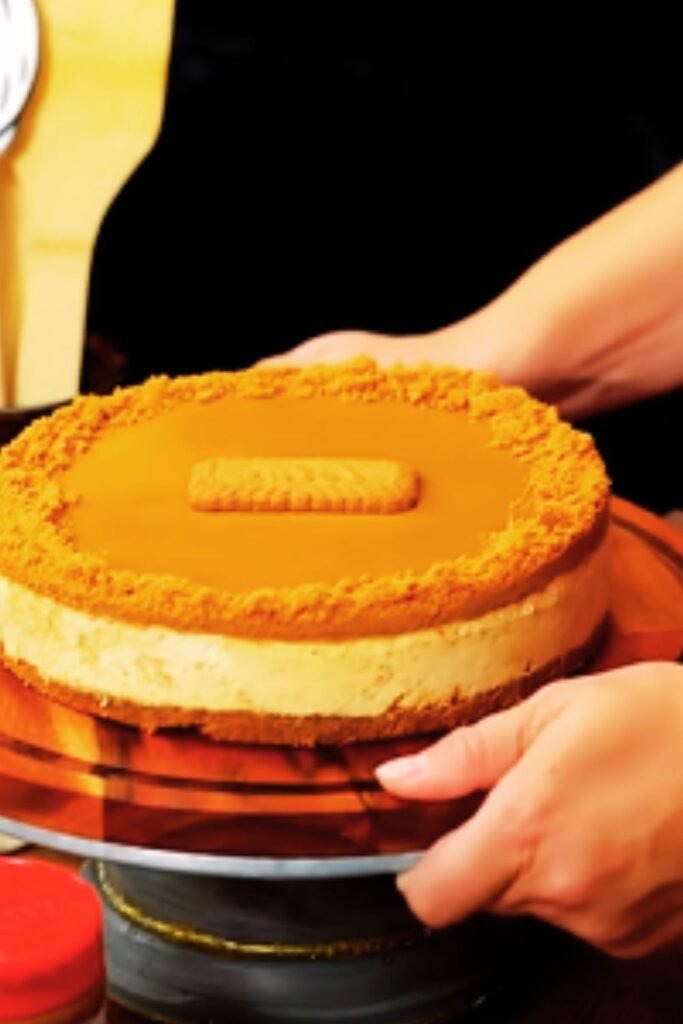
I’ve been perfecting this recipe for years, and the combination of the crunchy Biscoff base, silky-smooth filling, and that signature caramelized cookie butter swirl creates a dessert experience that’s truly memorable.
Essential Ingredients
For the Crust:
- 300g (approximately 2 packages) Biscoff cookies
- 80g unsalted butter, melted
- Pinch of salt
For the Filling:
- 600g full-fat cream cheese, softened to room temperature
- 250g Biscoff cookie butter (smooth variety)
- 100g powdered sugar
- 1 teaspoon vanilla extract
- 300ml heavy whipping cream, cold
- 10g (1 packet) unflavored gelatin powder
- 3 tablespoons cold water
For the Topping:
- 100g Biscoff cookie butter, slightly warmed
- 8-10 Biscoff cookies for decoration
- 50g white chocolate shavings (optional)
Essential Equipment
I always find it helpful to gather all my tools before starting a recipe. Here’s what you’ll need:
- 9-inch springform pan
- Food processor or resealable bag and rolling pin
- Electric mixer (stand or handheld)
- Mixing bowls of various sizes
- Silicone spatula
- Measuring cups and spoons
- Microwave-safe bowl
- Refrigerator space for setting
Step-by-Step Instructions
Preparing the Crust
- Line the bottom of your springform pan with parchment paper for easy removal later.
- Place the Biscoff cookies in a food processor and pulse until they form fine crumbs. If you don’t have a food processor, place cookies in a sealed bag and crush with a rolling pin.
- Transfer the cookie crumbs to a mixing bowl and add the melted butter and salt. Mix until the crumbs are evenly moistened and resemble wet sand.
- Press the mixture firmly into the bottom of the prepared springform pan, using the bottom of a measuring cup to create a smooth, even surface.
- Refrigerate the crust for at least 30 minutes to firm up while you prepare the filling.
Creating the Filling
- In a small bowl, sprinkle the gelatin over the cold water and allow it to bloom for 5 minutes.
- In a large mixing bowl, beat the softened cream cheese until smooth and creamy, about 2 minutes.
- Add the Biscoff cookie butter and beat until thoroughly combined, scraping down the sides of the bowl as needed.
- Mix in the powdered sugar and vanilla extract until the mixture is smooth and no lumps remain.
- After the gelatin has bloomed, microwave it for 10-15 seconds or until just melted. Let it cool slightly but not set.
- In a separate bowl, whip the cold heavy cream until stiff peaks form.
- While the mixer is running on low, slowly pour the melted gelatin into the cream cheese mixture.
- Using a silicone spatula, gently fold the whipped cream into the cream cheese mixture in three additions, being careful not to deflate the mixture.
Assembling the Cheesecake
- Remove the crust from the refrigerator and pour in about half of the cheesecake filling, spreading it evenly.
- Warm the 100g of Biscoff cookie butter slightly in the microwave (about 15-20 seconds) until it’s pourable but not hot.
- Dollop spoonfuls of the warmed cookie butter over the filling layer.
- Pour the remaining cheesecake filling over the top and smooth with a spatula.
- Using a skewer or knife, swirl through the filling to create a marbled effect with the cookie butter.
- Refrigerate the cheesecake for at least 6 hours, preferably overnight.
Decorating Your Masterpiece
- Once the cheesecake has set, gently run a knife around the edge of the springform pan before releasing the sides.
- Transfer the cheesecake to a serving plate.
- Warm the remaining Biscoff cookie butter until it reaches a drizzling consistency.
- Drizzle the cookie butter over the top of the cheesecake, allowing some to artfully drip down the sides.
- Arrange whole and broken Biscoff cookies around the edge of the cheesecake.
- If using, sprinkle white chocolate shavings over the top for added texture and visual appeal.
Pro Tips for Perfect Results
After making this cheesecake countless times, I’ve learned some valuable lessons that will help ensure your dessert turns out perfectly:
- Temperature matters: Make sure your cream cheese is truly at room temperature to avoid lumps in your filling.
- Don’t overwhip: When folding in the whipped cream, use gentle motions to maintain as much air as possible in the mixture.
- Chill thoroughly: The full chilling time is non-negotiable for proper setting and flavor development.
- Clean cuts: Dip your knife in hot water and wipe clean between slices for restaurant-quality presentation.
- Storage sense: This cheesecake stays fresh for up to 5 days in the refrigerator when stored in an airtight container.
Texture Troubleshooting
Sometimes no-bake cheesecakes can present challenges. Here’s how to address common texture issues:
| Problem | Likely Cause | Solution |
|---|---|---|
| Too soft/doesn’t set properly | Not enough gelatin or insufficient refrigeration time | Add an extra teaspoon of gelatin powder or refrigerate for additional 2-3 hours |
| Too firm/rubbery | Too much gelatin | Reduce gelatin by 1/4 teaspoon in future batches |
| Grainy texture | Cream cheese not soft enough or powdered sugar not fully incorporated | Ensure cream cheese is completely softened and sift powdered sugar before adding |
| Filling separates or weeps | Overmixing after adding whipped cream | Fold more gently and stop mixing once just combined |
| Crust crumbles when slicing | Not enough butter in crust mixture | Add an additional tablespoon of melted butter to the crust mixture |
Flavor Variations
While the classic Biscoff flavor is heavenly on its own, I sometimes like to experiment with these delicious variations:
Chocolate Biscoff
Add 100g of melted and cooled dark chocolate to the filling mixture before folding in the whipped cream. The chocolate-spice combination is absolutely divine!
Salted Caramel Biscoff
Drizzle salted caramel sauce between the filling layers and on top of the cheesecake. The salt enhances the caramelized flavor of the Biscoff cookies.
Biscoff Berry Bliss
Top the finished cheesecake with fresh mixed berries. The tartness of the berries beautifully balances the sweetness of the Biscoff.
Coffee Infused Biscoff
Add 1 tablespoon of espresso powder to the filling for a coffee-infused version that’s perfect for those who enjoy mocha flavors.
Serving Suggestions
When it comes to serving this spectacular cheesecake, presentation can elevate the experience even further:
- Serve with a dollop of freshly whipped cream and a light dusting of cinnamon
- Pair with a scoop of vanilla ice cream for a hot-and-cold contrast
- Offer with a drizzle of warm Biscoff cookie butter on individual slices
- Accompany with a cup of hot coffee or tea to balance the sweetness
- For special occasions, add a sparkler candle for a memorable presentation
Nutritional Information
For those who like to keep track of their indulgences, here’s an approximate nutritional breakdown per slice (based on 12 slices per cheesecake):
| Nutrient | Amount per Slice |
|---|---|
| Calories | 485 kcal |
| Fat | 35g |
| – Saturated Fat | 18g |
| Carbohydrates | 38g |
| – Sugars | 28g |
| Protein | 5g |
| Sodium | 270mg |
| Fiber | 0.5g |
Make-Ahead and Storage Guidelines
This cheesecake is perfect for planning ahead:
- Make-ahead option: Prepare up to 2 days in advance and keep refrigerated until serving.
- Refrigeration: Store leftover cheesecake in an airtight container for up to 5 days.
- Freezing: This cheesecake freezes beautifully! Wrap individual slices or the whole cake (without decoration) tightly in plastic wrap, then aluminum foil. Freeze for up to 3 months.
- Thawing: Thaw frozen cheesecake overnight in the refrigerator before decorating and serving.
The Science Behind No-Bake Cheesecakes
I find the science of no-bake desserts fascinating! Unlike traditional baked cheesecakes that rely on eggs and heat for structure, this no-bake version uses two key components for stability:
- Gelatin: Acts as a setting agent by forming a matrix that traps water molecules and creates a stable structure.
- Whipped cream: Provides air and structure through the formation of tiny fat bubbles that support the weight of the heavier ingredients.
The combination of these elements creates that perfect cheesecake consistency without requiring heat, making it foolproof even for novice bakers.

Special Dietary Adjustments
With a few modifications, this recipe can accommodate various dietary needs:
Gluten-Free Version
- Replace Biscoff cookies with gluten-free cinnamon cookies or a gluten-free graham cracker crust
- Ensure your cookie butter is certified gluten-free (or make your own using gluten-free cookies)
Dairy-Free Adaptation
- Substitute dairy cream cheese with dairy-free alternatives like Tofutti or Daiya
- Replace heavy cream with coconut cream (the solid part from a refrigerated can of full-fat coconut milk)
- Use plant-based butter for the crust
Reduced Sugar Option
- Decrease powdered sugar to 60g (the Biscoff cookies and cookie butter already provide sweetness)
- Use a sugar-free cookie for the crust and mix with Biscoff cookies
Frequently Asked Questions
Q: Can I make this cheesecake without gelatin?
Yes! You can substitute the gelatin with 2 tablespoons of agar-agar powder (dissolved in hot water) for a vegetarian version. Alternatively, you can increase the amount of cream cheese to 800g and reduce the heavy cream to 200ml for a firmer texture without any setting agents.
Q: What exactly is Biscoff cookie butter?
Biscoff cookie butter is a spread made from ground Biscoff cookies (also known as Speculoos cookies). It has a consistency similar to peanut butter but tastes like caramelized spice cookies with notes of cinnamon and brown sugar. You can find it in most grocery stores near the peanut butter or in the international foods section.
Q: My cheesecake didn’t set properly. What went wrong?
The most common reasons for a no-bake cheesecake not setting are insufficient chilling time (always give it at least 6 hours, preferably overnight), improper gelatin preparation (make sure it’s fully dissolved and slightly cooled before adding), or over-whipping the cream (which can cause it to separate).
Q: Can I make individual mini cheesecakes instead of one large cake?
Absolutely! This recipe works beautifully in muffin tins lined with paper liners. Prepare as directed, but reduce the chilling time to about 4 hours. This makes for elegant individual servings perfect for parties.
Q: Is it possible to make this recipe a day in advance?
Not only possible but recommended! The flavors develop and meld with time, making this cheesecake even better on day two. Just save the final decoration with cookies until shortly before serving to maintain their crispness.
Q: What can I substitute for Biscoff cookies if I can’t find them?
Graham crackers, gingersnaps, or digestive biscuits make excellent substitutes for the crust. For the filling, you could use peanut butter or another cookie butter and add a teaspoon of cinnamon and a tablespoon of brown sugar to approximate the Biscoff flavor.
A Personal Note
I first discovered Biscoff cookies on an international flight years ago and became instantly obsessed with their unique flavor. Creating this cheesecake recipe was my way of showcasing these special cookies in a dessert worthy of their distinctive taste. Every time I make this for friends and family, the looks of pure delight on their faces confirm that this recipe is something special.
There’s something deeply satisfying about creating a show-stopping dessert that requires no baking. The contrast between the crunchy cookie base, silky cream cheese filling, and the caramelized spice flavor throughout makes this cheesecake a true sensory experience. I hope it brings as much joy to your table as it has to mine!
Whether you’re making this for a special occasion or simply to treat yourself, I’d love to hear how it turns out for you. Don’t forget to take a picture before the first slice disappears – although I can’t promise it will last long enough for that photo opportunity!