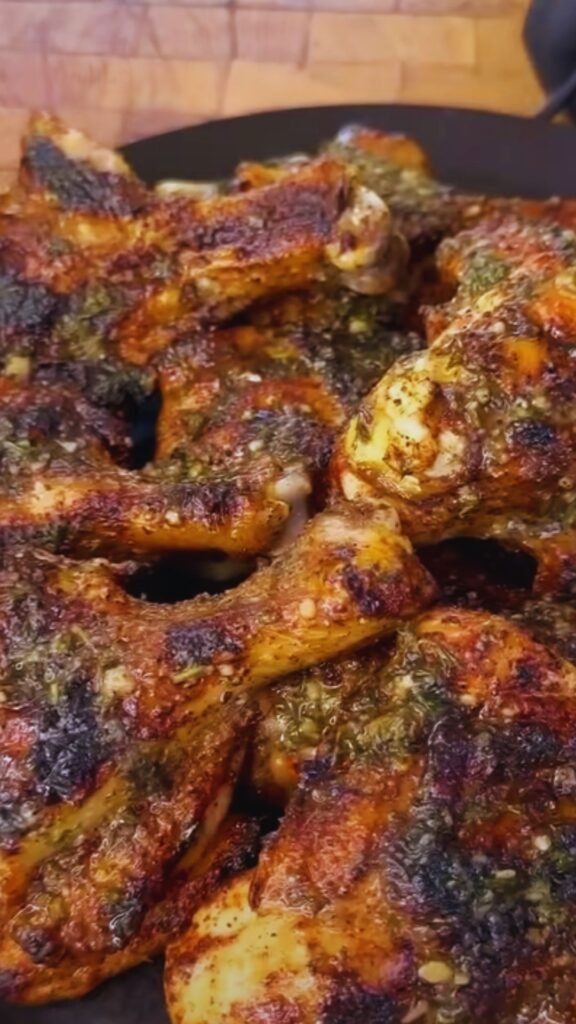
Have you ever had one of those moments when you take a bite of something and immediately wonder where this dish has been all your life? That’s exactly how I felt the first time I tried this Grilled Chicken with Pepperoncini Garlic Butter. It was a random Wednesday evening when I decided to experiment with some pepperoncini peppers that had been sitting in my refrigerator door for who knows how long. Little did I know this impromptu kitchen experiment would become one of my family’s most requested meals.
The beauty of this dish lies in its perfect balance of flavors – tender, juicy grilled chicken topped with a compound butter that’s tangy, garlicky, and has just the right amount of heat. It’s impressive enough for company but simple enough for a weeknight dinner. And the best part? It comes together in under 30 minutes of active cooking time.
What Makes This Recipe Special
Before we dive into the nitty-gritty of how to make this dish, let me explain why it deserves a spot in your regular rotation:
- The pepperoncini butter is a game-changer that can elevate even the most basic grilled chicken
- It’s incredibly versatile – the same technique works with pork chops, fish, or even a good steak
- Most of the prep can be done ahead of time, making it perfect for busy weeknights or stress-free entertaining
- The ingredients are accessible and affordable, with most being pantry staples
If you’ve never cooked with pepperoncini peppers before, you’re in for a treat. These mild, tangy Italian peppers bring brightness without overwhelming heat. When combined with garlic, herbs, and butter, they create a sauce that’s both sophisticated and comforting at the same time.
Ingredients You’ll Need
For the Chicken:
- 4 boneless, skinless chicken breasts (about 2 pounds)
- 2 tablespoons olive oil
- 1 tablespoon kosher salt
- 2 teaspoons freshly ground black pepper
- 1 teaspoon garlic powder
- 1 teaspoon dried oregano
- 1/2 teaspoon paprika
For the Pepperoncini Garlic Butter:
- 8 tablespoons (1 stick) unsalted butter, softened to room temperature
- 6 pepperoncini peppers, finely chopped (about 1/4 cup)
- 2 tablespoons pepperoncini brine from the jar
- 3 garlic cloves, minced
- 1 tablespoon fresh parsley, finely chopped
- 1 teaspoon fresh lemon zest
- 1/2 teaspoon dried oregano
- 1/4 teaspoon red pepper flakes (optional, for extra heat)
- 1/4 teaspoon kosher salt
Equipment Needed
- Grill (gas or charcoal)
- Small mixing bowl
- Meat thermometer
- Sharp knife
- Cutting board
- Plastic wrap
- Grill tongs
Preparing the Pepperoncini Butter
The magic of this dish starts with the compound butter. I recommend making this first, even a day or two ahead of time if you’re planning ahead.
- Make sure your butter is properly softened. Not melted, just soft enough to easily mix ingredients into it. I usually leave it out on the counter for about 30 minutes.
- Finely chop the pepperoncini peppers. Be sure to remove the stems, but don’t worry about removing all the seeds – they add a nice textural element.
- In a small mixing bowl, combine the softened butter, chopped pepperoncinis, pepperoncini brine, minced garlic, parsley, lemon zest, dried oregano, red pepper flakes (if using), and salt.
- Mix thoroughly until all ingredients are evenly distributed. I find using a fork works best for this, as it helps break up any clumps.
- Scoop the butter mixture onto a piece of plastic wrap. Form it into a log shape, about 1.5 inches in diameter.
- Roll up the plastic wrap tightly, twisting the ends to secure. Refrigerate until firm, at least 1 hour or up to 3 days.
This compound butter is so versatile, I often make a double batch. It’s fantastic on grilled corn, tossed with pasta, or spread on warm bread. Trust me, you’ll find plenty of uses for any leftovers!
Preparing and Grilling the Chicken
Now let’s talk about getting your chicken perfectly grilled. The key here is even thickness, proper seasoning, and careful temperature control.
- Place the chicken breasts between two sheets of plastic wrap or in a large ziplock bag. Using a meat mallet or the bottom of a heavy pan, gently pound the chicken to an even thickness of about 3/4 inch. This ensures even cooking.
- In a small bowl, mix together the salt, black pepper, garlic powder, dried oregano, and paprika to create your seasoning blend.
- Drizzle the chicken with olive oil, then season generously on both sides with the spice mixture, pressing it in with your fingers.
- Allow the chicken to sit at room temperature for 15-20 minutes while you preheat your grill to medium-high heat (about 375-400°F).
- Once your grill is hot, clean and oil the grates to prevent sticking.
- Place the chicken on the grill at a 45-degree angle to the grates. This gives you those beautiful diagonal grill marks.
- Grill for 5-6 minutes on the first side. When the chicken naturally releases from the grates, it’s ready to flip.
- Flip the chicken and cook for another 5-6 minutes, or until the internal temperature reaches 165°F on an instant-read thermometer.
- Remove the chicken from the grill and let it rest for 5 minutes before serving. This allows the juices to redistribute and results in a juicier finished product.
One of the biggest mistakes people make when grilling chicken is continually lifting and moving it. Just let it be! Constantly flipping and moving the chicken prevents those gorgeous grill marks from forming and can lead to uneven cooking.
Bringing It All Together
Now comes the moment of truth – bringing together our perfectly grilled chicken and that flavor-packed pepperoncini butter.
- Remove the compound butter from the refrigerator about 10 minutes before the chicken is done grilling.
- Slice the butter into 1/2-inch thick rounds.
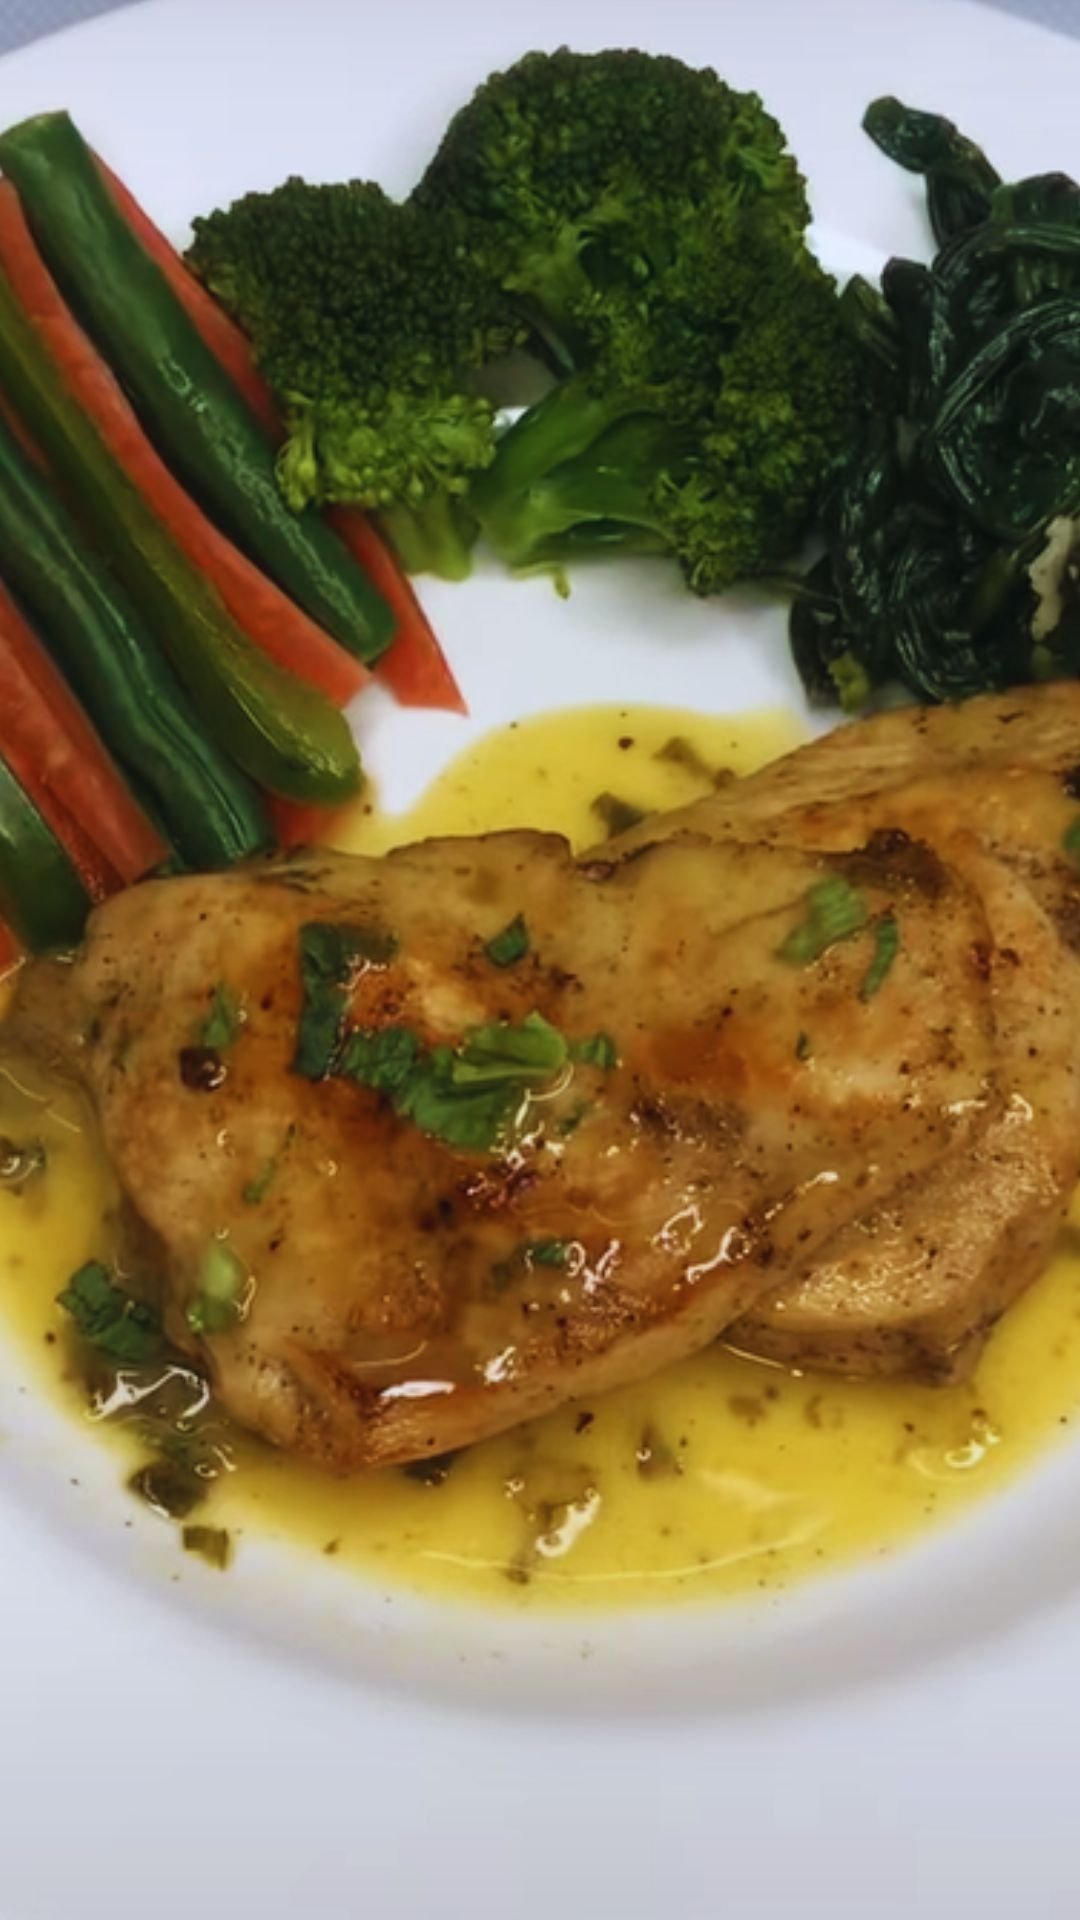
- Place the grilled chicken on a serving platter.
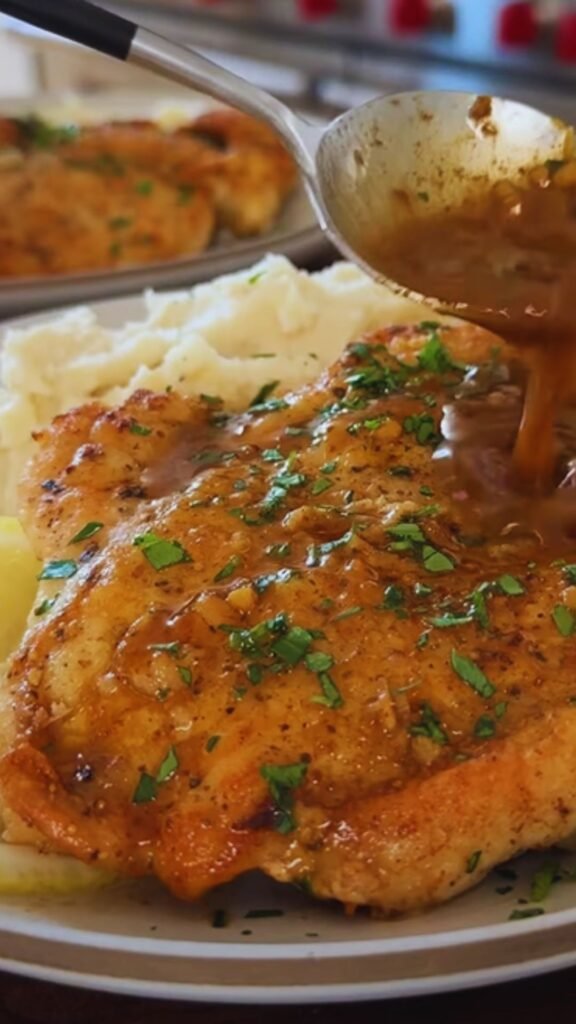
- While the chicken is still hot, place 1-2 slices of the compound butter on top of each piece. The heat from the chicken will slowly melt the butter, creating a luscious sauce.
- Garnish with additional fresh chopped parsley and a few whole pepperoncinis for presentation, if desired.
What I love most about this presentation is watching the butter slowly melt, releasing all those aromatic flavors and creating a sauce that pools around the chicken. It’s a feast for both the eyes and the taste buds!
Nutritional Information
For those who like to keep track of their nutritional intake, here’s a breakdown per serving (one chicken breast with approximately 2 tablespoons of the pepperoncini butter):
| Nutrient | Amount per Serving |
|---|---|
| Calories | 425 |
| Protein | 39g |
| Total Fat | 28g |
| Saturated Fat | 14g |
| Carbohydrates | 3g |
| Fiber | 0.5g |
| Sugars | 1g |
| Sodium | 932mg |
| Cholesterol | 165mg |
| Potassium | 645mg |
| Vitamin A | 15% DV |
| Vitamin C | 8% DV |
| Calcium | 2% DV |
| Iron | 6% DV |
Variations to Try
While the basic recipe is absolutely delicious, here are some variations I’ve tried over the years that you might enjoy:
Lemon-Herb Version
- Add an additional tablespoon of lemon juice and an extra teaspoon of zest to the butter
- Increase fresh herbs to 2 tablespoons, using a mix of parsley, dill, and chives
- This lighter version pairs beautifully with fish or lighter sides
Mediterranean Style
- Add 2 tablespoons of finely chopped sun-dried tomatoes to the butter
- Include 1 tablespoon of finely chopped kalamata olives
- Add 1 teaspoon of dried basil or 1 tablespoon fresh
- This version creates a more robust flavor profile that stands up well to heartier sides
Smoky Southwest
- Replace the paprika with smoked paprika
- Add 1/2 teaspoon of ground cumin to the chicken seasoning
- Include 1 tablespoon of finely chopped chipotle in adobo sauce to the butter instead of red pepper flakes
- This version has a deeper, smokier flavor that’s fantastic for those who enjoy more heat
Serving Suggestions
A dish this flavorful deserves worthy accompaniments. Here are some of my favorite pairings:
Side Dishes:
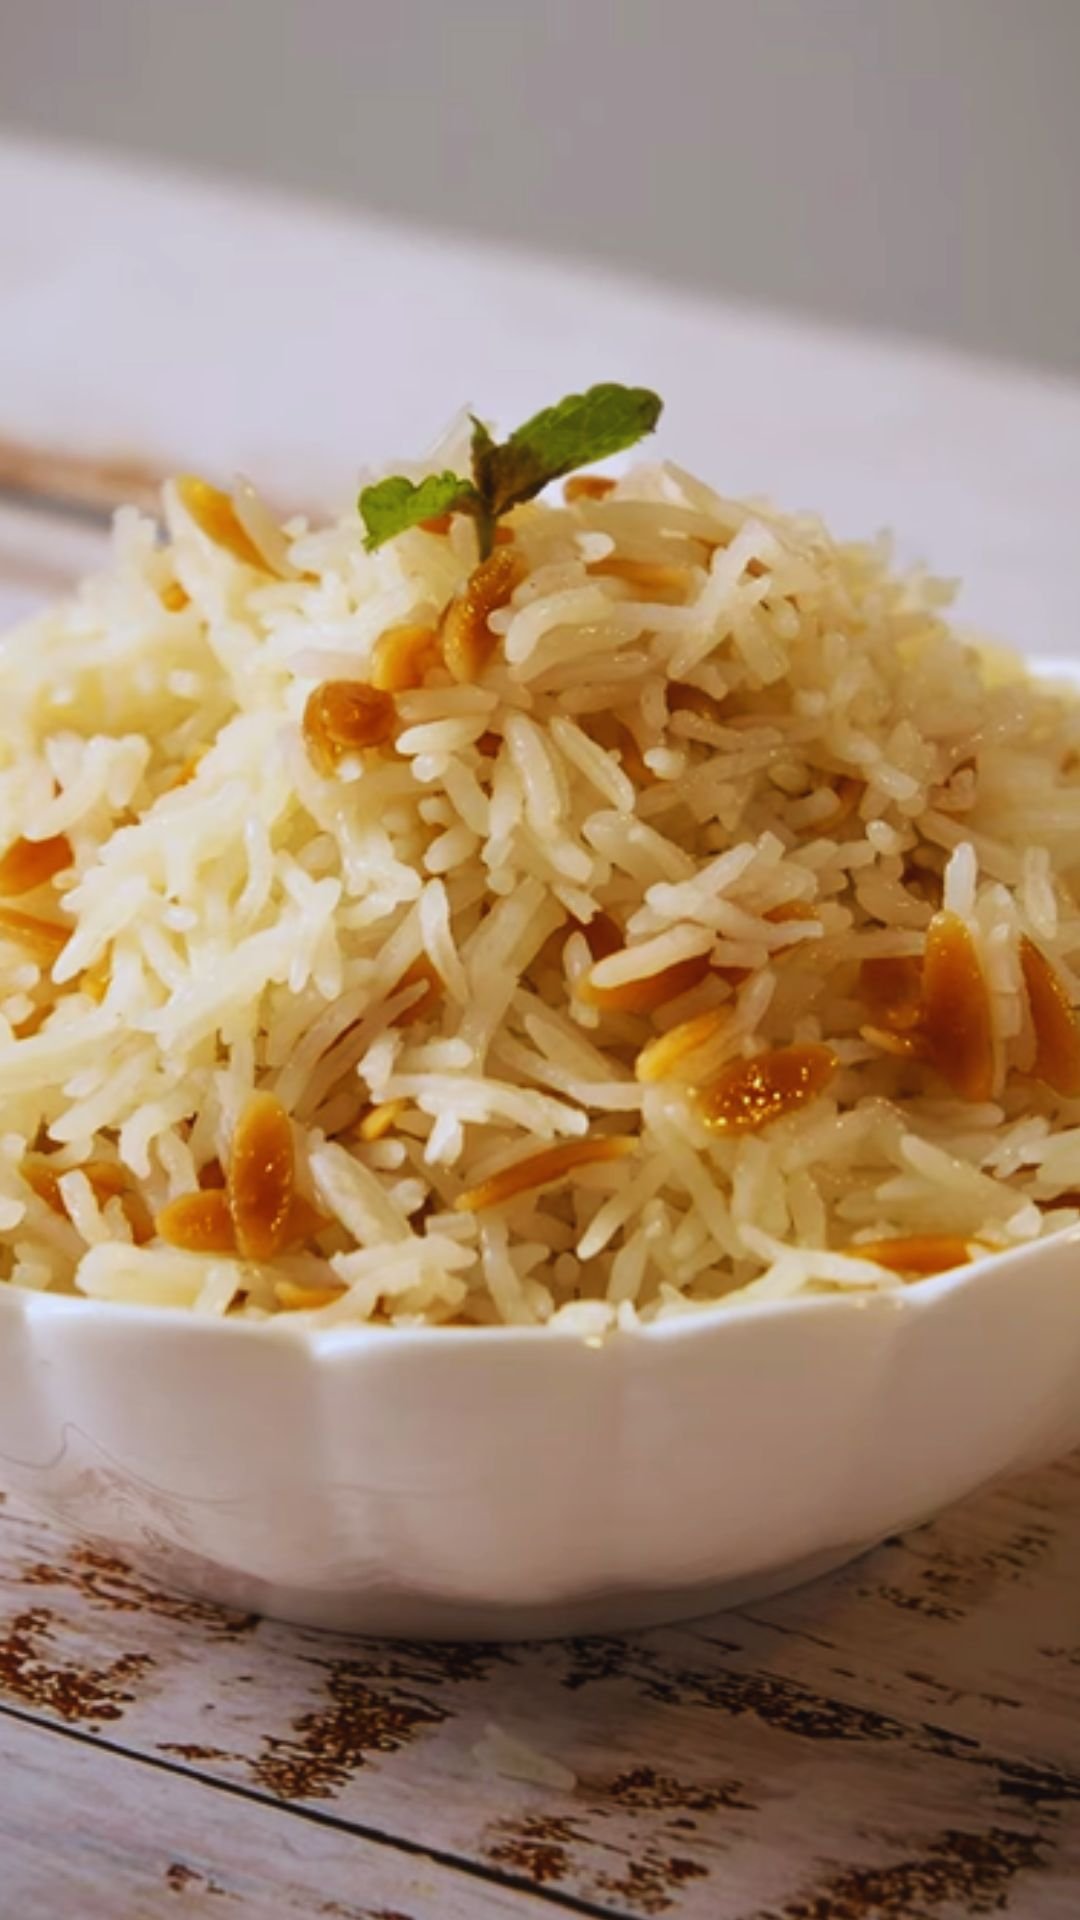
- Garlic roasted potatoes with fresh rosemary
- Lemon-parmesan orzo
- A simple arugula salad with olive oil and lemon juice
- Grilled asparagus or zucchini
- Mediterranean-style quinoa with cucumber, tomato, and feta
- Crusty artisan bread for sopping up that amazing butter sauce
Drink Pairings:
- Sparkling water with a squeeze of lemon and fresh mint
- Unsweetened iced tea with a splash of peach nectar
- Fresh lemonade with basil
- Chilled cucumber-mint infused water
For a complete meal, I like to serve this chicken with roasted baby potatoes and a simple green salad. The potatoes soak up the butter sauce beautifully, and the crisp salad provides a refreshing contrast to the rich chicken.
Make-Ahead and Storage Tips
This recipe is particularly meal-prep friendly. Here’s how to make components ahead of time and store leftovers:
Compound Butter:
- Can be made up to 1 week in advance and stored in the refrigerator
- Can be frozen for up to 3 months (wrap tightly in plastic wrap, then foil)
- Let frozen butter thaw overnight in the refrigerator before using
Seasoned Chicken:
- Can be seasoned up to 24 hours in advance and stored in the refrigerator
- For best results, bring to room temperature for 20 minutes before grilling
Leftovers:
- Store leftover chicken and butter separately
- Chicken will keep in the refrigerator for up to 3 days
- Reheat chicken gently in a 300°F oven until just warm, then top with fresh butter
I find that leftover chicken is delicious sliced cold on salads or sandwiches. You can soften some of the compound butter and spread it on bread for an incredible chicken sandwich experience.
Troubleshooting Common Issues
Even experienced cooks encounter challenges sometimes. Here are solutions to common problems you might face:
Problem: Chicken is dry
Solution: Most likely the chicken was overcooked. Invest in a good meat thermometer and remove the chicken from the grill when it reaches 160°F. It will continue cooking to 165°F while resting.
Problem: Butter melts too quickly and runs off the chicken
Solution: Make sure the butter is well-chilled before slicing. You can also create a small indentation in the top of each chicken breast before adding the butter.
Problem: Chicken sticks to the grill
Solution: Ensure your grill is properly preheated and the grates are clean and oiled. Also, the chicken will naturally release from the grates when it’s ready to be flipped – if it’s sticking, it may need another minute.
Problem: Butter is too spicy
Solution: Reduce or eliminate the red pepper flakes and make sure to remove the seeds from the pepperoncini peppers.
Problem: Butter splits or looks curdled
Solution: Your butter was likely too soft when mixing. Next time, make sure it’s just softened, not melted at all.
Why This Recipe Works: The Science Behind It
I’m a bit of a kitchen science geek, so let me share why this recipe works so well from a technical standpoint:
- The Marinade Effect: Though not a traditional marinade, the salt in the seasoning helps the chicken retain moisture through a process similar to dry brining.
- Compound Butters: These are traditional French culinary techniques where butter is used as a carrier for other flavors. Butter’s high fat content is perfect for capturing both fat-soluble flavors (from the herbs) and water-soluble flavors (from the pepperoncini brine).
- Acid Balance: The acidity from the pepperoncini and lemon zest helps cut through the richness of the butter, creating a balanced sauce.
- Heat Control: Grilling over medium-high heat allows for proper Maillard reaction (the browning that creates flavor) without drying out the lean chicken breast.
- Resting Period: Allowing the chicken to rest after grilling is crucial as it gives the muscle fibers time to relax and reabsorb juices that would otherwise run out if cut immediately.
Understanding these principles can help you adapt the recipe to your preferences while maintaining the perfect balance of flavors and textures.
Questions and Answers
Q: Can I use bone-in chicken for this recipe? Absolutely! Bone-in, skin-on chicken pieces will work beautifully with this recipe. You’ll need to adjust your cooking time (typically 7-8 minutes per side for thighs, 10-12 minutes per side for bone-in breasts), and make sure to check that the internal temperature reaches 165°F. The bone-in version actually stays juicier, though it takes longer to cook.
Q: I don’t have a grill. Can I make this in the oven or stovetop? Yes! For oven preparation, sear the chicken in an oven-safe skillet over high heat for 2-3 minutes per side, then finish in a 375°F oven for 15-18 minutes until it reaches 165°F internally. For stovetop only, cook in a skillet over medium heat for about 6-7 minutes per side, adjusting heat as needed to prevent burning while ensuring it’s cooked through.
Q: Can I use a different type of pepper if I don’t have pepperoncinis? While pepperoncinis have a unique tangy-sweet flavor that’s hard to replicate exactly, you could substitute banana peppers for a milder version or pickled jalapeños (use less!) for a spicier option. In a pinch, you could even use a combination of pickled sweet red peppers and a touch of pickle brine to get a similar tangy effect.
Q: How spicy is this dish? Is it kid-friendly? The base recipe has a mild to medium heat level that most kids can handle. Pepperoncinis themselves are quite mild (only 100-500 Scoville units compared to jalapeños which are 2,500-8,000). To make it more kid-friendly, simply omit the red pepper flakes and make sure to remove all seeds from the pepperoncinis. You can always serve extra red pepper flakes on the side for adults who want more heat.
Q: Can I make this dairy-free? Yes, you can substitute a good quality dairy-free butter alternative. The recipe works well with many plant-based butters that come in stick form. Just make sure to choose an unsalted version and one that has a fairly neutral flavor so it doesn’t compete with the pepperoncini and garlic.
Q: Can I freeze the compound butter? Absolutely! Compound butter freezes beautifully for up to 3 months. I often make a double batch and freeze half. Just wrap it tightly in plastic wrap, then in foil, and place in a freezer bag. Label it with the date and contents. To use, you can either thaw it overnight in the refrigerator or slice off frozen rounds to melt directly onto hot foods.
Q: What’s the best way to know when chicken is done? The only reliable method is using a meat thermometer to ensure the internal temperature reaches 165°F. Visual cues can be misleading – chicken can look done on the outside but still be undercooked inside. If you don’t have a thermometer, make a small cut into the thickest part; the meat should be opaque white throughout with clear (not pink) juices.
Final Thoughts
What started as a simple experiment with some leftover pepperoncinis has become one of my signature dishes. There’s something undeniably satisfying about transforming humble ingredients into something that makes people’s eyes light up when they take their first bite.
The beauty of cooking lies in these discoveries – the combinations and techniques that surprise us and make us fall in love with food all over again. This Grilled Chicken with Pepperoncini Garlic Butter reminds me that sometimes the most memorable meals come from spontaneous creativity rather than complex recipes.
I hope this dish brings as much joy to your table as it has to mine. And remember, cooking is about making something your own – so feel free to adjust and experiment. The kitchen is a place for adventure, after all!
Next time you have friends over and want to serve something that feels special without requiring hours in the kitchen, give this recipe a try. I guarantee it will become a regular in your rotation, just as it has in mine.