
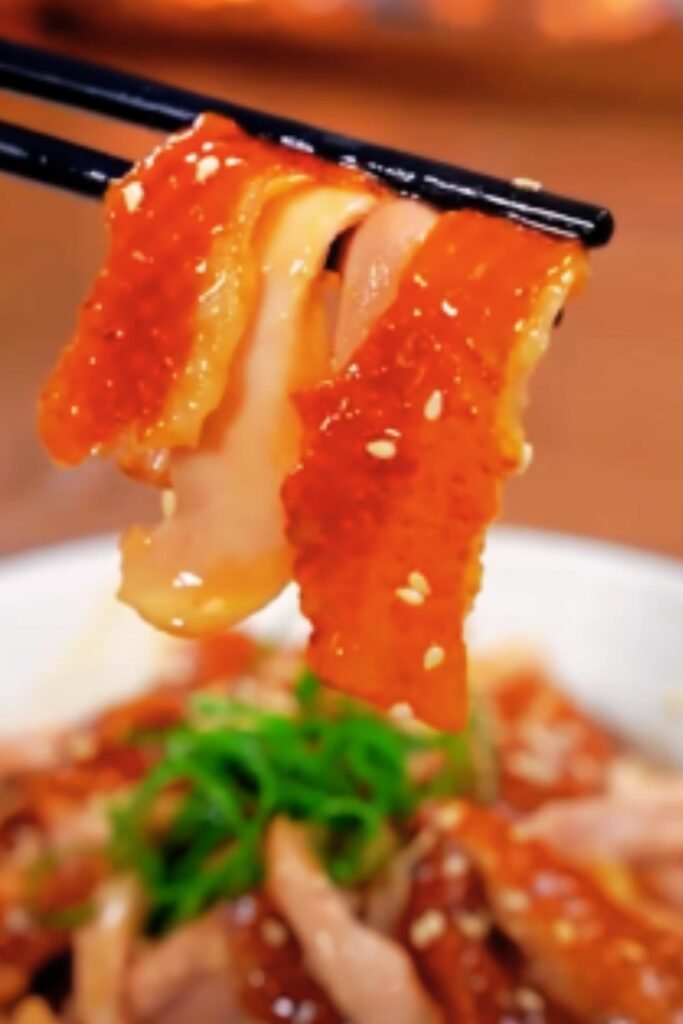
There’s something magical about the aroma of ginger and soy sauce mingling together as they infuse into tender chicken. The rich umami flavors, the subtle heat from fresh ginger, and that perfect sticky glaze that coats each piece of chicken – this dish has been my go-to weeknight dinner for years. When I discovered how to make it in the Instant Pot, it was a complete game-changer. What once took me nearly an hour to prepare now comes together in less than 30 minutes, without sacrificing any of that slow-cooked flavor.
Today, I’m sharing my perfected Ginger Soy Chicken Instant Pot recipe that has won over even the pickiest eaters in my family. The combination of salty, sweet, and tangy flavors creates a perfectly balanced sauce that will have everyone coming back for seconds. The best part? This dish requires minimal prep work, making it ideal for busy weeknights when you’re craving something delicious but don’t have hours to spend in the kitchen.
Why This Recipe Works
Before diving into the preparation, let me share why this particular recipe stands out from others you might have tried:
Perfect Texture: The Instant Pot pressure cooking method ensures the chicken stays incredibly tender while absorbing all the flavors.
Balanced Flavor Profile: The combination of ginger, garlic, soy sauce, and honey creates a complex flavor that’s neither too sweet nor too salty.
Quick Preparation: From start to finish, this dish takes less than 30 minutes, with minimal hands-on time.
Versatile Serving Options: This chicken pairs beautifully with rice, noodles, or vegetables, making it a flexible option for any meal plan.
Make-Ahead Friendly: The flavors actually improve overnight, making this a great meal prep option.
Ingredients You’ll Need
For this recipe, I’ve carefully balanced each ingredient to create the perfect flavor profile. Here’s what you’ll need:
For the Chicken:
- 2 pounds bone-in chicken thighs (about 6-8 thighs)
- 1 tablespoon vegetable oil
- 1/2 teaspoon salt
- 1/4 teaspoon black pepper
For the Sauce:
- 1/3 cup low-sodium soy sauce
- 1/4 cup honey
- 1/4 cup rice vinegar
- 2 tablespoons brown sugar
- 3 tablespoons fresh ginger, minced
- 4 garlic cloves, minced
- 1 tablespoon sesame oil
- 1/4 teaspoon red pepper flakes (adjust to taste)
For Serving:
- 2 green onions, thinly sliced
- 1 tablespoon toasted sesame seeds
- Steamed rice or noodles
- Steamed broccoli or bok choy (optional)
For the Cornstarch Slurry (to thicken sauce):
- 2 tablespoons cornstarch
- 2 tablespoons water
Kitchen Tools Required
To make this recipe as efficiently as possible, here are the tools you’ll need:
- Instant Pot (6-quart or larger)
- Measuring cups and spoons
- Sharp knife and cutting board
- Small bowl for mixing cornstarch slurry
- Tongs for handling chicken
- Wooden spoon or heat-resistant spatula
Ingredient Substitutions and Options
If you’re missing any ingredients or have dietary restrictions, here are some helpful substitutions:
| Original Ingredient | Possible Substitutions | Notes |
|---|---|---|
| Chicken thighs | Chicken breasts, drumsticks | Breasts will be slightly drier and will need less cooking time (10 minutes) |
| Low-sodium soy sauce | Tamari, coconut aminos | Coconut aminos are sweeter, so reduce honey by 1 tablespoon |
| Honey | Maple syrup, brown sugar | Will slightly alter the flavor profile |
| Rice vinegar | Apple cider vinegar, white vinegar | Use slightly less if substituting white vinegar |
| Fresh ginger | Ground ginger | Use 1 teaspoon ground instead of 3 tablespoons fresh |
| Sesame oil | Any neutral oil | You’ll lose the distinctive sesame flavor |
| Red pepper flakes | Sriracha, chili garlic sauce | Use 1 teaspoon to replace 1/4 teaspoon of flakes |
| Cornstarch | Arrowroot powder, tapioca starch | Use same amount for similar thickening power |
Step-by-Step Cooking Instructions
Step 1: Prepare the Chicken
- Pat chicken thighs dry with paper towels. This helps ensure a better sear.
- Season both sides with salt and pepper.
Step 2: Prepare the Sauce
- In a medium bowl, whisk together soy sauce, honey, rice vinegar, brown sugar, minced ginger, minced garlic, sesame oil, and red pepper flakes until well combined.
- Set aside while you sear the chicken.
Step 3: Sear the Chicken
- Turn on the Instant Pot and select the “Sauté” function. Allow it to heat up for 2 minutes.
- Add vegetable oil to the pot.
- Place chicken thighs skin-side down into the pot (work in batches if needed to avoid overcrowding).
- Sear for 3-4 minutes until the skin is golden brown.
- Flip chicken pieces and sear the other side for 2 minutes.
- Remove chicken to a plate temporarily.
Step 4: Deglaze the Pot
- Pour about 2 tablespoons of water into the hot pot.
- Using a wooden spoon, scrape the bottom of the pot to loosen any browned bits (this is important to prevent the “burn” notice).
- Pour in the prepared sauce mixture and stir to combine.
Step 5: Pressure Cook
- Return the chicken pieces to the pot, placing them skin-side up.
- Close the Instant Pot lid and set the valve to “Sealing.”
- Select “Pressure Cook” (or “Manual” on older models) and set the timer for 12 minutes on high pressure.
- Once the cooking cycle is complete, allow a natural pressure release for 5 minutes.
- After 5 minutes, carefully perform a quick release for any remaining pressure.
Step 6: Thicken the Sauce
- Remove the chicken pieces to a serving platter and tent with foil to keep warm.
- Select the “Sauté” function again.
- In a small bowl, mix cornstarch and water to create a slurry.
- Slowly pour the cornstarch mixture into the sauce while stirring continuously.
- Cook for 2-3 minutes until the sauce has thickened to your desired consistency.
Step 7: Serve
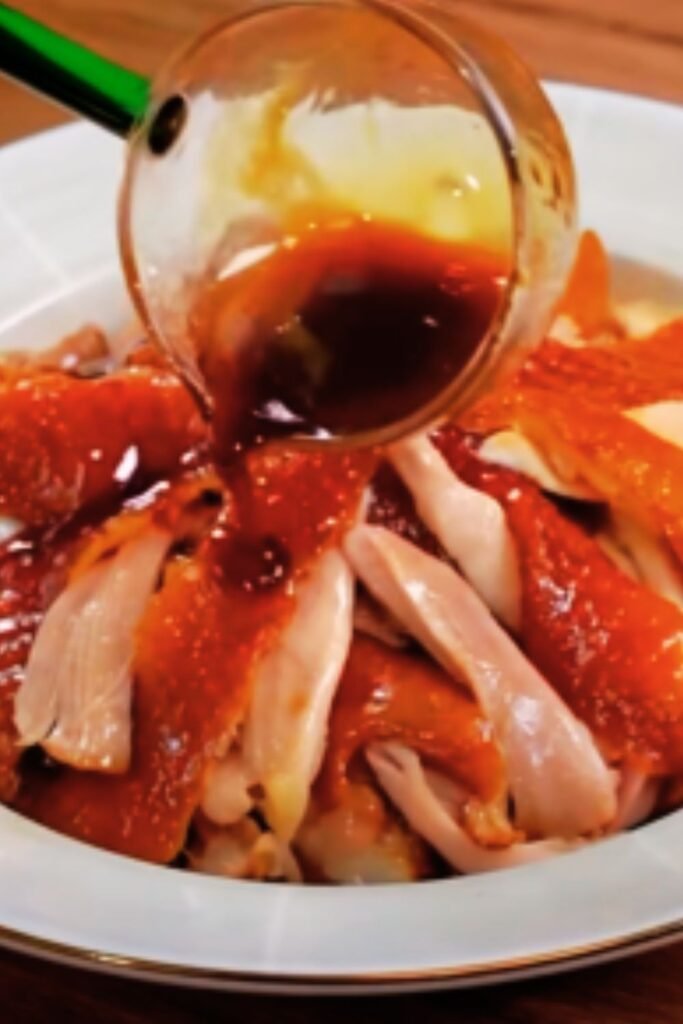
- Pour the sauce over the chicken or serve on the side.
- Garnish with sliced green onions and toasted sesame seeds.
- Serve with steamed rice and vegetables.
Pro Tips for Perfect Ginger Soy Chicken
To elevate this dish from good to restaurant-quality, here are my professional tips:
- Use Bone-In Chicken: Bone-in thighs have more flavor and stay juicier in the Instant Pot. If you use boneless thighs, reduce the cooking time to 10 minutes.
- Don’t Skip the Sear: Taking the time to sear the chicken creates depth of flavor through caramelization. This step makes a huge difference in the final taste.
- Ginger Quality Matters: Fresh ginger is non-negotiable for this recipe. The pre-minced version in jars doesn’t provide the same bright, zingy flavor.
- Layer Your Flavors: Add half of the green onions to the sauce before pressure cooking, and reserve the rest for garnish to create layers of flavor.
- Rest Before Serving: Allow the chicken to rest for 5 minutes after cooking. This helps the juices redistribute throughout the meat.
Serving Suggestions
This Ginger Soy Chicken is incredibly versatile when it comes to serving options. Here are my favorite ways to enjoy it:
Perfect Pairings:
- Steamed jasmine or basmati rice – the sauce soaks into the rice beautifully
- Brown rice or quinoa for a healthier option
- Rice noodles or udon noodles
- Cauliflower rice for a low-carb alternative
Vegetable Sides:
- Steamed broccoli or broccolini
- Stir-fried bok choy with garlic
- Roasted baby carrots with a drizzle of the sauce
- Simple cucumber salad with rice vinegar dressing
Garnish Options:
- Extra sliced green onions
- Toasted sesame seeds
- Thinly sliced red chilis for heat
- Fresh cilantro leaves
- Lime wedges for squeezing over the top
Storage and Reheating Instructions
One of the best things about this Ginger Soy Chicken is that it actually tastes even better the next day after the flavors have had time to meld together.
Storage Guidelines:
- Refrigerator: Store in an airtight container for up to 4 days. Keep the sauce separate from rice or noodles to prevent them from becoming soggy.
- Freezer: This dish freezes beautifully for up to 3 months. Freeze the chicken and sauce together in a freezer-safe container.
Reheating Methods:
- Microwave: Heat for 2-3 minutes, stirring the sauce halfway through.
- Stovetop: Place in a covered pan with 1-2 tablespoons of water over medium-low heat until warmed through (about 5-7 minutes).
- Oven: Cover with foil and warm in a 325°F oven for about 15 minutes.
Reviving Leftover Tips:
- Add a splash of chicken broth when reheating to refresh the sauce
- Garnish with fresh green onions after reheating to add brightness
- A small drizzle of sesame oil just before serving can wake up the flavors
Customize Your Ginger Soy Chicken

This recipe is endlessly customizable to suit your preferences or what you have on hand. Here are some delicious variations to try:
Spicy Ginger Soy Chicken:
- Double the red pepper flakes
- Add 1-2 tablespoons of gochujang (Korean chili paste)
- Include 1 thinly sliced fresh red chili with the sauce
Orange Ginger Soy Chicken:
- Add the zest and juice of one orange to the sauce
- Reduce honey to 2 tablespoons to balance the sweetness
- Add 1/4 teaspoon of five-spice powder
Lemongrass Ginger Soy Chicken:
- Add 2 stalks of lemongrass, bruised and finely chopped
- Include 1 tablespoon of fish sauce for umami depth
- Garnish with fresh Thai basil
Vegetable-Packed Version:
- Add 1 cup of sliced mushrooms during the sauté step
- Include 1 sliced bell pepper and 1 cup of snow peas after pressure cooking (during the sauce thickening step)
- Stir in 2 cups of baby spinach just before serving
Nutritional Information
For those tracking their nutrition, here’s the approximate nutritional breakdown per serving (assuming 4 servings, chicken and sauce only, not including rice or vegetables):
| Nutrient | Amount per Serving |
|---|---|
| Calories | 425 |
| Protein | 28g |
| Fat | 22g |
| Saturated Fat | 6g |
| Carbohydrates | 18g |
| Sugar | 16g |
| Fiber | 0.5g |
| Sodium | 780mg |
| Potassium | 380mg |
| Vitamin A | 2% DV |
| Vitamin C | 5% DV |
| Calcium | 2% DV |
| Iron | 10% DV |
Troubleshooting Common Issues
Even with the simplicity of the Instant Pot, sometimes things don’t go according to plan. Here are solutions to common problems:
Burn Notice on Instant Pot:
- Cause: Not enough liquid or too much sugar in contact with the bottom of the pot
- Solution: Always deglaze the pot after searing, and make sure sauce ingredients are well mixed before pressure cooking
Sauce Too Thin:
- Cause: Different brands of soy sauce and honey can vary in consistency
- Solution: Add more cornstarch slurry, 1 teaspoon at a time, until desired thickness is reached
Chicken Not Tender Enough:
- Cause: Chicken pieces may be larger than average
- Solution: Increase cooking time by 2-3 minutes
Sauce Too Salty:
- Cause: Different brands of soy sauce have varying sodium levels
- Solution: Add 1-2 tablespoons of water and 1 teaspoon of additional honey to balance
Flavors Not Bold Enough:
- Cause: Aging spices or ginger not fresh enough
- Solution: Add an extra splash of rice vinegar and a teaspoon of grated ginger to brighten flavors
Frequently Asked Questions
Can I use frozen chicken thighs for this recipe? Yes, you can use frozen chicken thighs, but skip the searing step. Increase the pressure cooking time to 16-18 minutes. The sauce may be thinner due to the excess moisture from the frozen chicken, so you might need additional cornstarch slurry to thicken it.
Is this recipe gluten-free? Not as written, but it can easily be made gluten-free by substituting tamari or coconut aminos for the soy sauce. Double-check that your vinegar and other bottled ingredients are certified gluten-free.
Can I make this recipe ahead for meal prep? Absolutely! This chicken actually tastes better the next day. Store in airtight containers in the refrigerator for up to 4 days. You can also portion it with rice and vegetables for complete grab-and-go meals.
How can I make this recipe with less sugar? You can reduce the honey to 2 tablespoons and omit the brown sugar. Consider adding 1 tablespoon of orange juice to maintain some sweetness while cutting back on added sugars.
Can I cook rice at the same time in the Instant Pot? Unfortunately, the cooking times are too different for the pot-in-pot method to work well with bone-in chicken. I recommend cooking your rice separately for the best results.
What if I don’t have an Instant Pot? You can adapt this recipe for a slow cooker (4 hours on low) or stovetop (simmer covered for about 45 minutes). For the stovetop method, you’ll need to add an extra 1/2 cup of chicken broth to prevent the sauce from reducing too much.
Can I double this recipe? Yes, you can double all ingredients without changing the cooking time, as long as your Instant Pot is large enough (8-quart recommended for doubling) and you don’t exceed the max fill line.
How spicy is this recipe? As written, it has a very mild heat from the ginger and minimal red pepper flakes. If you prefer more heat, double or triple the red pepper flakes, or add sriracha to taste when serving.
The Perfect Weeknight Dinner
This Ginger Soy Chicken has become one of my signature dishes for good reason. It combines incredible flavor with minimal effort – the perfect combination for busy home cooks who don’t want to sacrifice taste. The Instant Pot transforms what would typically be a long-simmered dish into something you can make even on your busiest evenings.
What I love most about this recipe is its ability to satisfy everyone at the table. The sweet-savory balance appeals to both adults and children, and the tender texture of the chicken makes it a crowd-pleaser. I often find myself making a double batch because everyone inevitably wants seconds, and the leftovers make for an incredible lunch the next day.
Give this Ginger Soy Chicken recipe a try the next time you’re looking for a simple yet impressive meal. It might just become your new favorite way to transform ordinary chicken thighs into something extraordinary. The combination of fresh ginger, aromatic garlic, and that perfect sticky soy glaze creates a dish that tastes like it came from your favorite restaurant – but with the convenience of cooking at home.

