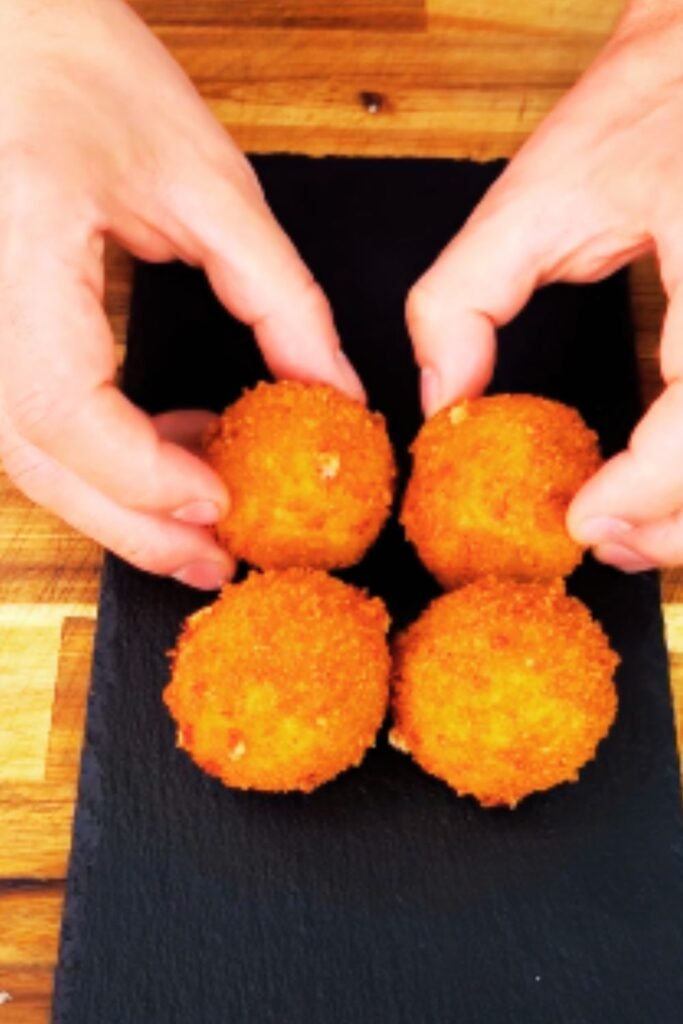
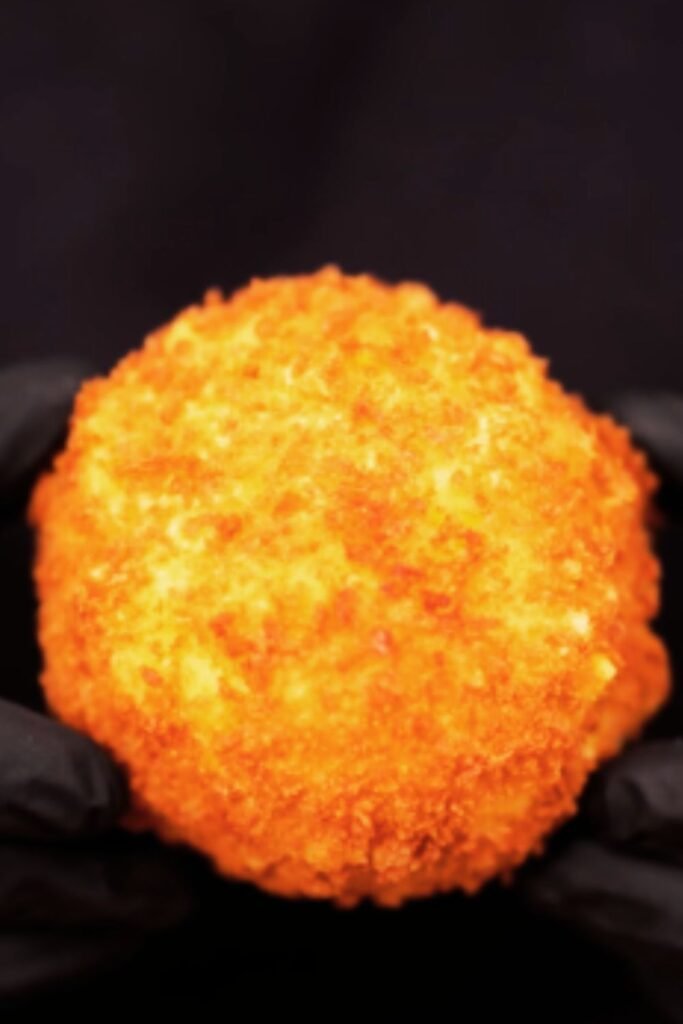
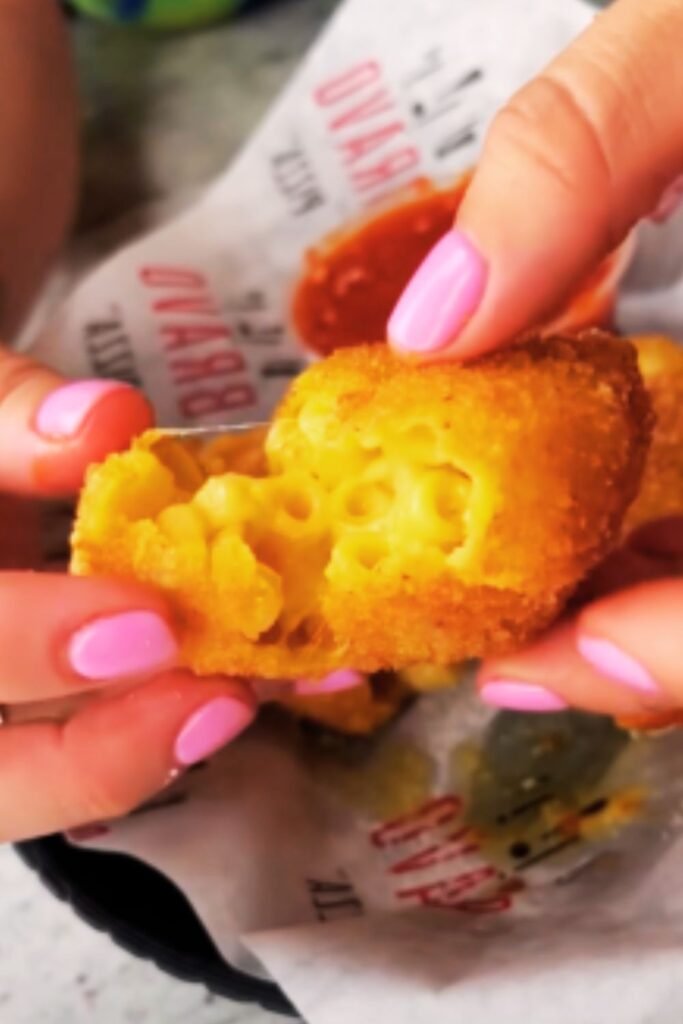
There are few things in life that bring me as much joy as watching someone bite into one of my crispy fried mac and cheese bites for the first time. That moment when the golden-brown crust gives way with a satisfying crunch, revealing a center of gooey, molten cheese stretching into delicious strings as they pull away… pure culinary magic! I’ve spent years perfecting this recipe, and today I’m thrilled to share all my secrets for creating these irresistible morsels that disappear from parties faster than you can say “comfort food.”
Why You’ll Love This Recipe
I remember the first time I attempted to make fried mac and cheese bites. Let’s just say they ended up as a cheesy puddle in my frying pan. After much trial and error (and several delicious failures), I’ve cracked the code on what makes these little nuggets of happiness work perfectly every time:
- Perfectly chilled mac and cheese that holds its shape when cut
- A triple-layer breading process that creates an impenetrable shell
- The ideal oil temperature for that golden crust without cheese leakage
- Flavor boosters that elevate these from good to unforgettable
Whether you’re hosting a game day gathering, need an impressive appetizer for a dinner party, or just want to treat yourself to the ultimate comfort food indulgence, these mac and cheese bites deliver every single time.
Ingredients You’ll Need
For the Mac and Cheese Base:
- 8 ounces elbow macaroni
- 3 tablespoons unsalted butter
- 3 tablespoons all-purpose flour
- 2 cups whole milk, warmed
- 1 teaspoon mustard powder
- 1/2 teaspoon garlic powder
- 1/4 teaspoon cayenne pepper (optional)
- 1/2 teaspoon salt
- 1/4 teaspoon freshly ground black pepper
- 8 ounces sharp cheddar cheese, freshly grated
- 4 ounces gruyère cheese, freshly grated
- 2 ounces cream cheese, at room temperature
For the Breading:
- 1 1/2 cups all-purpose flour
- 1 tablespoon garlic powder
- 1 tablespoon onion powder
- 2 teaspoons smoked paprika
- 1 teaspoon salt
- 1/2 teaspoon black pepper
- 4 large eggs, beaten
- 3 cups panko breadcrumbs
- 1/2 cup grated parmesan cheese
For Frying:
- 4-6 cups vegetable or canola oil (enough for 2-3 inches in your pot)
For the Dipping Sauce (Optional):
- 1/2 cup sour cream
- 3 tablespoons mayonnaise
- 2 tablespoons hot sauce
- 1 tablespoon fresh lemon juice
- 2 teaspoons honey
- 1 clove garlic, finely minced
- 1/4 teaspoon salt
- 2 tablespoons fresh chives, finely chopped
Equipment You’ll Need
Before diving into this recipe, I recommend gathering all these tools to make the process smooth:
- 9×13 inch baking dish or quarter sheet pan
- Heavy-bottomed Dutch oven or deep pot for frying
- Candy/deep-fry thermometer
- Spider strainer or slotted spoon
- Wire cooling rack
- Heavy cutting board
- Sharp knife
- 3 wide, shallow bowls for breading station
- Measuring cups and spoons
- Cheese grater
- Medium saucepan
- Whisk
- Silicone spatula
- Paper towels
Step-by-Step Instructions
Phase 1: Preparing the Mac and Cheese Base
- Cook the pasta: Bring a large pot of heavily salted water to a boil. Cook the elbow macaroni until it’s 1-2 minutes shy of al dente (it will continue cooking in the sauce). Drain well but do not rinse.
- Make the cheese sauce: While the pasta cooks, melt the butter in a medium saucepan over medium heat. Add the flour and whisk continuously for 1-2 minutes to cook out the raw flour taste, creating a blonde roux.
- Add the milk: Slowly pour in the warm milk, whisking constantly to prevent lumps. Continue whisking until the mixture thickens enough to coat the back of a spoon, about 3-5 minutes.
- Add seasonings: Whisk in the mustard powder, garlic powder, cayenne (if using), salt, and pepper.
- Incorporate the cheese: Reduce heat to low and add the grated cheddar and gruyère in small handfuls, stirring until completely melted before adding more. Finally, stir in the cream cheese until fully incorporated and the sauce is smooth.
- Combine and cool: Fold the cooked macaroni into the cheese sauce until every piece is coated. Transfer to a greased 9×13 inch baking dish or quarter sheet pan. Press plastic wrap directly onto the surface (to prevent a skin from forming) and refrigerate for at least 4 hours, preferably overnight.
Phase 2: Forming and Breading the Bites
- Cut the mac and cheese: Once thoroughly chilled and firmly set, turn the mac and cheese out onto a cutting board. Using a sharp knife, cut into 1½-inch squares. If the mac and cheese starts to soften as you work, return it to the refrigerator for 30 minutes to firm up again.
- Set up the breading station: Prepare three wide, shallow bowls:
- Bowl 1: Combine flour, garlic powder, onion powder, smoked paprika, salt, and pepper
- Bowl 2: Beaten eggs
- Bowl 3: Mix panko breadcrumbs with grated parmesan cheese
- Bread the bites: Working with just a few pieces at a time (keeping the rest chilled), dredge each square in the seasoned flour, shaking off excess. Dip into the beaten eggs, letting excess drip off, then coat thoroughly in the panko-parmesan mixture, pressing gently to adhere.
- Double-coat for extra crispiness: For an extra-crispy coating that won’t leak, dip the breaded bites back into the egg mixture and then into the breadcrumbs again.
- Chill before frying: Place the breaded bites on a parchment-lined baking sheet and refrigerate for at least 30 minutes. This essential step helps the breading adhere and further solidifies the mac and cheese.
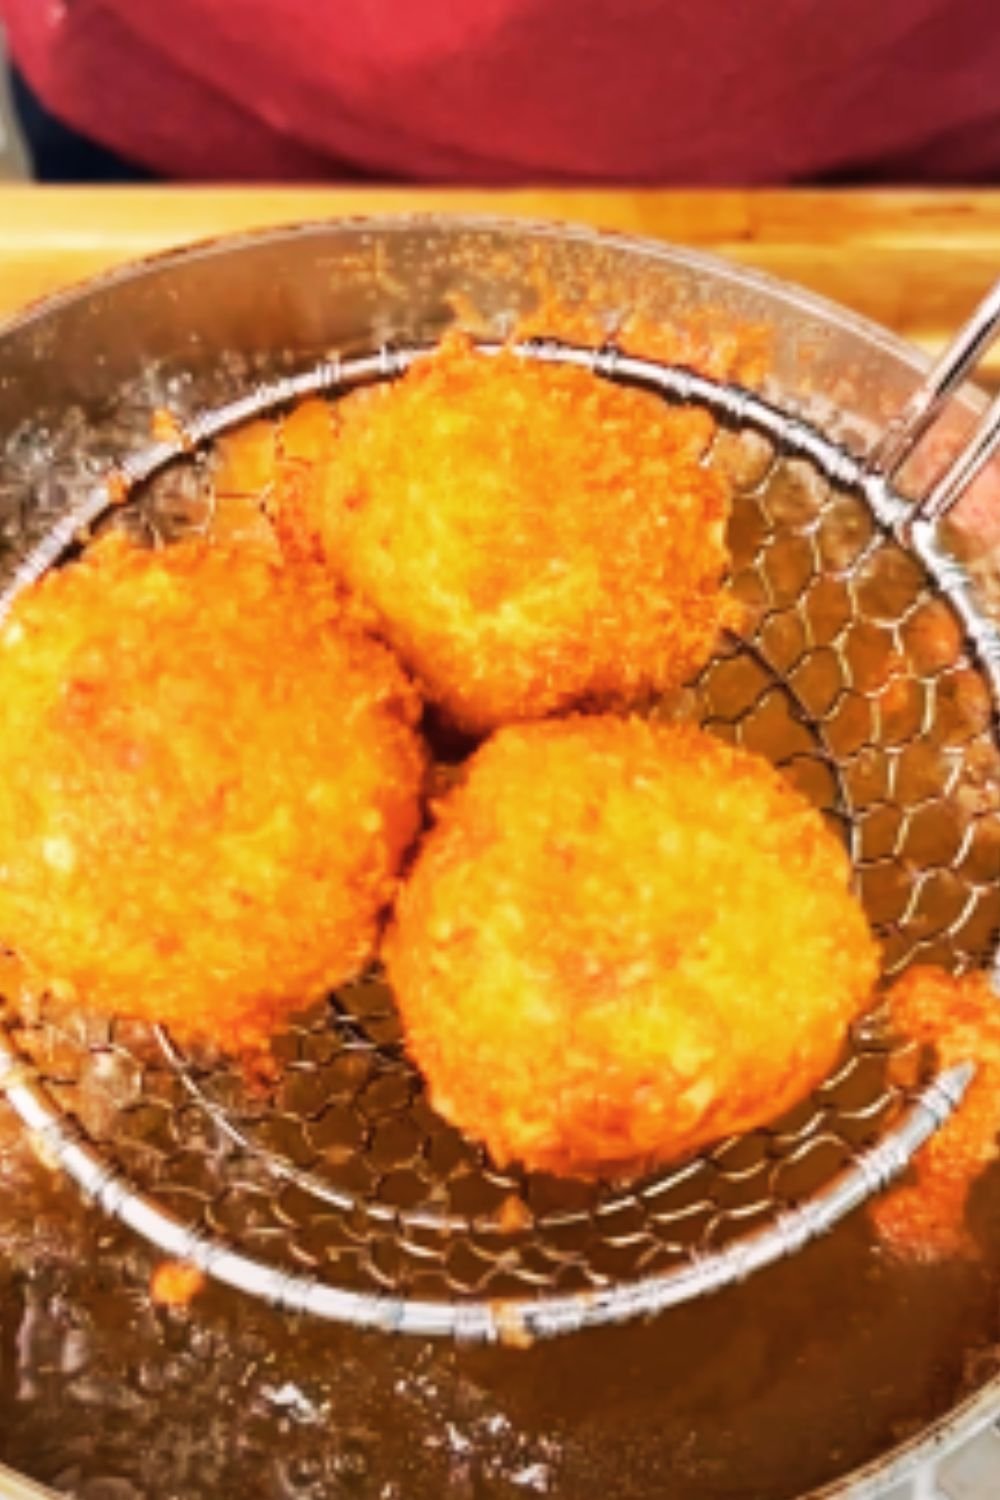
Phase 3: Frying the Mac and Cheese Bites
- Heat the oil: In a heavy-bottomed Dutch oven or deep pot, heat 2-3 inches of oil to 350°F (175°C). Use a candy or deep-fry thermometer to monitor the temperature.
- Fry in batches: Working in small batches (4-6 bites at a time) to maintain oil temperature, carefully lower the bites into the hot oil. Fry for 2-3 minutes until deep golden brown and crispy on all sides.
- Drain and season: Remove with a spider strainer or slotted spoon and transfer to a wire rack set over paper towels. Immediately sprinkle with a little salt while still hot.
- Keep warm: If not serving immediately, keep the fried bites warm in a 200°F (95°C) oven while you finish cooking the remaining batches.
Phase 4: Making the Dipping Sauce (Optional)
- In a small bowl, whisk together sour cream, mayonnaise, hot sauce, lemon juice, honey, minced garlic, and salt until smooth.
- Fold in the chopped chives, reserving some for garnish.
- Refrigerate for at least 30 minutes before serving to allow flavors to meld.
Pro Tips for Perfect Mac and Cheese Bites
After making these countless times, I’ve developed some tricks that make all the difference:
- Use block cheese and grate it yourself. Pre-shredded cheese contains anti-caking agents that affect how smoothly it melts.
- Don’t skip the cream cheese. It acts as a binder and helps the mac and cheese set firmly when chilled.
- Temperature is key. Keep the mac and cheese bites cold until the moment they hit the oil, and maintain your oil at a consistent 350°F.
- Test one bite first. Fry a single bite as a test before committing the whole batch to ensure your breading technique is solid.
- Have a cooling rack ready. Placing the fried bites on a wire rack (not directly on paper towels) keeps them crispy on all sides.
- Work quickly when breading. The warmer the mac and cheese gets, the more likely it is to fall apart in the breading process.
Crispy Fried Mac and Cheese Bites: Nutritional Information
For those who like to keep track of what they’re eating, here’s the approximate nutritional breakdown per serving (assuming a serving is 3 bites):
| Nutrient | Amount per Serving |
|---|---|
| Calories | 425 |
| Total Fat | 27g |
| Saturated Fat | 12g |
| Cholesterol | 115mg |
| Sodium | 650mg |
| Total Carbohydrates | 32g |
| Dietary Fiber | 1g |
| Sugars | 3g |
| Protein | 14g |
| Calcium | 300mg |
| Iron | 2mg |
Variations to Try
One thing I love about this recipe is how customizable it is. Here are some of my favorite variations:
Flavor Variations
| Variation | Add to Mac and Cheese Base | Add to Breading |
|---|---|---|
| Buffalo | 1/4 cup buffalo sauce + 1/2 cup crumbled blue cheese | 1 tsp cayenne pepper |
| Jalapeño Popper | 1/3 cup minced jalapeños + 4 oz cream cheese | 1 tbsp ground jalapeño powder |
| Bacon & Ranch | 6 strips crumbled bacon + 2 tbsp ranch seasoning | 1 tbsp dried dill |
| Truffle | 2 tsp truffle oil + 2 oz fontina cheese | 1 tsp garlic powder + truffle salt for finishing |
| Pizza | 1/4 cup pizza sauce + 1/2 cup mozzarella | 1 tbsp dried oregano + 1 tbsp dried basil |
Shape Variations
While squares are traditional and easiest to manage, you can get creative with the shapes:
- Use a 1-inch cookie scoop for mac and cheese balls
- Fill greased mini muffin tins for bite-sized cups
- Create sticks by cutting into 1×3 inch rectangles
Make-Ahead and Storage Options
I often make these for parties, so I’ve figured out the best ways to prepare them in advance:
Make-Ahead Options:
- Prepare mac and cheese base up to 3 days ahead and keep refrigerated.
- Bread the bites up to 24 hours in advance, store covered in the refrigerator.
- Freeze breaded unfried bites for up to 1 month. Arrange in a single layer on a baking sheet, freeze until solid, then transfer to a freezer bag. Fry directly from frozen, adding 1-2 minutes to the cooking time.
Storage Options:
- Refrigerate leftover fried bites for up to 3 days in an airtight container.
- Freeze fried bites for up to 2 months. Reheat in a 375°F oven for 8-10 minutes until heated through and crispy again.
Reheating for Maximum Crispiness
There’s nothing worse than soggy reheated fried food. Here’s how I ensure my mac and cheese bites stay crispy when reheated:
- Oven method (best): Preheat to 375°F. Place bites on a wire rack set over a baking sheet. Bake for 7-10 minutes until heated through and crispy.
- Air fryer method: 350°F for 3-4 minutes.
- Avoid microwaving if possible, as it will make them soggy.
Serving Suggestions
These crispy bites deserve the perfect accompaniments. Here are my favorite ways to serve them:
Dipping Sauces Beyond the Basic:
- Smoky chipotle aioli
- Marinara sauce with fresh basil
- Honey mustard drizzle
- Sriracha mayo
- Barbecue sauce with a hint of bourbon
Complete the Spread With:
- Fresh vegetable crudités with ranch dip
- Crispy chicken tenders
- Buffalo wings
- Stuffed mushrooms
- A big green salad with tangy vinaigrette

Troubleshooting Common Issues
Even with the best preparation, things can sometimes go wrong. Here’s how to fix common problems:
| Problem | Possible Cause | Solution |
|---|---|---|
| Bites falling apart in oil | Mac and cheese not chilled enough | Return to refrigerator for at least 1 hour before trying again |
| Breading falling off | Surface moisture on mac and cheese | Thoroughly pat dry before breading; ensure flour coating is complete |
| Too greasy | Oil not hot enough | Maintain steady 350°F oil temperature |
| Undercooked center | Bites too large or oil too hot | Cut into smaller pieces; reduce oil temperature slightly |
| Bland flavor | Underseasoned base | Add extra salt and seasonings to both mac and cheese and breading |
Frequently Asked Questions
Q: Can I bake these instead of frying them?
A: Absolutely! While the fried version gives the ultimate crispiness, you can bake them at 425°F for about 15 minutes, flipping halfway through. Spray them generously with cooking spray before baking for better browning.
Q: What’s the best cheese to use for mac and cheese bites?
A: I recommend a combination of sharp cheddar for flavor and gruyère for meltability. The cream cheese is non-negotiable as it helps the mixture set properly.
Q: My mac and cheese isn’t firming up in the refrigerator. What went wrong?
A: This usually means there’s too much liquid in your mixture. Next time, cook your roux a bit longer before adding milk, and make sure to use full-fat cheeses. For your current batch, try freezing it for 1-2 hours instead of refrigerating.
Q: Can I make these gluten-free?
A: Yes! Use gluten-free pasta, replace the flour with a gluten-free all-purpose blend, and use gluten-free panko crumbs. The texture will be slightly different but still delicious.
Q: How do I prevent oil splatters when frying?
A: Make sure your mac and cheese bites are completely chilled before frying, use a deep pot with at least 3 inches of clearance above the oil, and lower the bites in carefully with a slotted spoon rather than dropping them in.
Q: Can I add vegetables to the mac and cheese base?
A: Yes, but choose vegetables with low water content, like finely diced roasted red peppers or very well-drained spinach. Excess moisture will prevent your mac and cheese from setting properly.
The History Behind Mac and Cheese Bites
While researching this recipe, I became fascinated with the history of this beloved comfort food. Macaroni and cheese has roots dating back to 13th century Italy, but it was Thomas Jefferson who helped popularize it in America after encountering the dish in France.
The transformation into fried bites appears to be a more recent American innovation, likely emerging from state fairs and comfort food restaurants in the early 2000s as part of the trend toward reinventing classic dishes in fun, portable forms.
Today, you’ll find variations of mac and cheese bites on restaurant menus nationwide, from upscale gastropubs to casual dining chains. But I firmly believe that homemade versions, like this recipe, offer the perfect balance of crispy exterior and creamy interior that commercial versions often miss.
Final Thoughts
There’s something deeply satisfying about creating these crispy, cheesy morsels from scratch. The combination of crunchy coating and gooey center hits all the right texture notes, while the rich cheese flavor satisfies that primal comfort food craving we all have.
Whether you’re making these for a special occasion or just because it’s Tuesday, I guarantee they’ll bring smiles to whoever is lucky enough to try them. The process might seem lengthy at first glance, but each step is straightforward, and the result is absolutely worth the effort.
So heat up that oil, get your assembly line ready, and prepare to create a snack that will have everyone asking for your secret recipe. Just be warned: once you become known for these mac and cheese bites, you’ll be getting requests to make them for every gathering in your future!