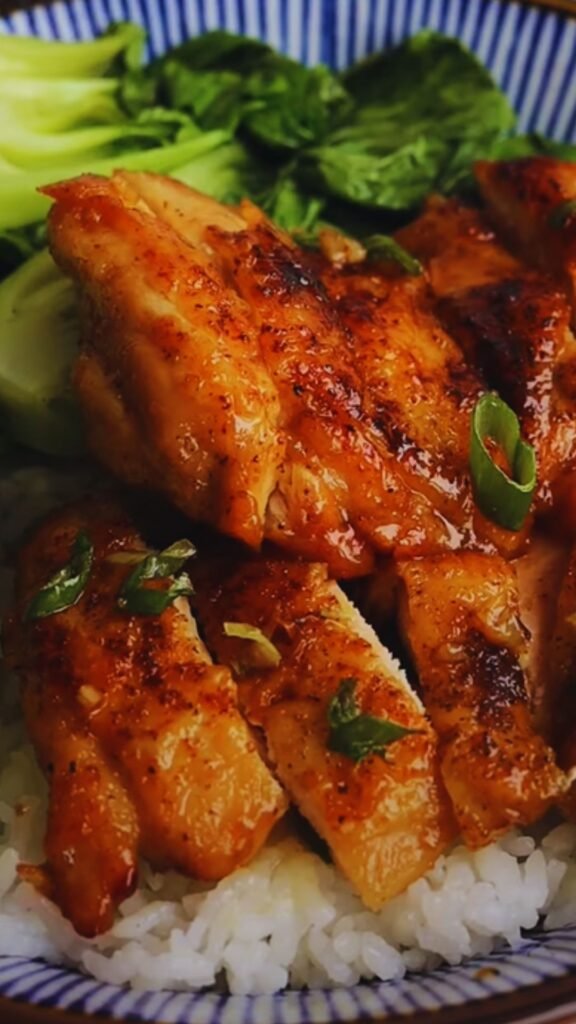
Have you ever arrived home after a long day, stomach growling, with zero energy to prepare a complex meal? I’ve been there more times than I can count. That’s exactly why this 20-Minute Honey Garlic Chicken recipe has become my absolute lifesaver on busy weeknights. It’s quick, incredibly flavorful, and requires minimal ingredients that you probably already have in your pantry.
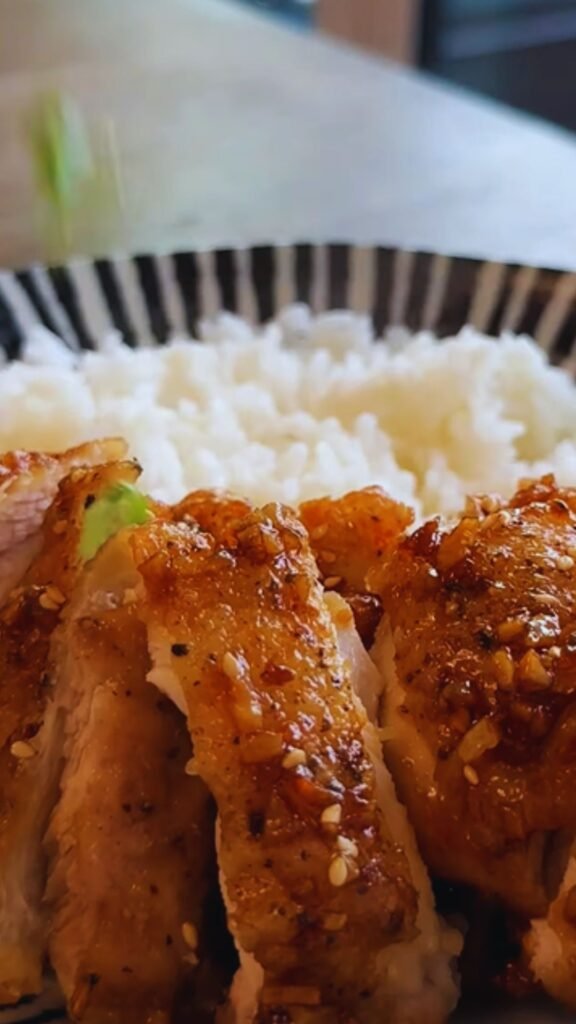
What makes this dish truly special is the perfect balance of sweet honey and savory garlic, creating a glossy sauce that coats tender chicken pieces. The best part? You’ll have this restaurant-quality meal on your table in less time than it would take for delivery to arrive!
Why This Recipe Works
Before diving into the cooking process, let me share why this recipe has earned a permanent spot in my weekly meal rotation:
- Time-efficient: True to its name, it genuinely takes just 20 minutes from start to finish
- Pantry-friendly: Uses common ingredients you likely already have on hand
- Versatile: Works with any cut of chicken and pairs with countless side dishes
- Family-approved: The sweet-savory flavor profile appeals to even the pickiest eaters
- Meal-prep friendly: Doubles easily and reheats beautifully for lunches
- One-pan wonder: Minimal cleanup required, which is always a bonus!
I’ve served this dish to guests who have immediately requested the recipe, and I’ve taught several friends how to make it when they complained about not having time to cook. Trust me when I say this recipe might just change your weeknight dinner game forever.
Ingredients Breakdown
Let’s talk about what you’ll need to create this magical dish. One of the beauties of this recipe is its simplicity, but understanding each ingredient’s role will help you achieve the perfect result every time.
| Ingredient | Quantity | Notes |
|---|---|---|
| Boneless, skinless chicken breasts or thighs | 1.5 pounds (about 4 medium breasts or 6-8 thighs) | Thighs stay juicier, but breasts work well too. Cut into 1-inch pieces for faster cooking |
| Honey | 1/3 cup | Use pure honey for best flavor; adjust according to your sweetness preference |
| Soy sauce | 1/4 cup | Low-sodium recommended to control saltiness; can substitute tamari for gluten-free option |
| Garlic | 5-6 cloves, minced | Fresh is strongly preferred over jarred for optimal flavor |
| Olive oil | 2 tablespoons | For sautéing; can substitute avocado oil for higher heat cooking |
| Cornstarch | 1 tablespoon | Creates the perfect sauce thickness; can substitute arrowroot powder |
| Water | 3 tablespoons | For creating the cornstarch slurry and adjusting sauce consistency |
| Red pepper flakes | 1/2 teaspoon (optional) | Adds a pleasant heat; adjust according to preference |
| Salt and pepper | To taste | For seasoning the chicken before cooking |
| Green onions | 3-4, sliced | For garnish and fresh flavor contrast |
| Sesame seeds | 1 tablespoon | For garnish and subtle texture |
Ingredient Substitutions and Variations
I believe in making recipes work with what you have on hand, so here are some tested substitutions:
- Protein options: While chicken is the star here, this sauce works beautifully with firm tofu, shrimp, or even pork tenderloin cut into medallions
- Sweetener alternatives: Out of honey? Try maple syrup, brown sugar, or even orange marmalade for a different twist
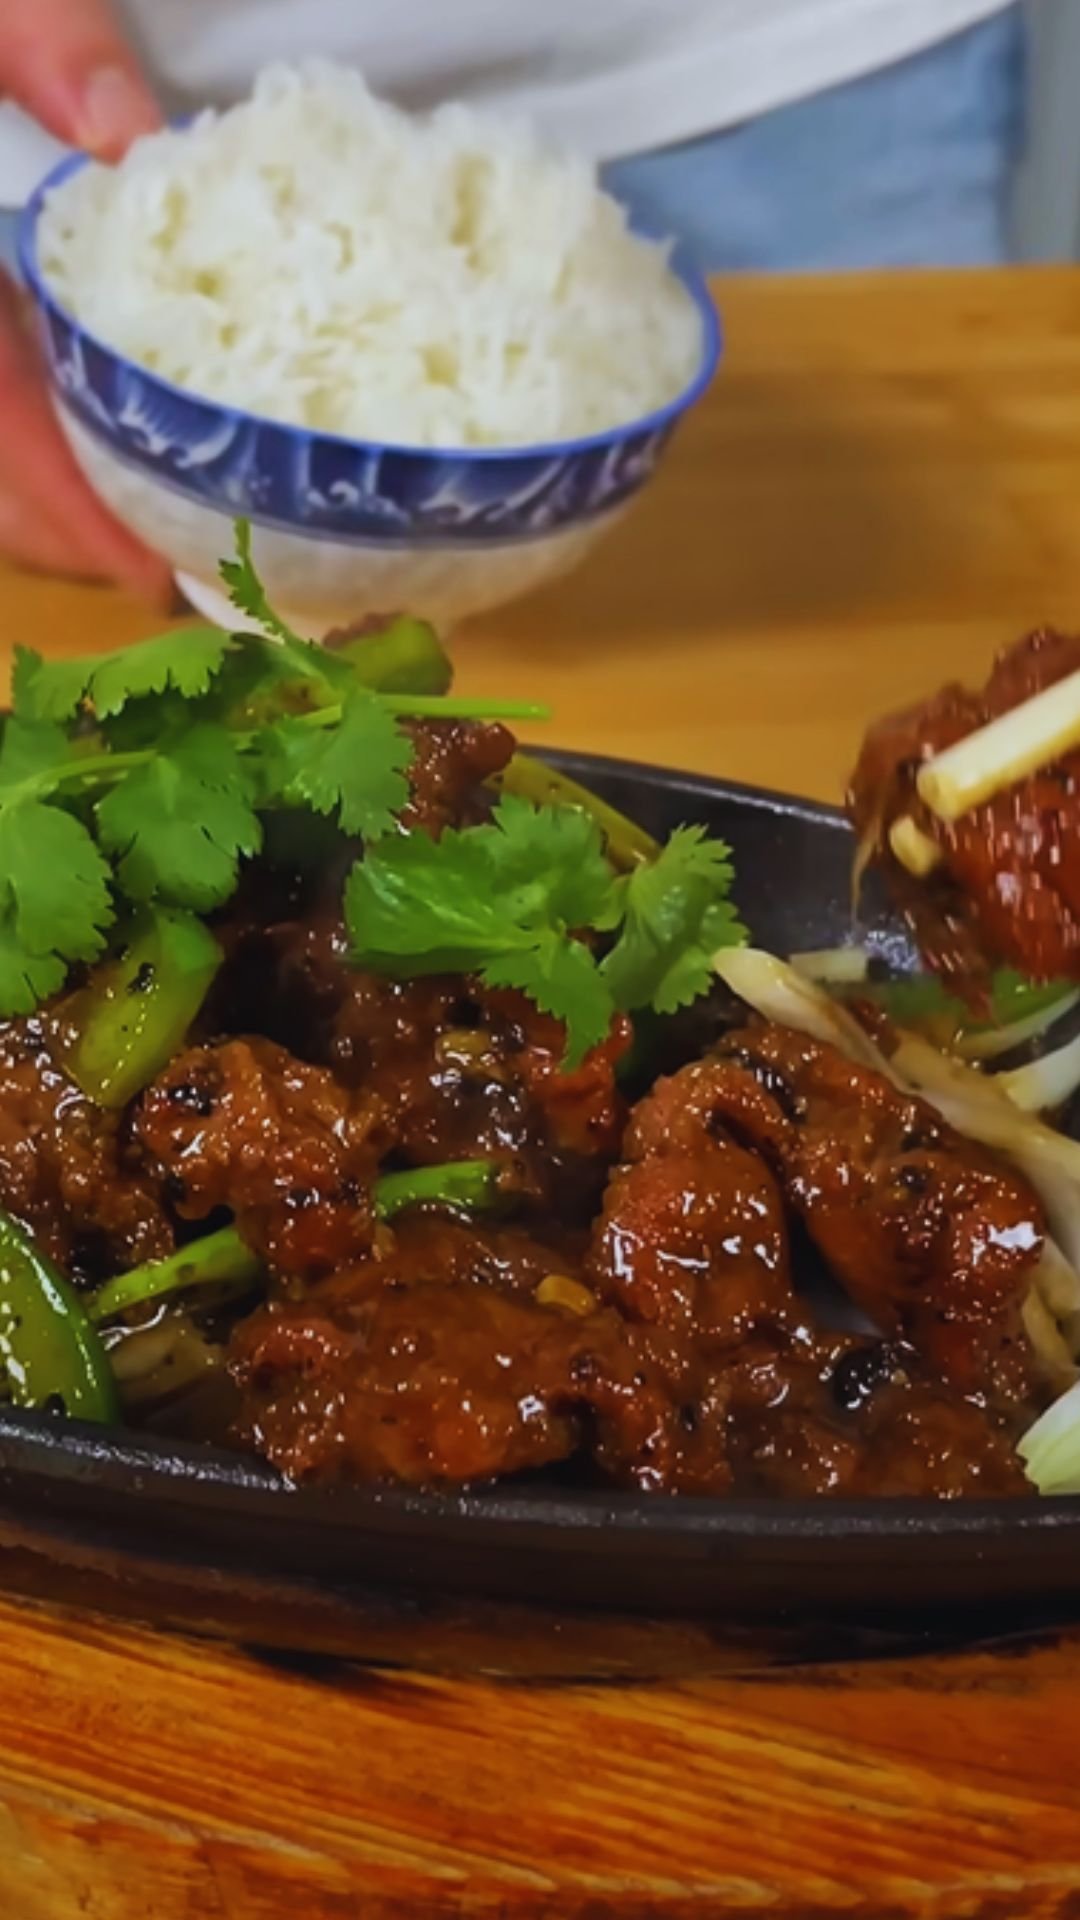
- Spice adjustments: Add ginger (1 tablespoon minced) for an Asian-inspired variation, or swap red pepper flakes for sriracha sauce
- Liquid variations: Replace some of the water with pineapple juice for a tropical twist, or add 1 tablespoon of rice vinegar for tang
- Texture additions: Toss in some cashews or water chestnuts in the final minutes for extra crunch
Essential Equipment
One of the reasons this recipe is so accessible is that it requires minimal equipment. Here’s what you’ll need:
- Large skillet or wok: A 12-inch skillet with high sides works perfectly
- Sharp knife: For cutting chicken into evenly-sized pieces
- Cutting board: Preferably separate ones for meat and vegetables
- Measuring cups and spoons: For accurate ingredient proportions
- Small bowl: For mixing the cornstarch slurry
- Wooden spoon or silicone spatula: For stirring without scratching your pan
- Meat thermometer (optional but recommended): To ensure chicken reaches safe temperature of 165°F (74°C)
I personally prefer using a well-seasoned cast iron skillet or a non-stick pan for this recipe, as it allows for excellent heat distribution and makes cleanup even easier.
Step-by-Step Cooking Process
Now that we’ve covered the essentials, let’s get cooking! I’ll walk you through each step to ensure perfect results.
Preparation Steps
- Cut chicken into 1-inch pieces, ensuring relatively uniform size for even cooking
- Mince garlic cloves finely
- Slice green onions, separating white and green parts
- Measure out all sauce ingredients to have ready (mise en place)
- In a small bowl, mix cornstarch with 2 tablespoons of water to create a slurry
Cooking Instructions
- Season the chicken: Season chicken pieces generously with salt and pepper on all sides
- Heat the pan: Heat olive oil in your skillet over medium-high heat until shimmering
- Cook the chicken: Add chicken pieces to the hot pan in a single layer, being careful not to overcrowd (work in batches if needed). Cook for 3-4 minutes until golden brown on one side, then flip and cook for another 2-3 minutes until nearly cooked through
- Add aromatics: Add minced garlic and white parts of green onions to the pan. Sauté for 30-60 seconds until fragrant, being careful not to burn the garlic
- Create the sauce: Pour in honey and soy sauce, stirring to combine. Allow the mixture to come to a gentle simmer
- Thicken the sauce: Give your cornstarch slurry a quick stir (it settles quickly) and pour it into the pan while stirring continuously. The sauce will begin to thicken almost immediately
- Finish cooking: Allow everything to simmer for 1-2 minutes to ensure the chicken is fully cooked and the sauce reaches your desired consistency. If the sauce becomes too thick, add the remaining tablespoon of water
- Final touches: Remove from heat, stir in red pepper flakes if using, and sprinkle with sesame seeds and green parts of green onions
The entire cooking process should take approximately 12-15 minutes, with about 5 minutes of preparation time beforehand.
Pro Tips for Perfect Results
After making this dish countless times, I’ve discovered several tricks that elevate it from good to exceptional:
- Pat chicken dry: Before seasoning, pat the chicken pieces dry with paper towels to promote better browning
- Don’t overcrowd the pan: Cook in batches if necessary; overcrowding causes steaming instead of browning
- Monitor garlic carefully: It can go from perfectly golden to burnt in seconds; have your liquid ingredients ready to add
- Sauce consistency is key: The sauce should coat the back of a spoon but still flow; adjust with additional water or simmer longer as needed
- Rest before serving: Allowing the dish to rest for 2 minutes off heat lets the flavors meld and the sauce perfectly coat each piece
- Taste before serving: Always do a final taste test to adjust salt, sweetness, or heat
I once made the mistake of rushing and adding all ingredients at once—trust me, following the proper sequence makes a world of difference in developing those complex flavors!
Serving Suggestions
This versatile dish pairs beautifully with so many sides. Here are my favorite serving options:
Starch Companions
- Fluffy jasmine or basmati rice to soak up that incredible sauce
- Quinoa for a protein-packed alternative to rice
- Simple egg noodles tossed with a bit of sesame oil
- Cauliflower rice for a lower-carb option that still captures the sauce
Vegetable Pairings
- Steamed broccoli florets (add them directly to the sauce in the last 2 minutes for a one-pan meal)
- Stir-fried bok choy or Chinese cabbage
- Roasted asparagus spears
- Simple side salad with ginger dressing
Complete Meal Ideas
For a truly impressive yet still quick dinner, try these combinations:
- Asian-inspired feast: Serve with rice, steamed edamame, and quick-pickled cucumbers
- Grain bowl: Place chicken over brown rice with avocado slices, shredded carrots, and a sprinkle of furikake
- Lettuce wraps: Serve the chicken in butter lettuce cups with matchstick vegetables for a lighter option
- Meal-prep perfection: Portion with rice and steamed vegetables in containers for easy lunches all week
Storage and Reheating
One of the many reasons I love this recipe is how well it works for meal prep and leftovers. Here’s how to store and reheat for best results:
Storage Guidelines
- Refrigeration: Store in airtight containers for up to 4 days
- Freezing: Freeze in freezer-safe containers for up to 3 months; freeze sauce separately from chicken if possible for best texture
- Meal prep: Portion with sides into individual containers for grab-and-go lunches or dinners
Reheating Methods
- Microwave: Heat for 1-2 minutes, stirring halfway through; add a splash of water if sauce has thickened too much
- Stovetop: Reheat in a skillet over medium-low heat, adding a tablespoon of water to revive the sauce
- Avoid overheating: Chicken can become tough when overheated, so warm just until heated through
Nutritional Information
For those tracking their nutritional intake, here’s an approximate breakdown per serving (assumes 4 servings from entire recipe, chicken only):
| Nutrient | Amount per Serving |
|---|---|
| Calories | 320 |
| Protein | 29g |
| Carbohydrates | 21g |
| Sugar | 18g |
| Fat | 12g |
| Saturated Fat | 2.5g |
| Fiber | 0.5g |
| Sodium | 690mg |
| Potassium | 440mg |
| Vitamin C | 2% DV |
| Iron | 8% DV |
This dish is naturally gluten-free when made with tamari instead of regular soy sauce and is dairy-free as written. It fits well into a balanced diet when paired with vegetables and whole grains.
Recipe Variations to Try
Once you’ve mastered the basic recipe, here are some delicious variations to expand your repertoire:
Honey Garlic Chicken Stir-Fry
Add bell peppers, snap peas, and carrots to the pan after the chicken has browned to create a complete one-pan meal with added nutrition and color.
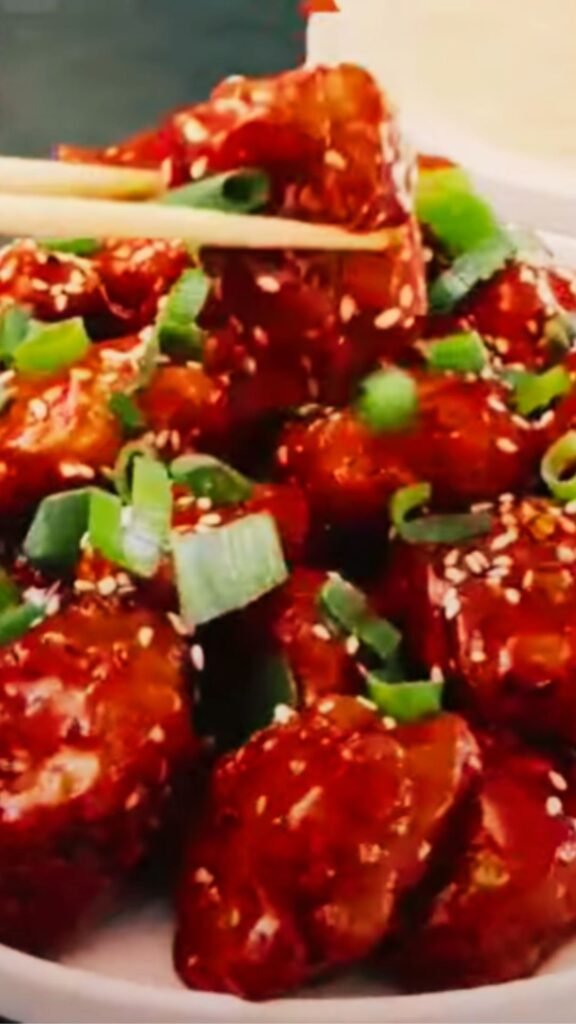
Crispy Honey Garlic Chicken
Dredge chicken pieces in cornstarch before frying for an extra crispy exterior that resembles takeout-style Chinese food, then proceed with the sauce as directed.
Slow Cooker Honey Garlic Chicken
For busy days, place chicken pieces, honey, soy sauce, garlic, and a bit of chicken broth in your slow cooker. Cook on low for 4-5 hours, then thicken sauce with cornstarch slurry before serving.
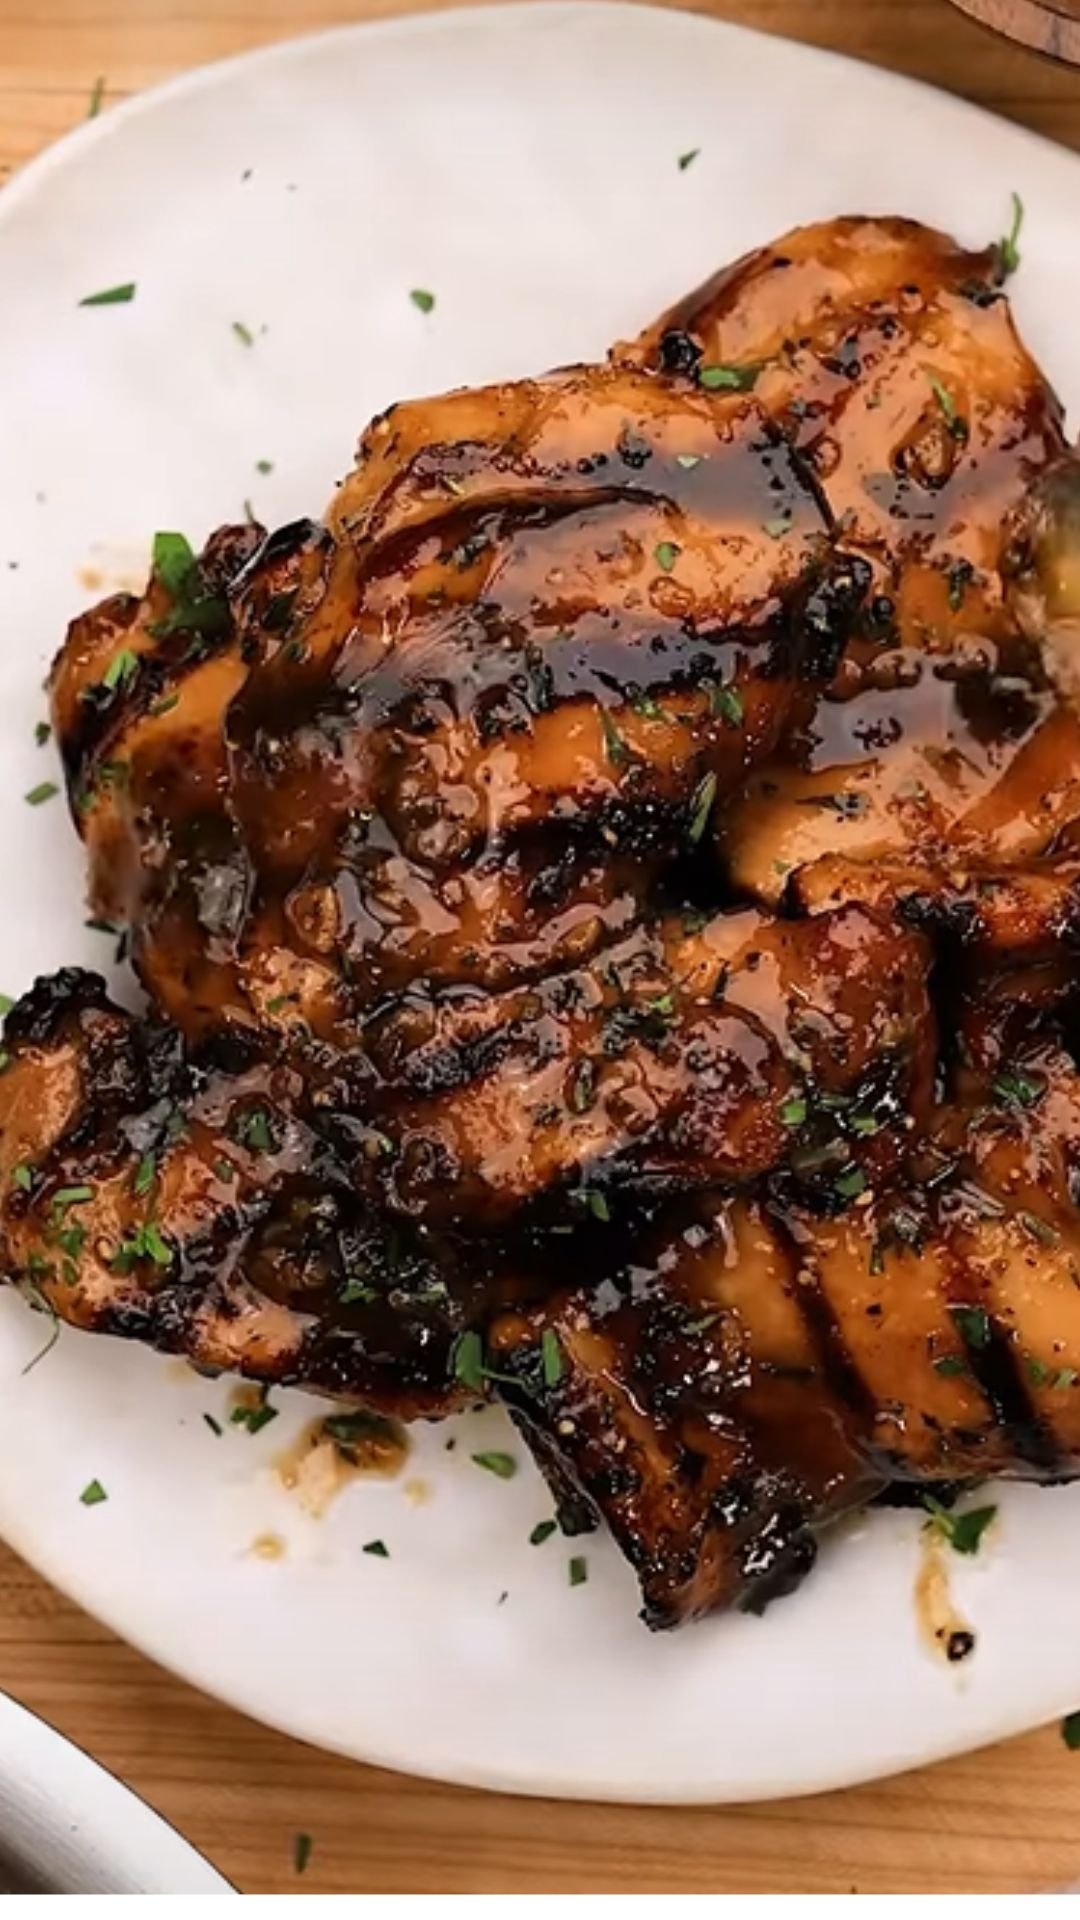
Grilled Honey Garlic Chicken Skewers
Thread chicken onto skewers after marinating briefly in some of the sauce mixture, then grill and brush with remaining sauce for a summer BBQ version.
Spicy Honey Garlic Chicken
Double the red pepper flakes and add 1-2 tablespoons of sriracha sauce to create a dish with serious heat that’s balanced by the honey’s sweetness.
Frequently Asked Questions
I’ve received many questions about this recipe over the years, so I’ve compiled the most common ones here:
Q: Can I use chicken with bones for this recipe? A: While boneless chicken works best for the 20-minute timeframe, bone-in pieces can work if you increase cooking time by about 10-15 minutes and ensure they reach 165°F (74°C).
Q: My sauce didn’t thicken properly. What went wrong? A: The most common issue is not fully mixing the cornstarch with water before adding. Make sure your slurry is completely smooth and the sauce is simmering when you add it. Also, remember it will thicken more as it cools.
Q: Is this recipe too sweet for dinner? A: The honey is balanced by the savory elements of garlic and soy sauce, but you can easily reduce the honey to 1/4 cup if you prefer a less sweet profile.
Q: How can I make this recipe healthier? A: Use chicken breasts instead of thighs, reduce the honey slightly, and serve with plenty of vegetables and a moderate portion of whole grains.
Q: Can I make this ahead for a dinner party? A: Yes! Either prepare completely and reheat gently, or prep all ingredients and cook just before serving for the freshest result. The sauce actually improves with a little time for the flavors to meld.
Q: My garlic always burns. How can I prevent this? A: Add the garlic after the chicken has mostly cooked, keep it moving in the pan, and have your liquids ready to add quickly. Reducing heat slightly when adding garlic also helps.
Q: Can I make this in an Instant Pot? A: Absolutely! Use the sauté function to brown the chicken, then add remaining ingredients, seal, and cook on high pressure for 5 minutes with quick release. Thicken sauce afterward using sauté function.
Why You’ll Love This Recipe
After years of making this dish, I can confidently say it’s remained in my regular rotation because it ticks all the boxes of what makes a recipe truly special:
- Reliability: It turns out delicious every single time
- Adaptability: It works with what I have on hand
- Efficiency: It maximizes flavor while minimizing time in the kitchen
- Universal appeal: Everyone from kids to grandparents enjoys it
- Stress-free: Even when I’m exhausted, I can manage this recipe without feeling overwhelmed
There’s something deeply satisfying about creating a home-cooked meal that tastes this good in such a short time. It’s recipes like this that have kept me cooking at home even during the busiest periods of my life.
The combination of sweet honey, aromatic garlic, and savory soy sauce creates a dish that satisfies cravings for takeout while being healthier, more economical, and—dare I say—even more delicious. The sauce clings to each piece of chicken, creating the perfect bite every time.
So the next time you find yourself staring into the refrigerator at 6 PM wondering what to make for dinner, remember this 20-Minute Honey Garlic Chicken. Your future self will thank you as you sit down to a delicious, homemade meal just minutes later.
Happy cooking!