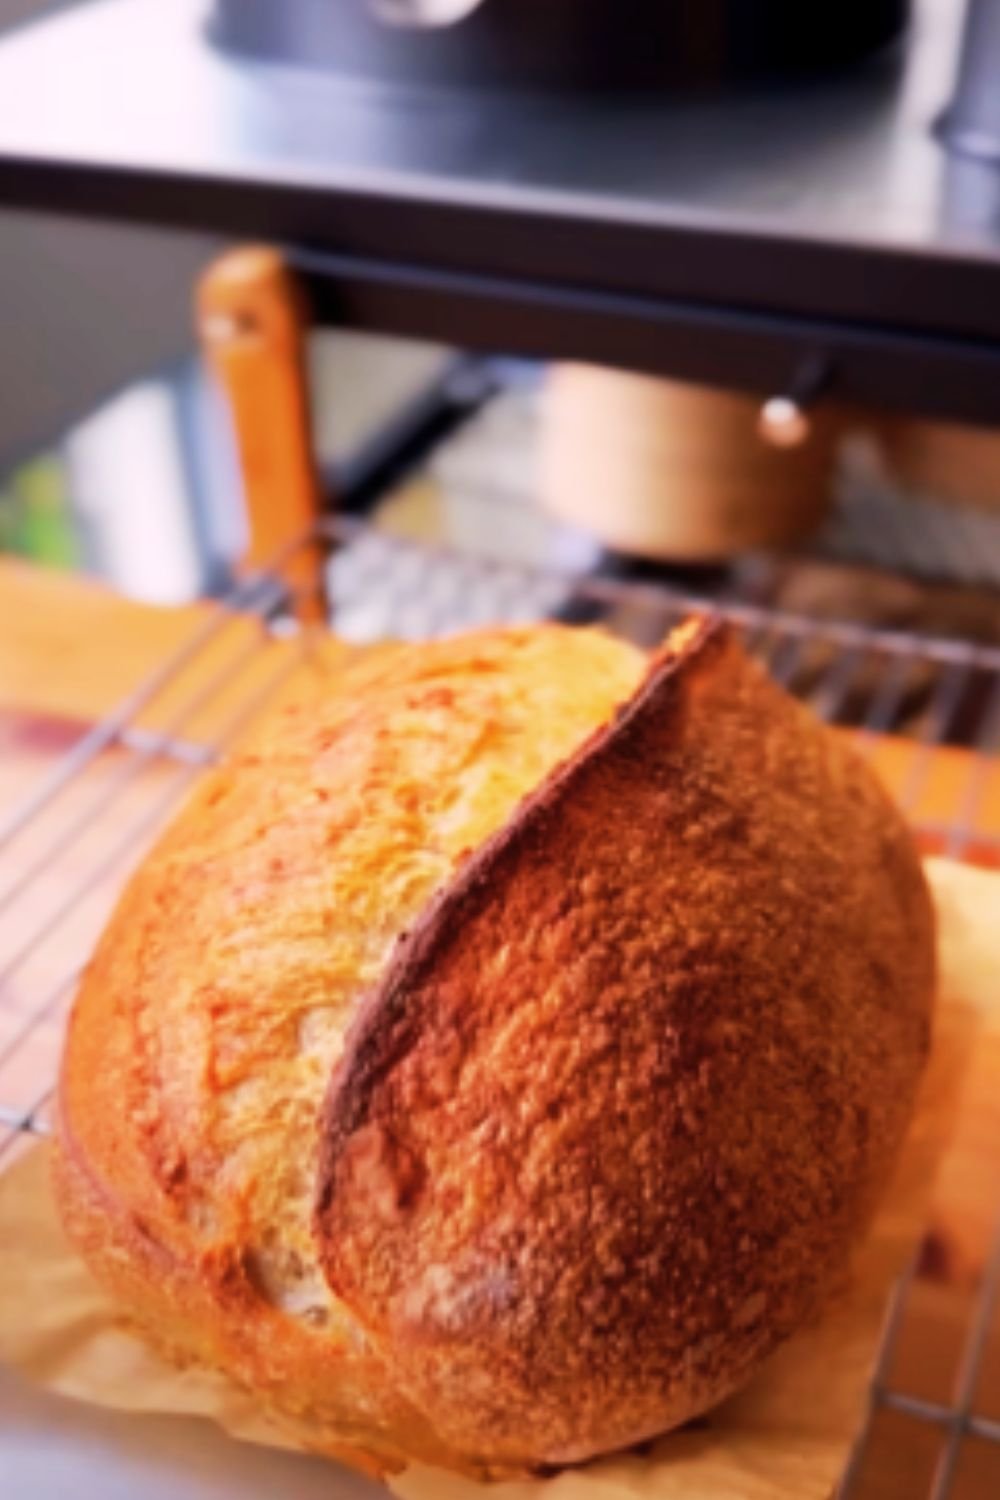
Have you ever walked into an artisanal bakery, inhaled that intoxicating aroma of freshly baked sourdough, and wondered, “Could I make this at home?” I’m here to tell you that yes, you absolutely can! As someone who has spent years perfecting the art of sourdough baking, I’m excited to share my comprehensive guide that will take you from complete novice to confident baker.
Understanding Sourdough: The Living Bread
Before we dive into the baking process, let’s understand what makes sourdough special. Unlike commercial bread that relies on store-bought yeast, sourdough uses a natural fermentation process. The magic happens through a sourdough starter – a mixture of flour and water that captures wild yeast and beneficial bacteria from your environment.
The Science Behind the Magic
When flour and water mix and ferment, they create an ecosystem of microorganisms that:
- Produce natural leavening agents
- Develop complex flavors through fermentation
- Break down gluten proteins, making the bread more digestible
- Create natural preservatives that help the bread stay fresh longer
Essential Equipment
Here’s what you’ll need to begin your sourdough journey:
| Equipment | Purpose | Essential/Optional | Recommended Type |
|---|---|---|---|
| Dutch Oven | For creating steam during baking | Essential | Cast iron, 5-7 quart |
| Kitchen Scale | Precise measurements | Essential | Digital, 0.1g precision |
| Mixing Bowls | Dough preparation | Essential | Glass or stainless steel |
| Bench Scraper | Dough handling | Essential | Stainless steel |
| Banneton | Proofing basket | Optional | 9-inch round or oval |
| Lame | Scoring bread | Optional | Curved blade |
| Thermometer | Temperature monitoring | Essential | Digital probe |
Creating Your Sourdough Starter
The foundation of great sourdough bread is a healthy starter. Here’s my foolproof method:
Day 1-7: Starter Creation Process
| Day | Morning | Evening | Temperature |
|---|---|---|---|
| 1 | 100g whole wheat flour + 100g water | Stir | 75°F/24°C |
| 2 | Discard half, add 100g flour + 100g water | Stir | 75°F/24°C |
| 3-7 | Repeat Day 2 process | Repeat | 75°F/24°C |
Signs of a healthy starter:
- Doubles in size within 4-8 hours after feeding
- Smells pleasantly sour and yeasty
- Shows lots of bubbles throughout
- Passes the float test (a small amount floats in water)
Basic Sourdough Recipe
Ingredients
| Ingredient | Amount | Baker’s Percentage |
|---|---|---|
| Bread Flour | 1000g | 100% |
| Water | 700g | 70% |
| Salt | 20g | 2% |
| Mature Starter | 200g | 20% |
Method Overview
- Autolyse (2-4 hours)
- Mix flour and 650g water
- Cover and rest
- Reserve 50g water for later
- Building Strength (4-6 hours)
- Add starter and remaining water
- Perform 6 sets of stretch and folds
- 30-minute intervals between sets
- Bulk Fermentation (4-6 hours)
- Maintain dough at 75-78°F
- Look for 30-50% volume increase
- Watch for surface bubbles
- Shaping and Final Proof (12-16 hours)
- Pre-shape and rest 30 minutes
- Final shape and place in banneton
- Cold proof in refrigerator
- Baking (45 minutes)
- Preheat Dutch oven at 500°F
- Score dough
- Bake covered 20 minutes
- Uncover and bake 25 minutes more
Troubleshooting Common Issues
| Problem | Possible Cause | Solution |
|---|---|---|
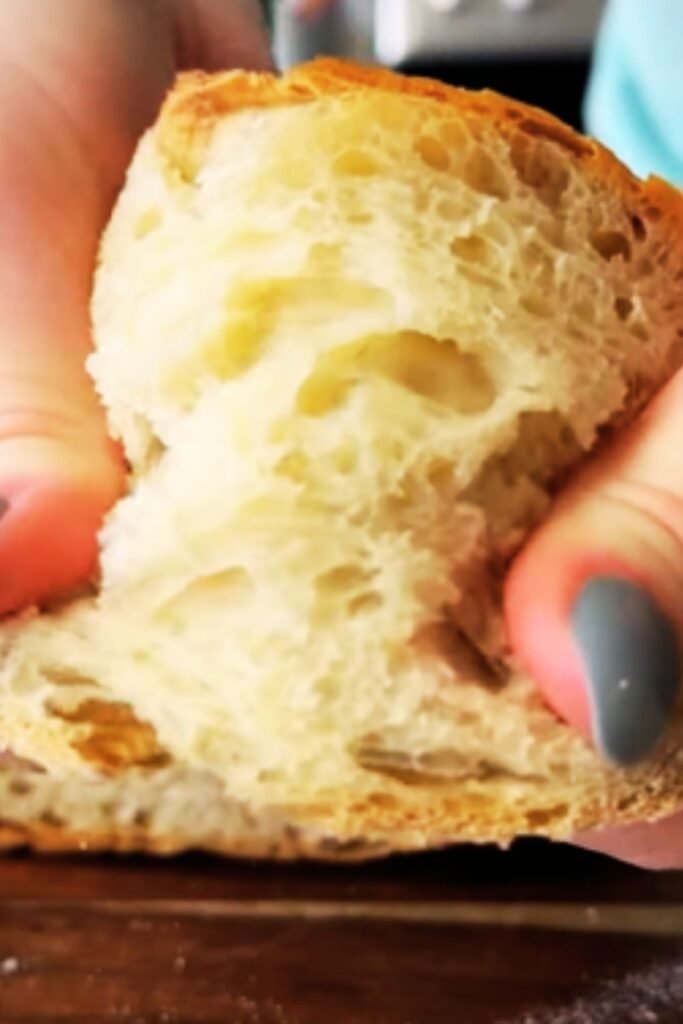
| Dense Crumb | Underfermented | Extend bulk fermentation time |
| Gummy Texture | Underbaked | Increase baking time |
| Flat Loaf | Overproofed | Reduce proofing time |
| Poor Rise | Weak Starter | Feed starter twice daily |
| Burnt Bottom | Too Hot | Use baking sheet as buffer |
Tips for Success
- Temperature Control
- Monitor dough temperature
- Use warm water in winter
- Find warm spots in your kitchen
- Starter Maintenance
- Regular feeding schedule
- Consistent ratios
- Watch for peak activity
- Dough Handling
- Wet hands prevent sticking
- Gentle but confident movements
- Practice creates intuition
Frequently Asked Questions
Q: How long does sourdough stay fresh?
A: When stored properly in a bread bag or box at room temperature, sourdough can stay fresh for 4-5 days. The natural acids in sourdough help preserve it longer than commercial bread.
Q: Can I use all-purpose flour instead of bread flour?
A: Yes, but expect slightly different results. Bread flour’s higher protein content creates better structure and chewier texture. If using all-purpose, reduce hydration by 5%.
Q: Why is my starter not rising?
A: Common causes include too cold temperature, irregular feeding schedule, or chlorinated water. Try using filtered water and maintaining a consistent 75°F environment.
Q: Can I skip the overnight cold proof?
A: While possible, cold proofing develops better flavor and makes the dough easier to handle. I strongly recommend not skipping this step for best results.
Serving Suggestions
- Fresh with high-quality butter
- Toasted with avocado and eggs
- As the base for grilled cheese
- Alongside homemade soup
- Used for stuffing or bread pudding
Storage Tips
| Storage Method | Duration | Best Practices |
|---|---|---|
| Room Temperature | 4-5 days | Paper bag or bread box |
| Refrigerator | 1 week | Well-wrapped |
| Freezer | 3 months | Double-wrapped, sliced |
Beyond Basic Sourdough
Once you’ve mastered the basic recipe, explore these variations:
- Whole wheat addition (up to 20%)
- Rye blends
- Seeded variations
- Flavored doughs (herbs, olives, nuts)
- Different hydration levels
Remember, sourdough baking is as much art as science. Each loaf teaches you something new, and with practice, you’ll develop an intuition for the process. Start with this basic recipe, take detailed notes, and adjust based on your results. Soon enough, you’ll be creating beautiful, delicious sourdough bread that rivals any artisanal bakery.