I’ve been baking cheesecakes for over 15 years, and I’m excited to share my ultimate recipe for creating the creamiest, most delicious homemade cheesecake you’ve ever tasted. This isn’t just any cheesecake recipe—it’s the result of countless trials, adjustments, and refinements. Whether you’re a seasoned baker or a complete beginner, I’ll guide you through every step to ensure your cheesecake turns out perfectly every time.
The Magic of Homemade Cheesecake
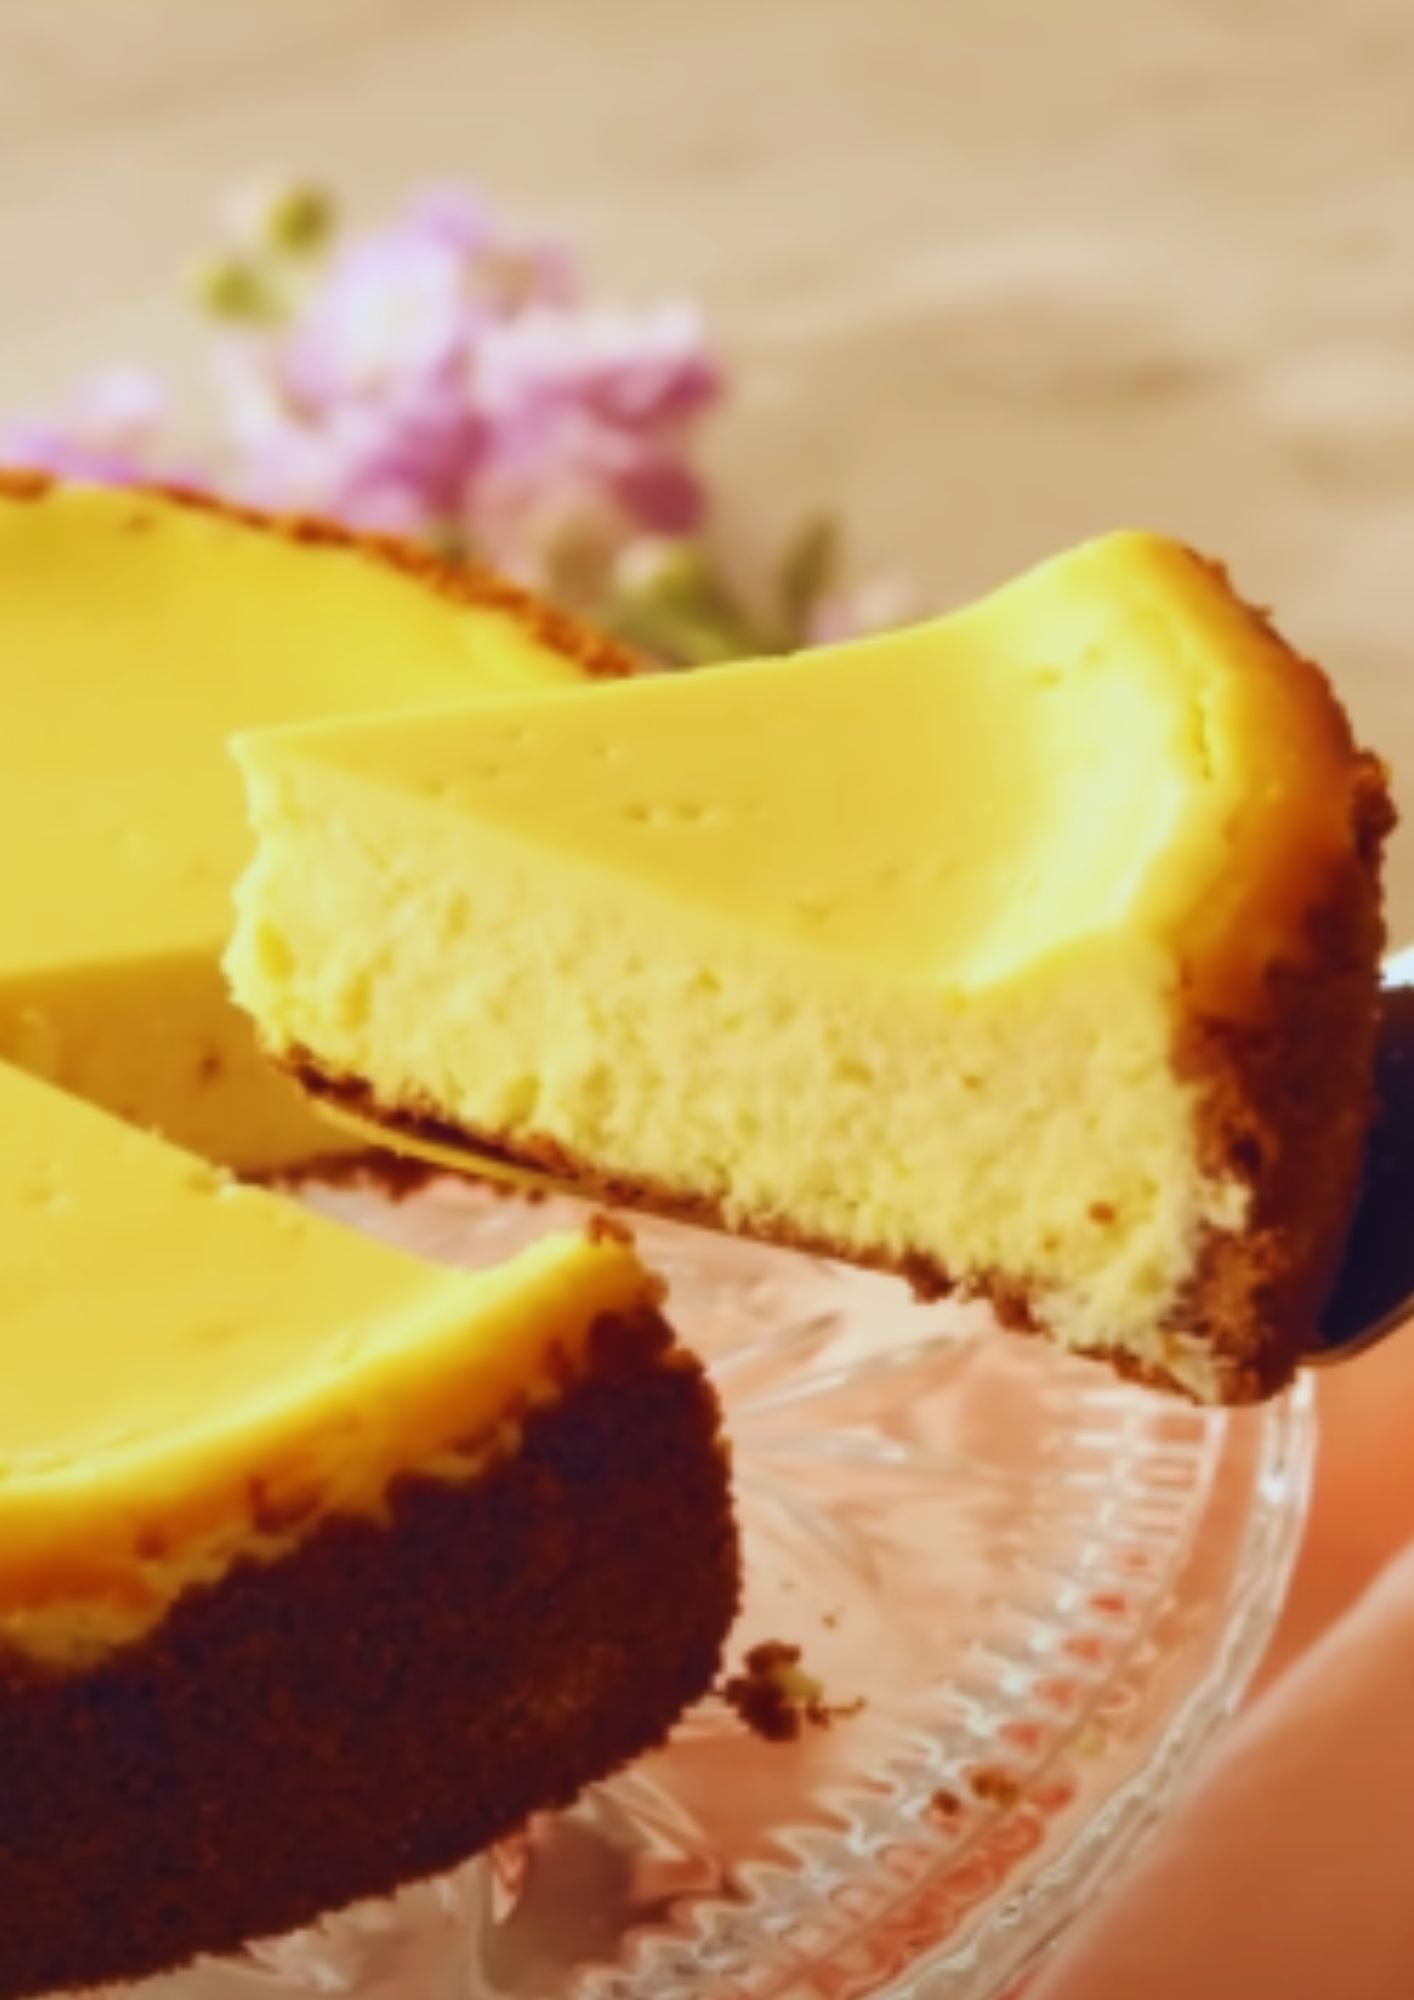
There’s something truly special about a homemade cheesecake. The velvety texture, the rich flavor, the perfect balance of sweetness—it’s a dessert that impresses at any gathering. I still remember the first time I made a cheesecake from scratch. While it wasn’t perfect (there were cracks and the texture wasn’t quite right), the flavor was miles better than any store-bought version.
Over the years, I’ve learned the secrets that make the difference between a good cheesecake and an exceptional one. Today, I’m sharing all these tips with you.
Key Ingredients for the Perfect Cheesecake
The beauty of cheesecake lies in its simplicity. While there are countless variations, the classic version relies on just a few key ingredients:
- Cream cheese: The foundation of any great cheesecake
- Sugar: For sweetness and structure
- Eggs: To bind and set the filling
- Heavy cream: For the ultimate creamy texture
- Vanilla extract: For that warm, aromatic flavor
Let’s break down why each ingredient matters and how to select the best options:
Cream cheese
: Use full-fat cream cheese that’s been softened to room temperature. This is non-negotiable! Low-fat versions contain more water and stabilizers that affect the texture. I always use Philadelphia brand, but any high-quality cream cheese will work beautifully.
Sugar
: Regular granulated sugar works perfectly, though some bakers prefer superfine sugar for a smoother texture. The amount can be adjusted slightly to your taste preference.
Eggs
: Large eggs provide structure and richness. They should be at room temperature to ensure even mixing.
Heavy cream
: Also called whipping cream, this adds luxurious richness. Some recipes substitute sour cream, which adds a subtle tang.
Vanilla extract
: Pure vanilla extract gives the best flavor. Avoid artificial vanilla if possible—the difference is noticeable.
The Foundation: Creating the Perfect Crust

A great cheesecake starts with a great crust. The classic graham cracker crust provides the perfect contrast to the creamy filling, but there are many delicious variations:
Classic Graham Cracker Crust
- 2 cups graham cracker crumbs (about 15-16 full sheets)
- 1/3 cup granulated sugar
- 1/2 cup (1 stick) unsalted butter, melted
Alternative Crust Options
- Chocolate cookie crust: Substitute chocolate cookies (like Oreos with filling removed) for graham crackers
- Digestive biscuit crust: Popular in the UK, these provide a slightly less sweet base
- Shortbread crust: For a more buttery, tender foundation
- Nut-based crust: For a gluten-free option, try ground nuts mixed with butter and sugar
Step-by-Step Crust Instructions
- Preheat your oven to 325°F (165°C).
- Combine the crumbs and sugar in a bowl.
- Pour in the melted butter and mix until the mixture resembles damp sand.
- Press the mixture firmly into the bottom and slightly up the sides of a 9-inch springform pan.
- Bake for 10 minutes, then cool completely before adding the filling.
Pro Tip: Use the bottom of a measuring cup to press the crust evenly into the pan. This creates a smooth, compacted surface that won’t crumble when serving.
The Filling: Achieving Creamy Perfection
The filling is where the magic happens. Here’s my foolproof recipe that delivers silky, crack-free results every time:
Ingredients
- 4 (8-ounce) packages cream cheese, softened
- 1 cup granulated sugar
- 1 tablespoon vanilla extract
- 4 large eggs, room temperature
- 1/3 cup heavy cream
- 2 tablespoons all-purpose flour (optional, helps prevent cracks)
The Mixing Method: Critical to Success
The way you mix your cheesecake filling can make or break your final result. Here’s what you need to know:
- Start with truly softened cream cheese: Leave it out for at least 2 hours. Cold cream cheese will result in lumps.
- Use low speed mixing: High speed incorporates too much air, which can cause cracks and affect texture.
- Scrape down the bowl frequently: Ensure a completely smooth mixture.
- Add eggs one at a time: This creates a smooth emulsion.
- Don’t overmix: Once ingredients are just combined, stop mixing.
Step-by-Step Filling Instructions
- In a large bowl using a hand mixer (or stand mixer with paddle attachment), beat cream cheese on low speed until completely smooth, about 2 minutes.
- Add sugar and beat on low speed until smooth, about 1 minute.
- Add vanilla extract and mix just to combine.
- Add eggs one at a time, mixing on low speed just until each is incorporated. Scrape down the sides of the bowl after each addition.
- Add heavy cream and optional flour, and mix just until combined.
- Pour the batter into the cooled crust.
Baking Techniques for Perfect Results
Baking cheesecake properly is crucial to achieving that perfect texture without cracks. Here’s what works for me:
The Water Bath Method
I always use a water bath (bain-marie) for my cheesecakes. Here’s why:
- Creates gentle, even heating
- Adds moisture to the oven, preventing cracks
- Results in the creamiest texture
How to Set Up a Water Bath
- Wrap the outside of your springform pan with 2-3 layers of heavy-duty aluminum foil, coming up the sides.
- Place the filled cheesecake pan in a larger roasting pan.
- Place the roasting pan in the preheated oven, then carefully pour hot water into the roasting pan until it reaches about halfway up the sides of the springform pan.
Baking Temperature and Time
I bake my cheesecakes at 325°F (165°C). Higher temperatures can cause the eggs to set too quickly, resulting in cracks.
For a 9-inch cheesecake, expect to bake for about 55-70 minutes. The cheesecake is done when the outer edge is slightly puffed and set, but the center still has a slight jiggle (like Jell-O).
The Cooling Process: Just as Important as Baking
Proper cooling prevents dramatic temperature changes that cause cracks:
- Turn off the oven and crack the door open slightly.
- Leave the cheesecake in the oven for 1 hour.
- Remove from the oven and cool completely at room temperature (about 2-3 hours).
- Refrigerate for at least 6 hours, preferably overnight.
Troubleshooting Common Cheesecake Problems
Even experienced bakers encounter issues. Here’s how to solve them:
Cracks in the Surface
Causes:
- Overmixing (incorporating too much air)
- Baking at too high a temperature
- Cooling too quickly
- Overbaking
Solutions:
- Mix on low speed only
- Use a water bath
- Cool gradually
- Check for doneness carefully – center should still be slightly jiggly
Soggy Crust
Causes:
- Water leaking into the crust from the water bath
- Underbaking the crust
Solutions:
- Use multiple layers of heavy-duty foil
- Consider using a slow cooker liner bag over the foil
- Prebake the crust until lightly golden
Lumpy Filling
Causes:
- Cream cheese not soft enough
- Insufficient mixing
- Cold ingredients
Solutions:
- Allow cream cheese to soften completely
- Scrape down the bowl frequently
- Ensure all ingredients are at room temperature
Creative Variations to Try
Once you’ve mastered the basic recipe, try these delicious variations:
Flavor Add-Ins (Add during the mixing process)
- Lemon: 2 tablespoons lemon zest + 3 tablespoons lemon juice
- Chocolate: 8 ounces melted and cooled dark chocolate
- Coffee: 2 tablespoons instant espresso powder dissolved in 1 tablespoon hot water
- Pumpkin: 1 cup pumpkin puree + 1 teaspoon pumpkin pie spice
Toppings and Sauces
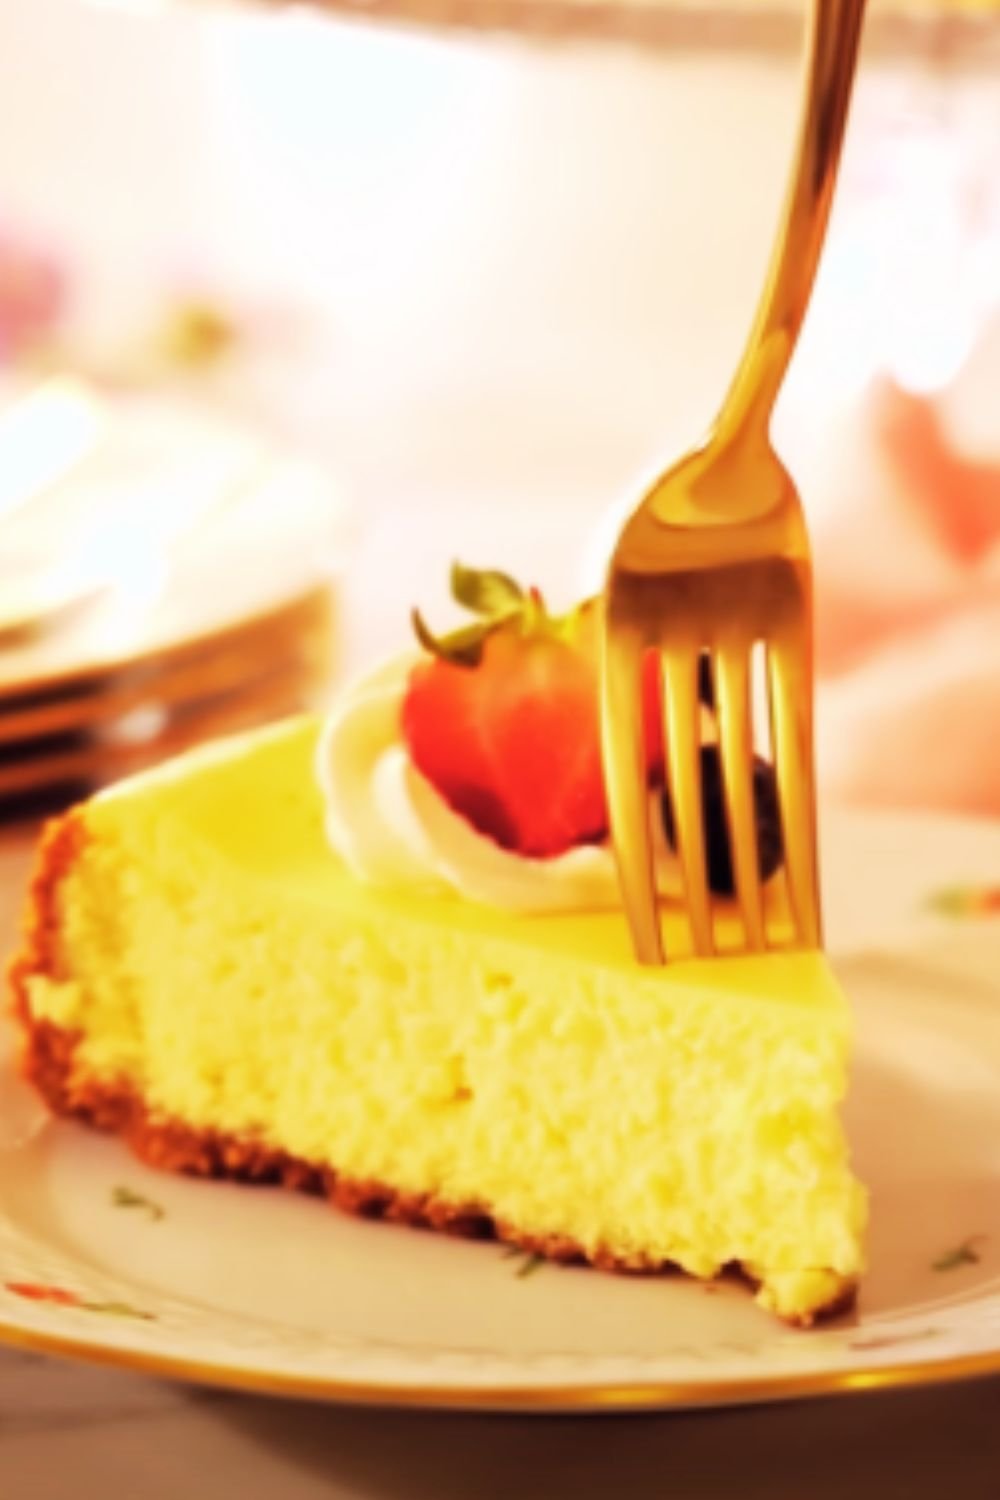
- Fresh Fruit: Berries, sliced peaches, or poached pears
- Fruit Compote: Cooked down berries or stone fruits with sugar
- Chocolate Ganache: Equal parts heavy cream and chocolate, melted together
- Salted Caramel: Drizzled over the chilled cheesecake
- Whipped Cream: Lightly sweetened with vanilla
Detailed Recipe Comparison Chart
Here’s a comparison of different cheesecake styles so you can choose the perfect recipe for your preference:
| Style | Texture | Key Ingredients | Baking Method | Best For |
|---|---|---|---|---|
| New York Style | Dense, rich, creamy | Extra cream cheese, heavy cream | Water bath, low temp | Traditional lovers, special occasions |
| Italian Style | Lighter, less sweet | Ricotta cheese, sometimes mascarpone | Often water bath | Those who prefer less dense desserts |
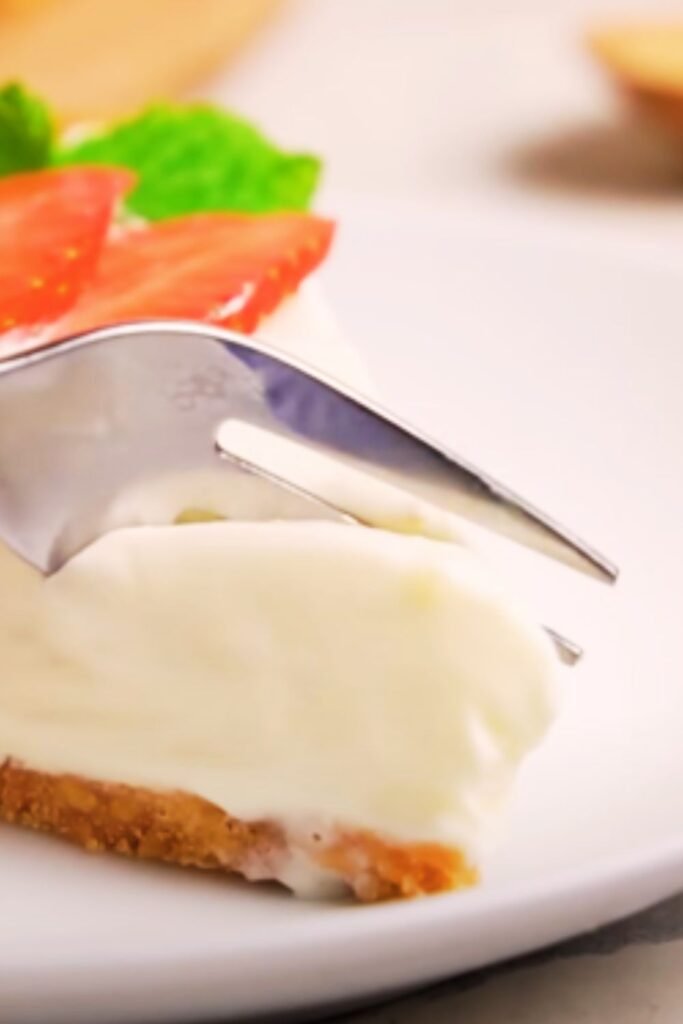
| No-Bake | Soft, moussey | Gelatin or condensed milk | Refrigeration only | Summer, quick preparation |
| Japanese | Fluffy, cotton-soft | Whipped egg whites, less cream cheese | Hot water bath | Light dessert preferences |
| Basque (Burnt) | Creamy inside, caramelized outside | Standard ingredients | High heat, no water bath | Bold flavor seekers |
The Ultimate Cheesecake Recipe: Putting It All Together
Now that we’ve covered all the components and techniques, here’s my complete, foolproof recipe:
Ingredients
For the Crust:
- 2 cups graham cracker crumbs
- 1/3 cup granulated sugar
- 1/2 cup (1 stick) unsalted butter, melted
For the Filling:
- 4 (8-ounce) packages cream cheese, softened
- 1 cup granulated sugar
- 1 tablespoon vanilla extract
- 4 large eggs, room temperature
- 1/3 cup heavy cream
- 2 tablespoons all-purpose flour (optional)
Instructions
- Prepare the crust:
- Preheat oven to 325°F (165°C).
- Mix graham cracker crumbs and sugar, then stir in melted butter.
- Press mixture into the bottom and slightly up the sides of a 9-inch springform pan.
- Bake for 10 minutes, then cool completely.
- Make the filling:
- Beat softened cream cheese on low speed until smooth.
- Add sugar and beat until incorporated.
- Mix in vanilla extract.
- Add eggs one at a time, mixing on low speed.
- Stir in heavy cream and optional flour just until combined.
- Assemble and bake:
- Wrap outside of springform pan with 2-3 layers of foil.
- Pour filling into cooled crust.
- Place in a roasting pan and add hot water halfway up the sides.
- Bake at 325°F for 60-70 minutes until edges are set but center jiggles slightly.
- Cool properly:
- Turn off oven, crack the door, and leave cheesecake in for 1 hour.
- Cool completely at room temperature.
- Refrigerate for at least 6 hours, preferably overnight.
Serving Suggestions
A perfect cheesecake deserves perfect presentation. Here are some ideas:
- Slicing: Dip a sharp knife in hot water and wipe clean between each slice for professional-looking pieces.
- Plating: Serve on chilled plates for the best texture.
- Accompaniments:
- Fresh berries or fruit compote
- Chocolate or caramel sauce drizzled artfully
- A small scoop of complementary sorbet
- A dusting of powdered sugar or cocoa
- Fresh mint leaves for color contrast
Make-Ahead and Storage Tips
One of the greatest things about cheesecake is that it’s an ideal make-ahead dessert:
- Refrigerator: Keeps perfectly for up to 5 days. Store in the springform pan, covered with plastic wrap, or transfer to an airtight container.
- Freezer: Freezes beautifully for up to 2 months. Wrap the whole cheesecake or individual slices tightly in plastic wrap, then aluminum foil.
- Thawing: Thaw frozen cheesecake overnight in the refrigerator.
Cheesecake for Special Diets
Everyone deserves great cheesecake! Here are modifications for common dietary needs:
Gluten-Free Cheesecake
- Use gluten-free cookies or graham crackers for the crust
- Verify that your vanilla extract is gluten-free
- Substitute cornstarch for flour as a stabilizer
Lower-Calorie Cheesecake
- Use reduced-fat (not fat-free) cream cheese
- Replace some cream cheese with Greek yogurt
- Reduce sugar by up to 25%
- Use a thinner crust
Vegan Cheesecake
- Use dairy-free cream cheese (cashew or coconut-based)
- Replace eggs with silken tofu or commercial egg replacer
- Consider a no-bake version with coconut oil for setting
Q&A Section
Q: Why did my cheesecake crack?
A: Cracks usually happen because of drastic temperature changes, overmixing, or overbaking. Using a water bath, cooling slowly in the oven, and not overmixing can prevent this issue. If you do get cracks, don’t worry! Top with fruit, whipped cream, or chocolate ganache and no one will know.
Q: Can I make cheesecake without a springform pan?
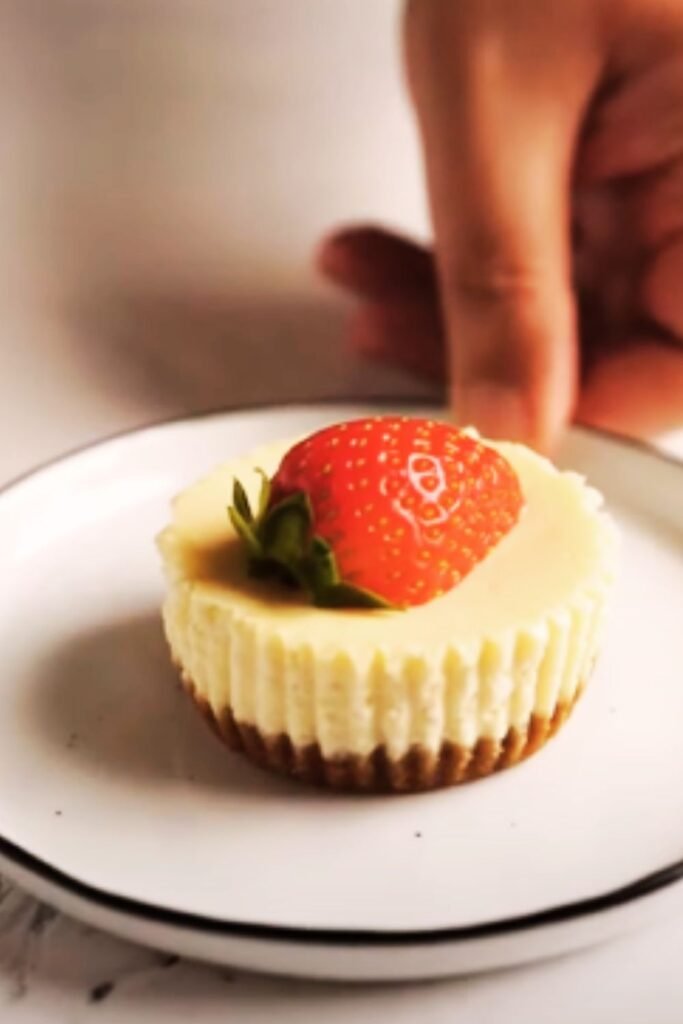
A: Yes! You can use a regular cake pan lined with parchment paper with extra overhang to help lift it out. You can also make mini cheesecakes in a muffin tin with liners, or use a deep-dish pie plate (though removal will be more challenging).
Q: How do I know when my cheesecake is done?
A: The perfect cheesecake should be set around the edges but still have a slight jiggle in the center (like Jell-O). If you gently shake the pan, the center should move as one unit, not be liquid. Remember that it will continue to set as it cools.
Q: Can I make cheesecake ahead of time for a party?
A: Absolutely! Cheesecake is actually better when made 1-2 days ahead. It allows the flavors to meld and the texture to set perfectly. Just keep it refrigerated until about 30 minutes before serving.
Q: Why do I need to bring ingredients to room temperature?
A: Room temperature ingredients blend together smoothly and evenly. Cold cream cheese will remain lumpy no matter how long you beat it, and cold eggs won’t incorporate properly, leading to a less smooth texture.
Final Thoughts: The Joy of Homemade Cheesecake
After fifteen years of making cheesecakes, I can honestly say that few desserts bring as much joy to those who eat them. There’s something magical about a perfectly executed cheesecake—the contrast between the buttery crust and the silky filling, the rich flavor that somehow remains light enough to savor every bite.
Remember that even if your first attempt isn’t perfect, each cheesecake you make will teach you something. The journey of perfecting your cheesecake technique is just as rewarding as the destination. And even an imperfect cheesecake is usually delicious!
I hope this guide helps you create the cheesecake of your dreams. Whether you’re baking for a special occasion or simply treating yourself, there’s nothing quite like the satisfaction of creating something this spectacular from scratch. Happy baking!