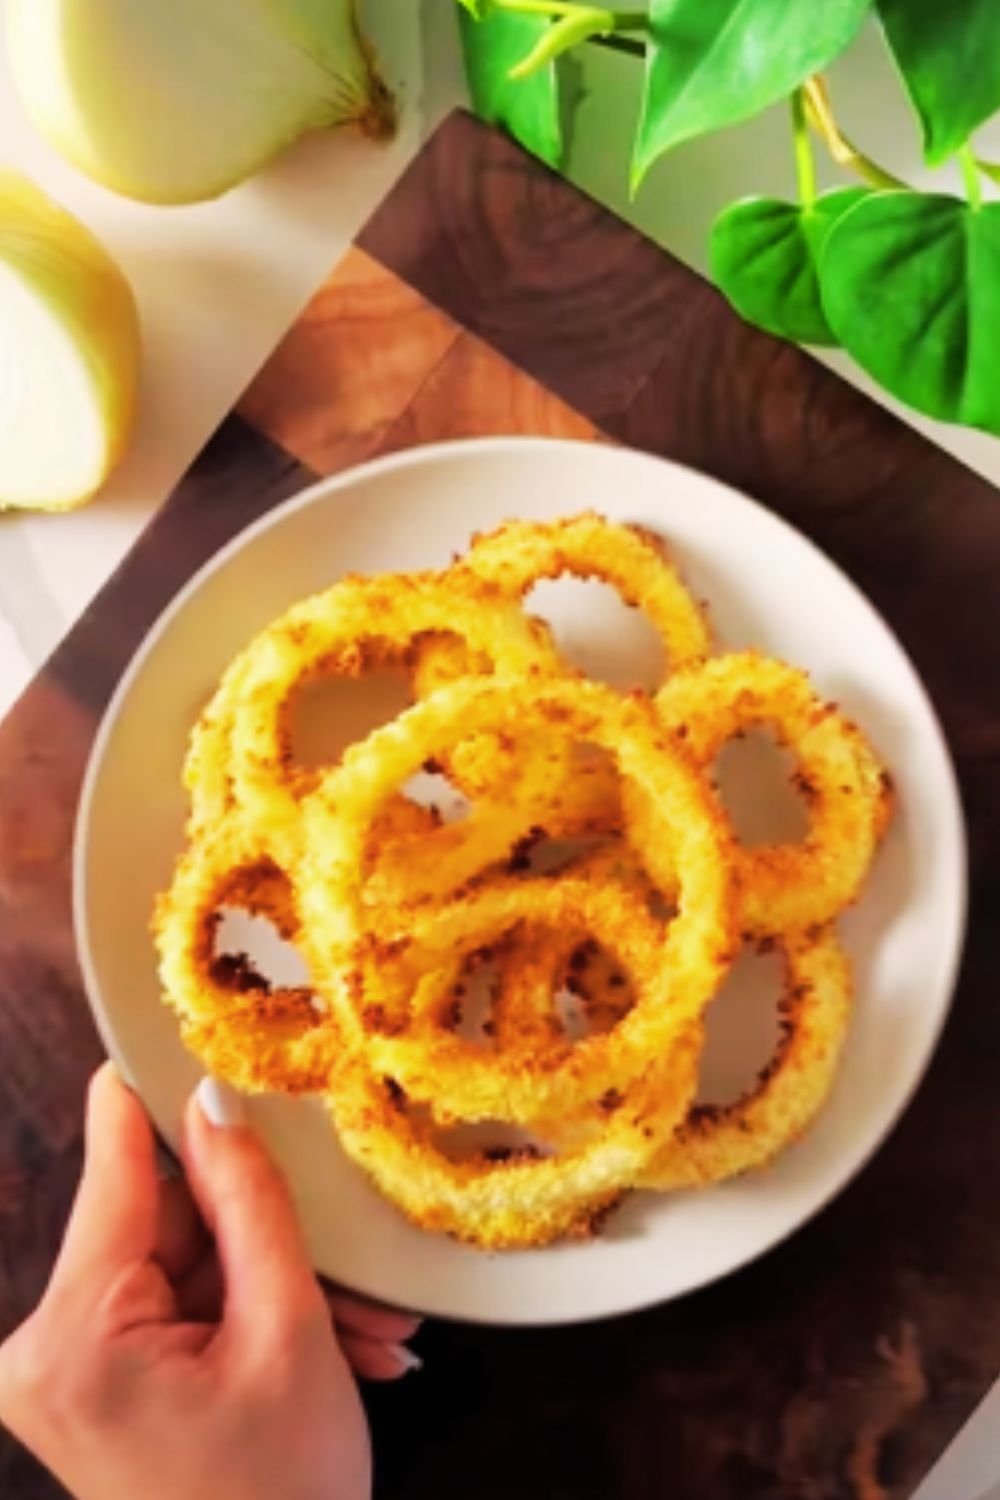
As someone who’s been experimenting with air fryer recipes for years, I can confidently say that mastering the perfect onion ring has been one of my greatest kitchen achievements. Today, I’m excited to share my foolproof method for creating incredibly crispy, golden-brown air fryer onion rings that will rival any deep-fried version you’ve ever tasted.
Why You’ll Love This Recipe
I’ve spent countless hours perfecting this recipe, and I can tell you firsthand that these aren’t your ordinary onion rings. What makes them special? They’re:
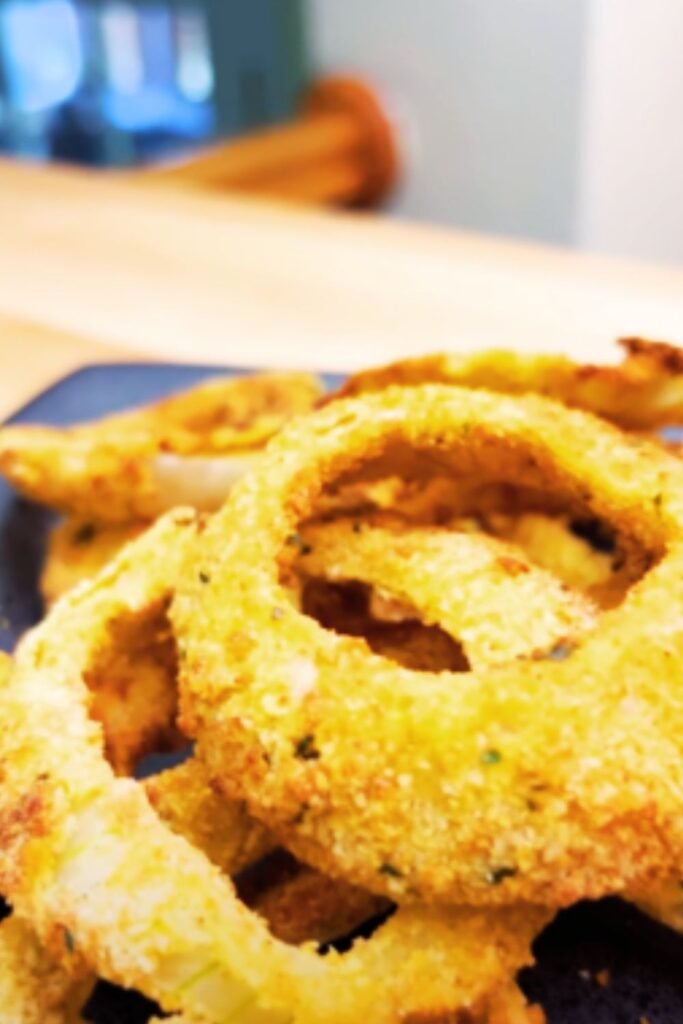
- Incredibly crispy on the outside while remaining tender and sweet on the inside
- Made with 70% less oil than traditional deep-fried versions
- Ready in just 20 minutes from start to finish
- Perfect for both beginners and experienced cooks
- Customizable with various seasonings to suit your taste
Essential Ingredients
For the Onion Rings:
- 2 large sweet onions (I prefer Vidalia)
- 2 cups all-purpose flour
- 2 teaspoons paprika
- 1 teaspoon garlic powder
- 1 teaspoon onion powder
- 1½ teaspoons salt
- 1 teaspoon black pepper
- 2 large eggs
- 1 cup buttermilk
- 2 cups seasoned panko breadcrumbs
- Olive oil spray
Kitchen Equipment Needed
Essential tools for this recipe include:
- Air fryer (5.8 quart or larger recommended)
- 3 shallow bowls for breading station
- Tongs
- Paper towels
- Cutting board
- Sharp knife
- Measuring cups and spoons
Step-by-Step Instructions
Preparation Phase
- Slice your onions:
- Cut off both ends of each onion
- Remove the papery skin
- Slice into ½-inch thick rings
- Separate the rings carefully
- Pat dry with paper towels
- Set up your breading station: Bowl 1 (Seasoned Flour):
- 1 cup all-purpose flour
- 1 teaspoon paprika
- ½ teaspoon garlic powder
- ½ teaspoon onion powder
- ½ teaspoon salt
- ¼ teaspoon black pepper Bowl 2 (Wet Mixture):
- 2 beaten eggs
- 1 cup buttermilk
- Whisk until well combined Bowl 3 (Coating):
- 2 cups panko breadcrumbs
- 1 teaspoon paprika
- ½ teaspoon salt
- ¼ teaspoon black pepper
Breading Process
- Dredge each onion ring in the seasoned flour mixture, shaking off excess
- Dip in the egg mixture, allowing excess to drip off
- Coat thoroughly with the seasoned panko mixture, pressing gently to adhere
- Place breaded rings on a baking sheet while completing the process
Air Frying Method
- Preheat your air fryer to 375°F (190°C)
- Spray the air fryer basket lightly with olive oil spray
- Arrange breaded onion rings in a single layer, not touching
- Spray the tops lightly with olive oil spray
- Cook for 8-10 minutes, flipping halfway through
- Work in batches until all rings are cooked
Pro Tips from My Kitchen
After making these countless times, I’ve discovered some secrets to ensure perfect results:
- Temperature matters:
- Room temperature eggs and buttermilk create better adherence
- Cold onions are easier to slice cleanly
- Texture techniques:
- Double-coat stubborn pieces for extra crispiness
- Press the panko coating firmly but gently
- Don’t skip the oil spray – it’s essential for golden-brown results
- Storage secrets:
- Keep warm in a 200°F oven while cooking remaining batches
- Stack with paper towels between layers to maintain crispiness
Nutritional Information
Per serving (6 onion rings):
- Calories: 180
- Total Fat: 4g
- Saturated Fat: 1g
- Cholesterol: 31mg
- Sodium: 390mg
- Total Carbohydrates: 29g
- Dietary Fiber: 2g
- Protein: 6g
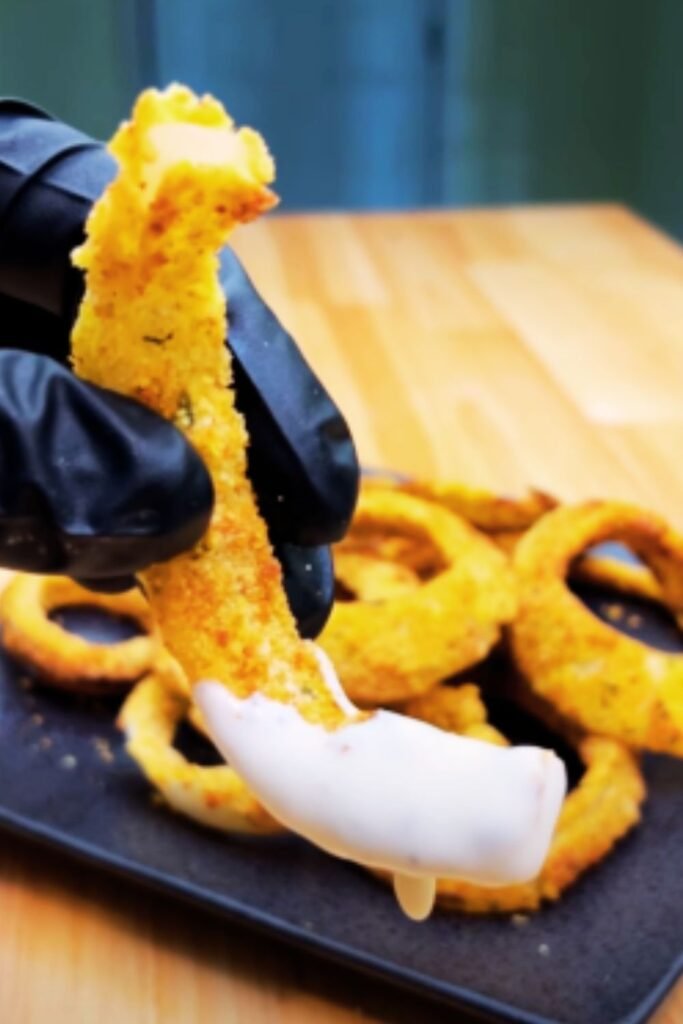
Serving Suggestions
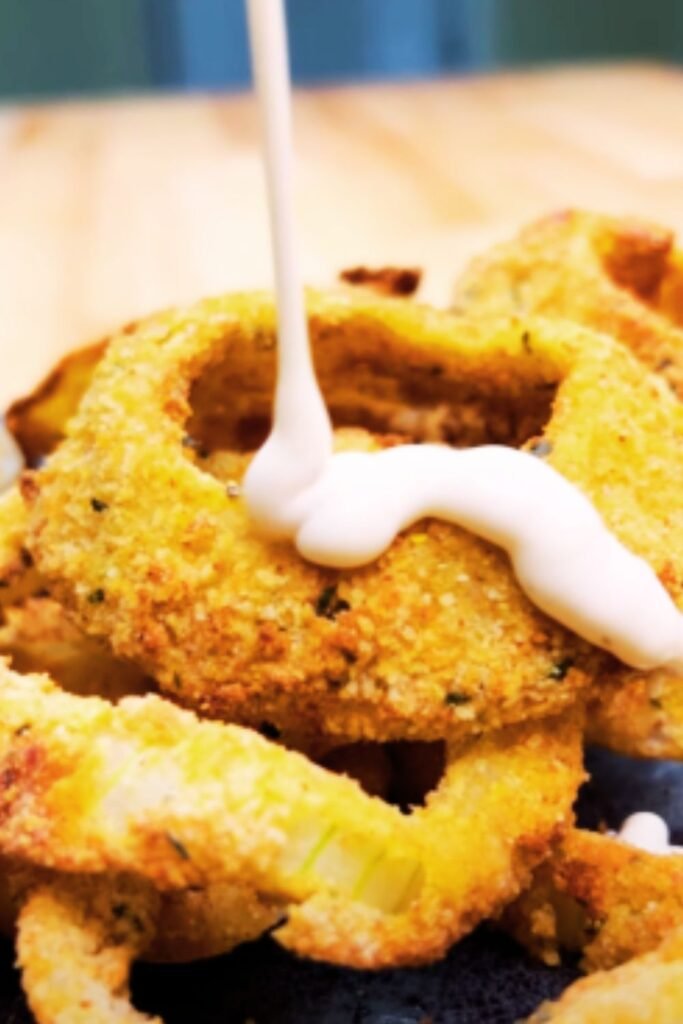
These crispy delights pair perfectly with:
- Classic ketchup
- Homemade ranch dressing
- Spicy chipotle mayo
- Honey mustard sauce
- BBQ sauce
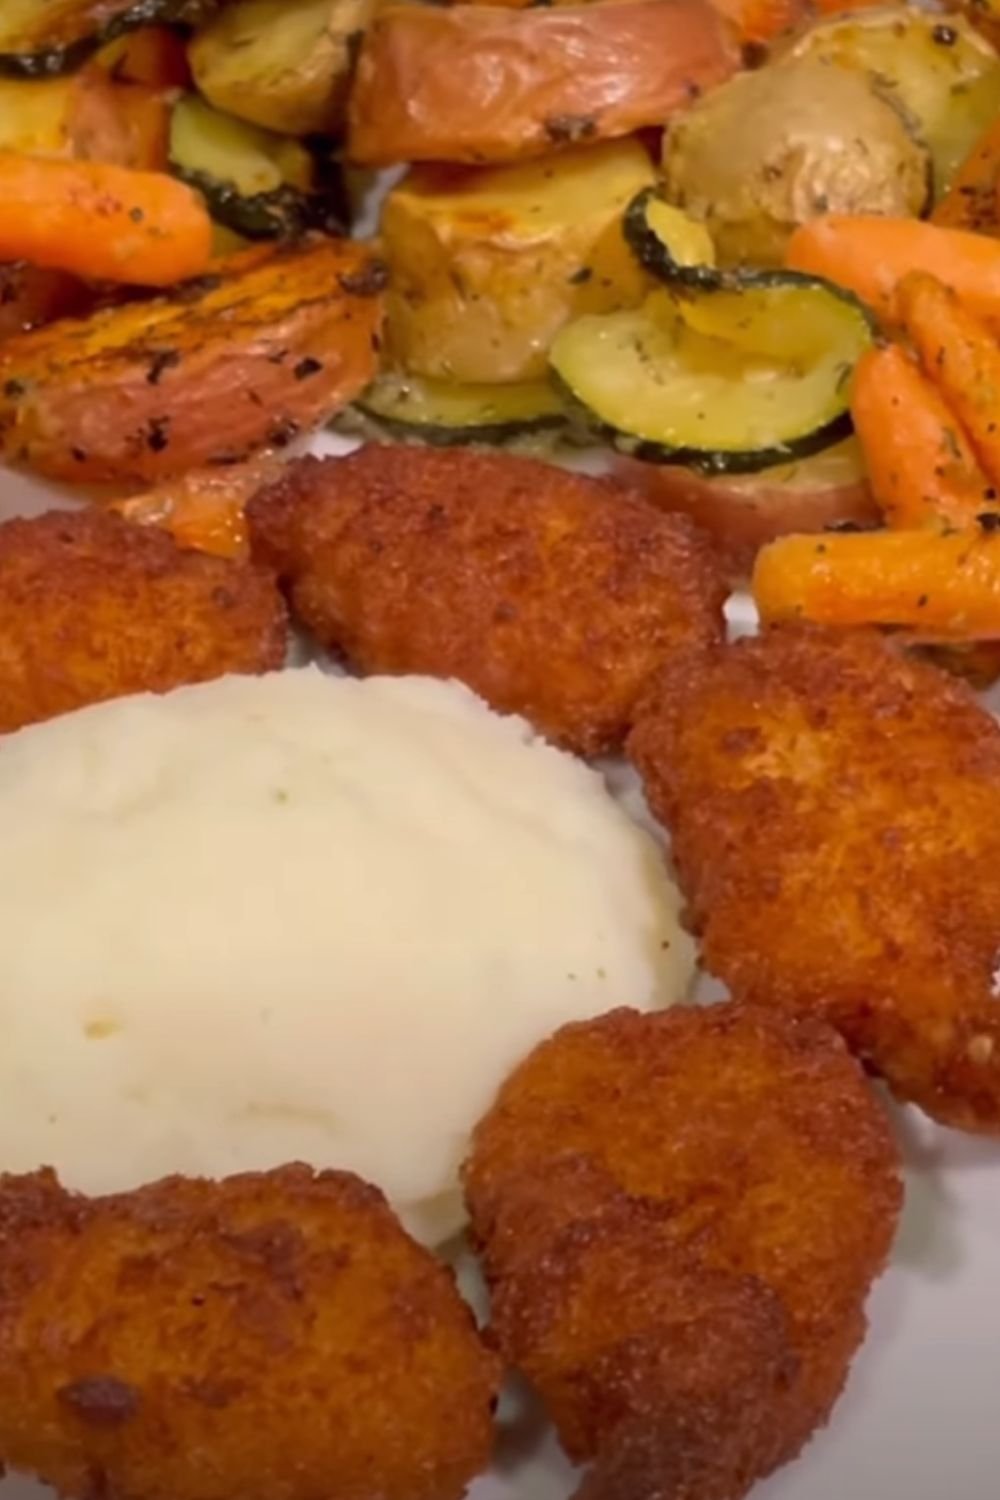
They make an excellent side dish for:
- Grilled burgers
- Sandwiches
- Salads
- Grilled chicken
- Fish and chips alternatives
Storage and Reheating
To maintain that perfect crunch:
- Storage:
- Let cool completely
- Store in an airtight container
- Place paper towels between layers
- Keep in refrigerator for up to 3 days
- Reheating:
- Preheat air fryer to 350°F
- Arrange in single layer
- Heat for 2-3 minutes until crispy
- Avoid microwave reheating
Troubleshooting Common Issues
Q: Why are my onion rings not crispy enough?
A: This usually happens when the air fryer is overcrowded. Cook in single layers and ensure each ring has space around it. Also, don’t forget to spray with oil before cooking.
Q: The breading keeps falling off. What am I doing wrong?
A: Make sure to thoroughly dry the onion rings before breading, and press the coating firmly onto each ring. The flour-egg-breadcrumb order is crucial for proper adhesion.
Q: My onion rings are burning on the outside but raw inside. Help!
A: Your air fryer temperature might be too high. Try reducing it to 350°F and cooking for a slightly longer time. Also, make sure your onion slices are uniformly cut.
Q: Can I prepare these in advance for a party?
A: Yes! You can bread the onion rings up to 4 hours ahead and keep them in the refrigerator. Air fry just before serving for the best results.
Recipe Variations
- Spicy Version:
- Add cayenne pepper to the flour mixture
- Include hot sauce in the egg wash
- Mix crushed red pepper flakes into the panko
- Gluten-Free Option:
- Use gluten-free all-purpose flour
- Substitute regular panko with gluten-free breadcrumbs
- Check all seasonings for gluten-free certification
- Extra Crunchy Style:
- Double-coat each ring
- Use a mixture of panko and regular breadcrumbs
- Add crushed cornflakes to the coating
Kitchen Safety Tips
While this recipe is safer than deep frying, it’s still important to:
- Handle hot air fryer components with care
- Use tongs to flip and remove onion rings
- Keep children away from hot surfaces
- Never spray oil directly into a hot air fryer
- Clean your air fryer thoroughly after use
Final Notes
Remember, practice makes perfect! Don’t be discouraged if your first batch isn’t restaurant-quality. Each time you make these air fryer onion rings, you’ll develop a better feel for the timing and technique that works best with your specific air fryer model. The joy of creating these crispy, golden rings at home is well worth the learning curve.
I’d love to hear about your experiences with this recipe. Feel free to experiment with different seasonings and share your favorite combinations in the comments below!