There’s something magical about making dumpling wrappers from scratch. As someone who has spent years perfecting this craft, I can tell you that nothing compares to the delicate texture and perfect chewiness of homemade dumpling wrappers. Today, I’m excited to share my tried-and-true method for creating these versatile wrappers that will elevate your dumpling game to restaurant quality.
Essential Ingredients
Before we dive into the process, let’s look at what you’ll need to make perfect dumpling wrappers. I’ve found that quality ingredients make all the difference:
| Ingredient | Amount | Notes |
|---|---|---|
| All-purpose flour | 2 cups (250g) | Room temperature |
| Warm water | 3/4 cup (180ml) | 100°F (37°C) |
| Salt | 1/4 teaspoon | Fine sea salt preferred |
| Extra flour | 1/2 cup (60g) | For dusting |
Essential Equipment
| Equipment | Purpose | Recommended Type |
|---|---|---|
| Rolling pin | Dough shaping | Small Chinese-style or 12-inch wooden |
| Mixing bowl | Dough preparation | Medium-sized, non-reactive |
| Bench scraper | Dough handling | Metal or plastic |
| Clean kitchen towel | Dough resting | Lint-free cotton |
| Measuring tools | Accurate portions | Digital scale preferred |
The Science Behind Perfect Wrappers
Understanding the science behind dumpling wrapper dough has revolutionized my approach. The key lies in protein development and hydration:
- Protein Content: All-purpose flour typically contains 10-12% protein, creating the ideal structure
- Water Temperature: Warm water (100°F) activates the proteins more effectively than cold water
- Resting Time: Allows the gluten to relax, making the dough more pliable
- Kneading Process: Develops gluten networks for the perfect chewy texture
Step-by-Step Process
1. Making the Dough
- Combine flour and salt in a large mixing bowl
- Create a well in the center
- Gradually add warm water while mixing with chopsticks or fingers
- Knead for 8-10 minutes until smooth and elastic
- Rest covered for 30 minutes
2. Portioning the Dough
| Wrapper Size | Dough Weight | Final Diameter |
|---|---|---|
| Small | 12-15g | 3 inches |
| Medium | 20-25g | 3.5 inches |
| Large | 28-30g | 4 inches |
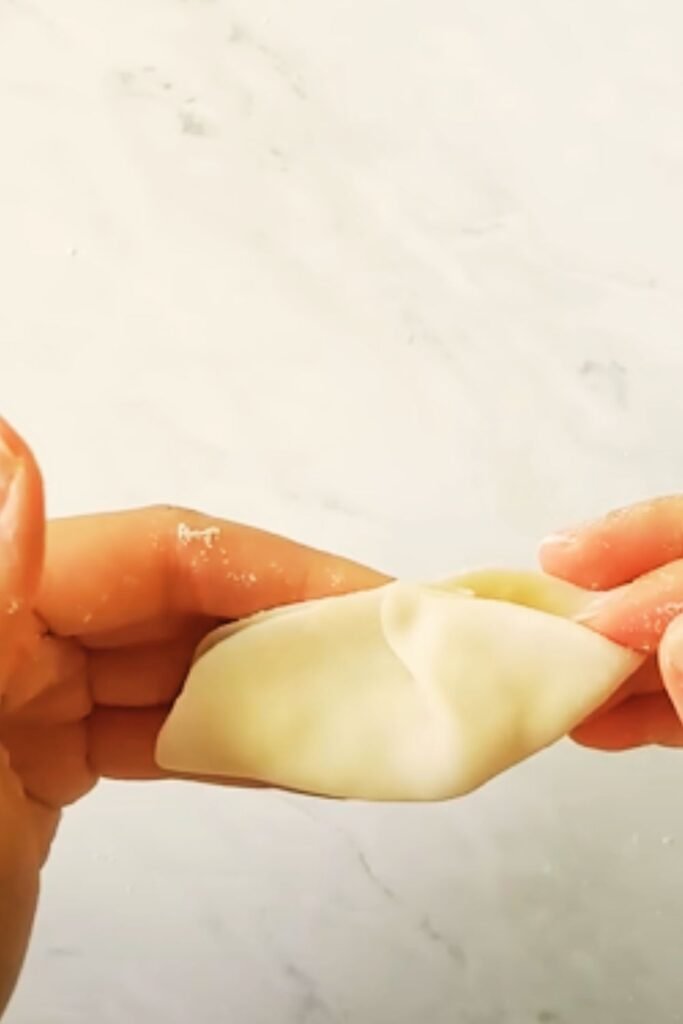
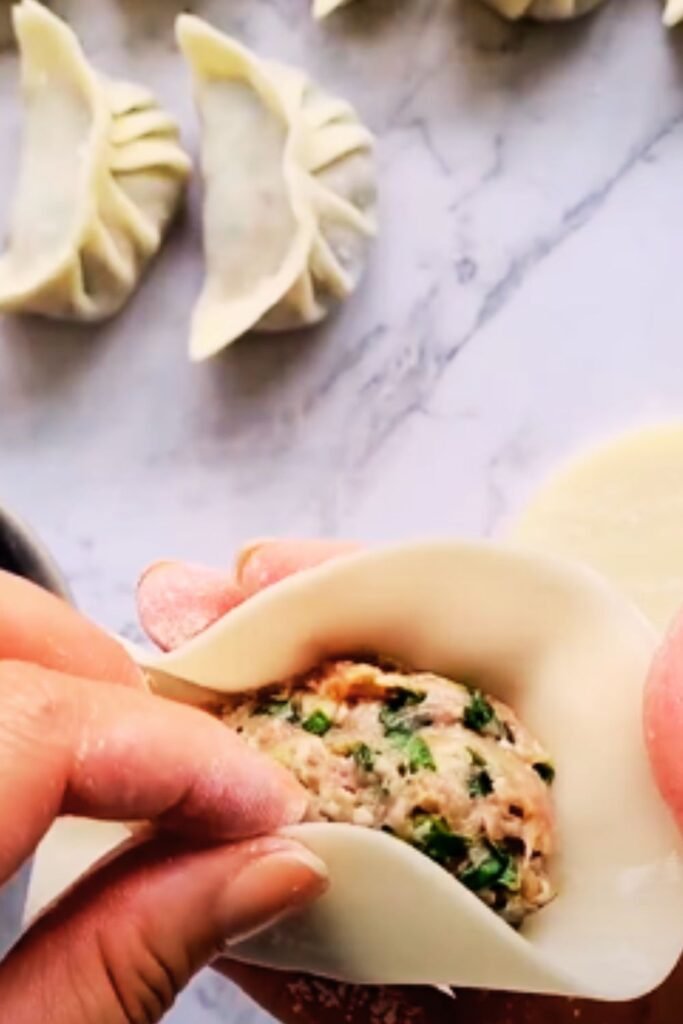
3. Rolling Technique
- Take one portion of dough
- Press into a flat disc
- Roll from center to edges
- Rotate 45 degrees after each roll
- Maintain even pressure
- Dust with flour as needed
Troubleshooting Guide
| Problem | Cause | Solution |
|---|---|---|
| Tough wrappers | Over-kneaded dough | Reduce kneading time, rest longer |
| Sticky dough | Too much water | Add flour gradually while kneading |
| Uneven thickness | Inconsistent rolling | Practice rotating technique |
| Drying out | Exposed to air | Keep covered with damp cloth |
Storage and Make-Ahead Tips
I’ve learned that proper storage is crucial for maintaining wrapper quality:
- Fresh Use: Within 2 hours at room temperature
- Refrigerated: Up to 2 days, wrapped tightly
- Frozen: Up to 3 months in airtight container
- Thawing: Overnight in refrigerator
Advanced Tips and Techniques
After years of practice, I’ve discovered these professional tips:
- Temperature Control
- Keep dough at room temperature
- Work in a cool environment
- Avoid direct sunlight or heat
- Texture Assessment
- Should feel smooth like an earlobe
- Slightly tacky but not sticky
- Bounces back when pressed
- Rolling Mastery
- Use consistent pressure
- Keep edges thinner than center
- Maintain circular shape
Common Questions and Answers
Q: Why do my wrappers keep shrinking back when I roll them?
The gluten needs more time to relax. Let the dough rest longer, at least 30 minutes, before rolling.
Q: Can I use a pasta machine to roll the wrappers?
While possible, I don’t recommend it. Hand-rolling gives better control over thickness and texture.
Q: How do I prevent the wrappers from drying out while working?
Keep both the dough and finished wrappers covered with a slightly damp cloth at all times.
Q: Can I make the dough ahead and refrigerate overnight?
Yes, but bring it to room temperature and knead briefly before using.
Q: Why are my wrappers tough instead of tender?
This usually happens from over-kneading. Stop kneading once the dough is smooth and elastic.
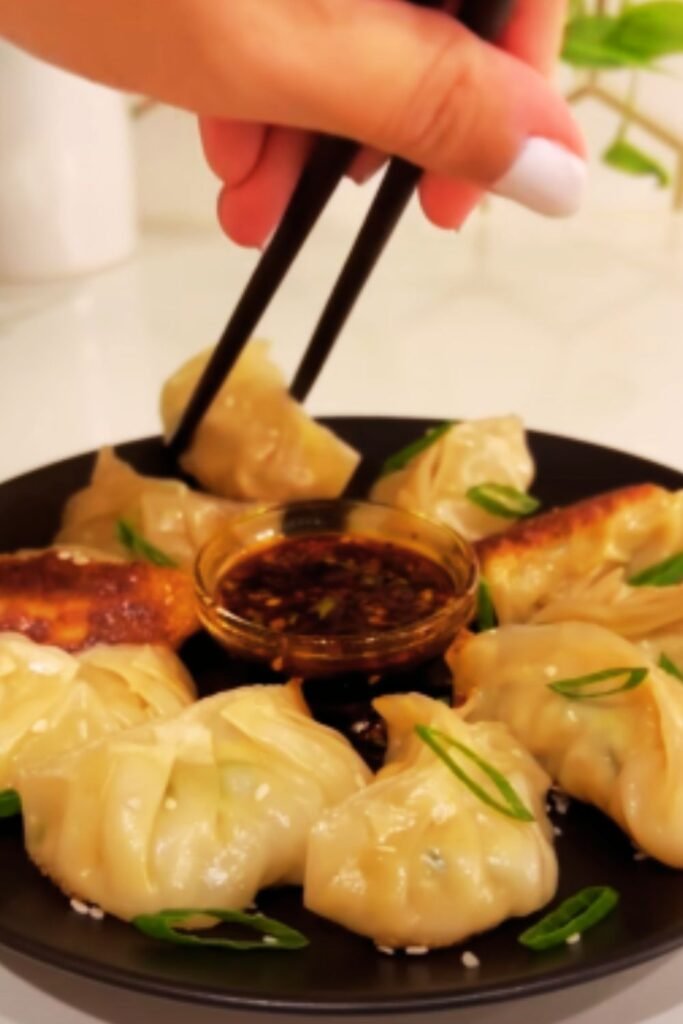
Serving Suggestions
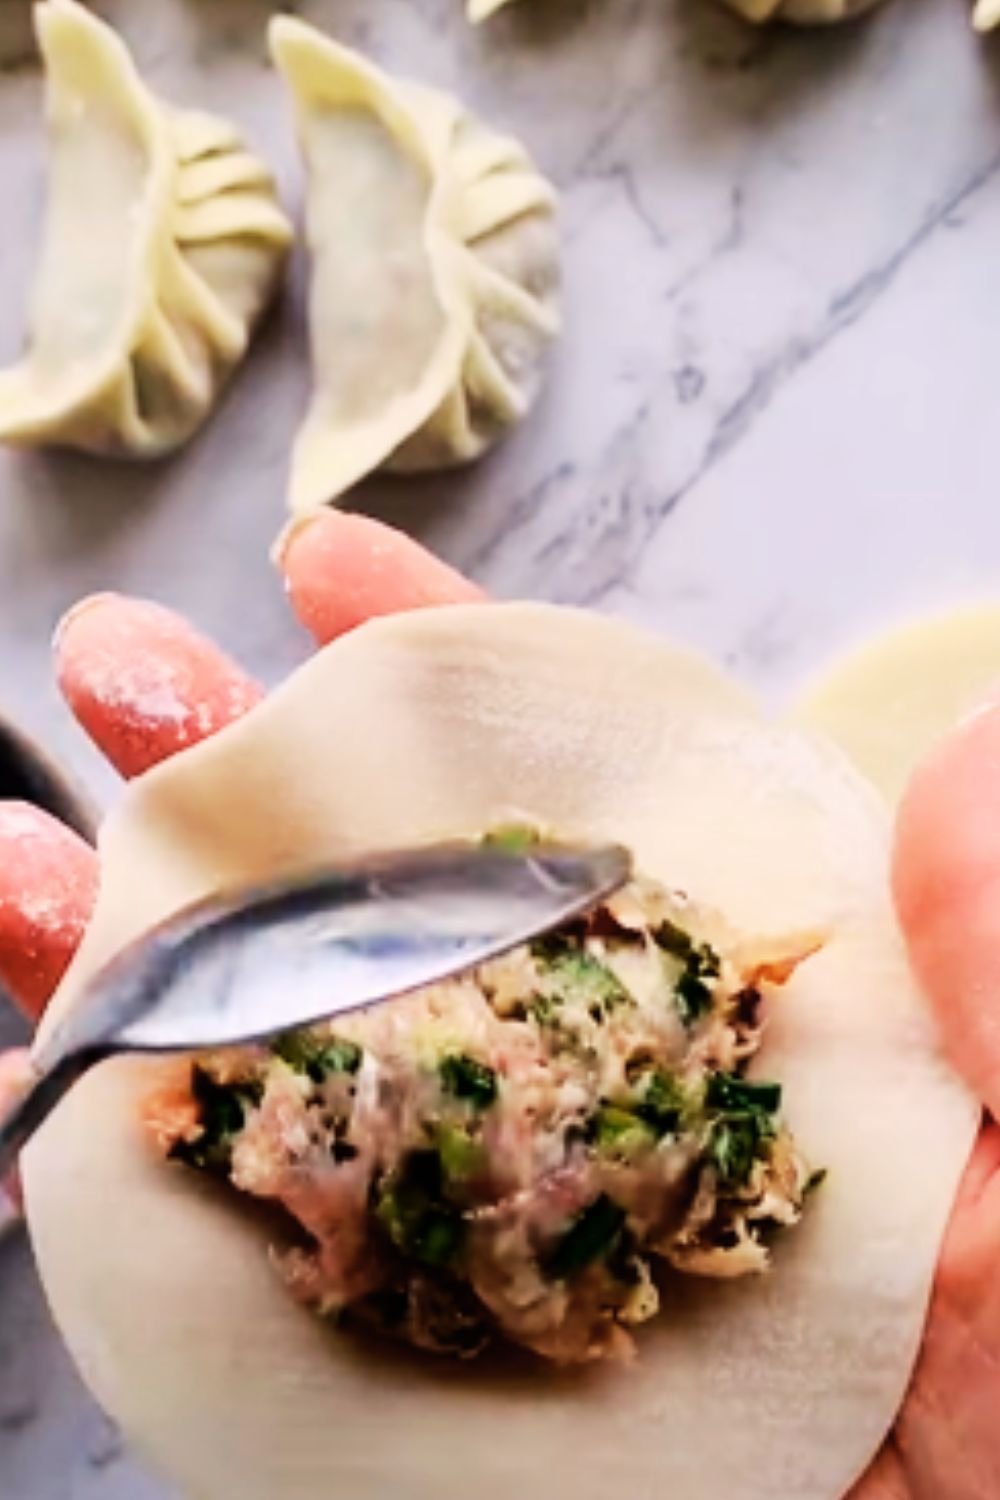
Create these delicious fillings to complement your homemade wrappers:
| Filling Type | Key Ingredients | Cooking Method |
|---|---|---|
| Classic Pork | Ground pork, cabbage, ginger | Steam or pan-fry |
| Vegetarian | Mushroom, tofu, carrots | Boil or steam |
| Seafood | Shrimp, chives, water chestnuts | Steam |
| Chicken | Ground chicken, corn, green onion | Pan-fry |
Final Tips for Success
Remember these key points for wrapper perfection:
- Temperature Matters
- Use warm water, not hot
- Keep dough at room temperature
- Work in a cool environment
- Timing is Everything
- Don’t rush the resting period
- Work efficiently once rolling begins
- Cook within 2 hours of rolling
- Practice Makes Perfect
- Start with smaller batches
- Be patient with the learning curve
- Keep notes on what works best
With these detailed instructions and tips, you’re well-equipped to create beautiful, delicate dumpling wrappers at home. Remember, perfection comes with practice, so don’t be discouraged if your first few attempts aren’t restaurant-quality. Keep practicing, and you’ll soon be making wrappers that would make any dumpling master proud.