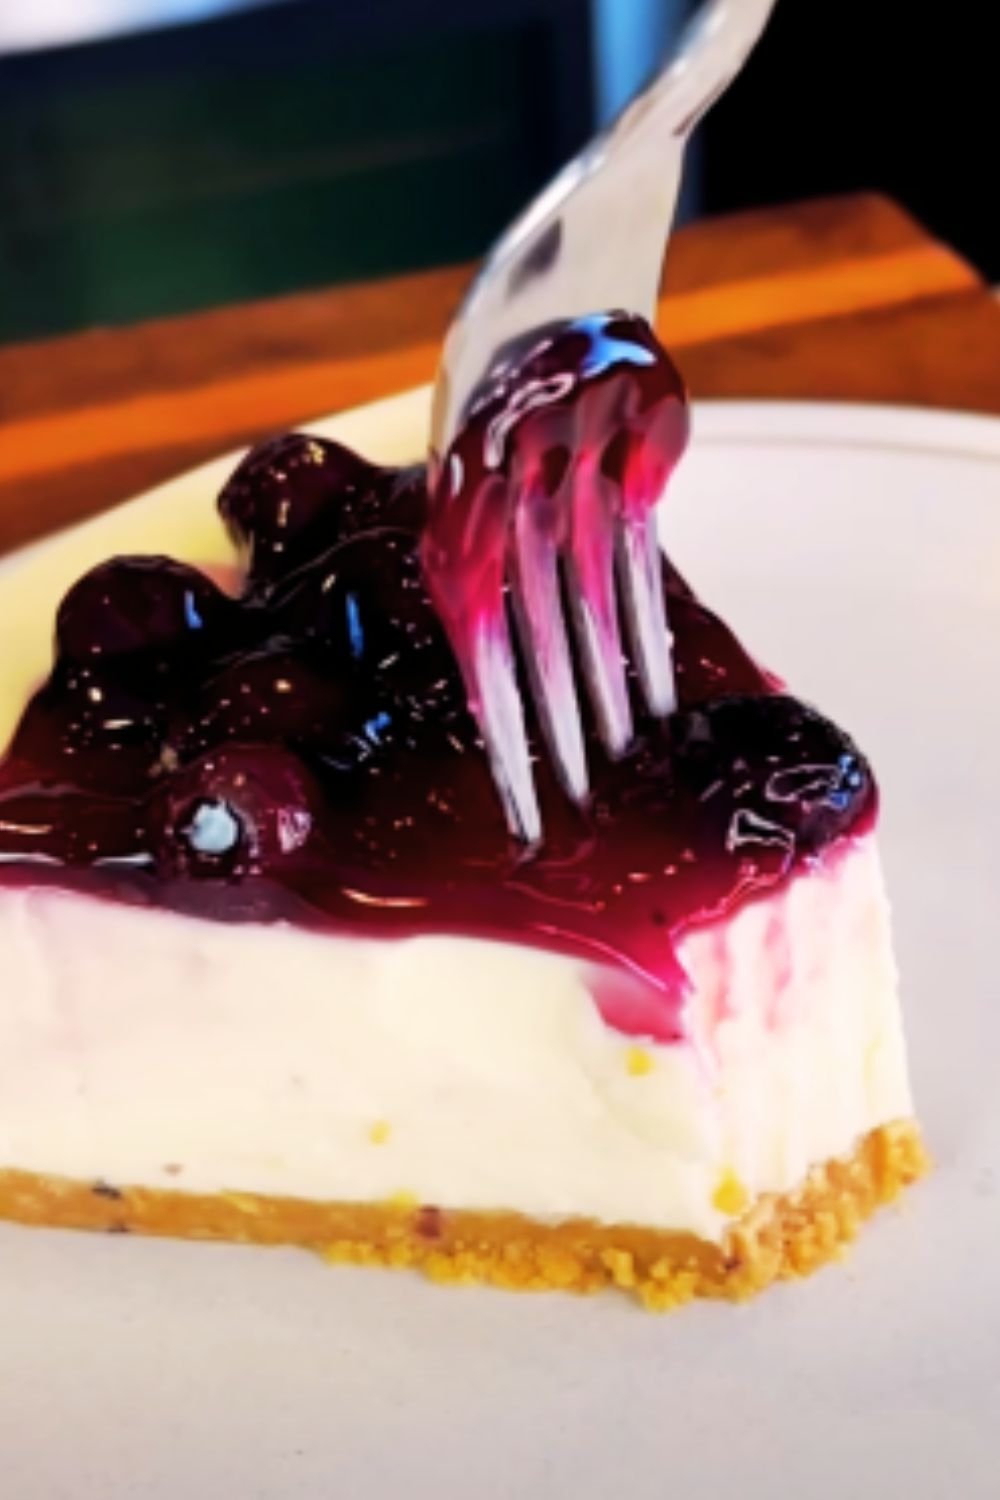
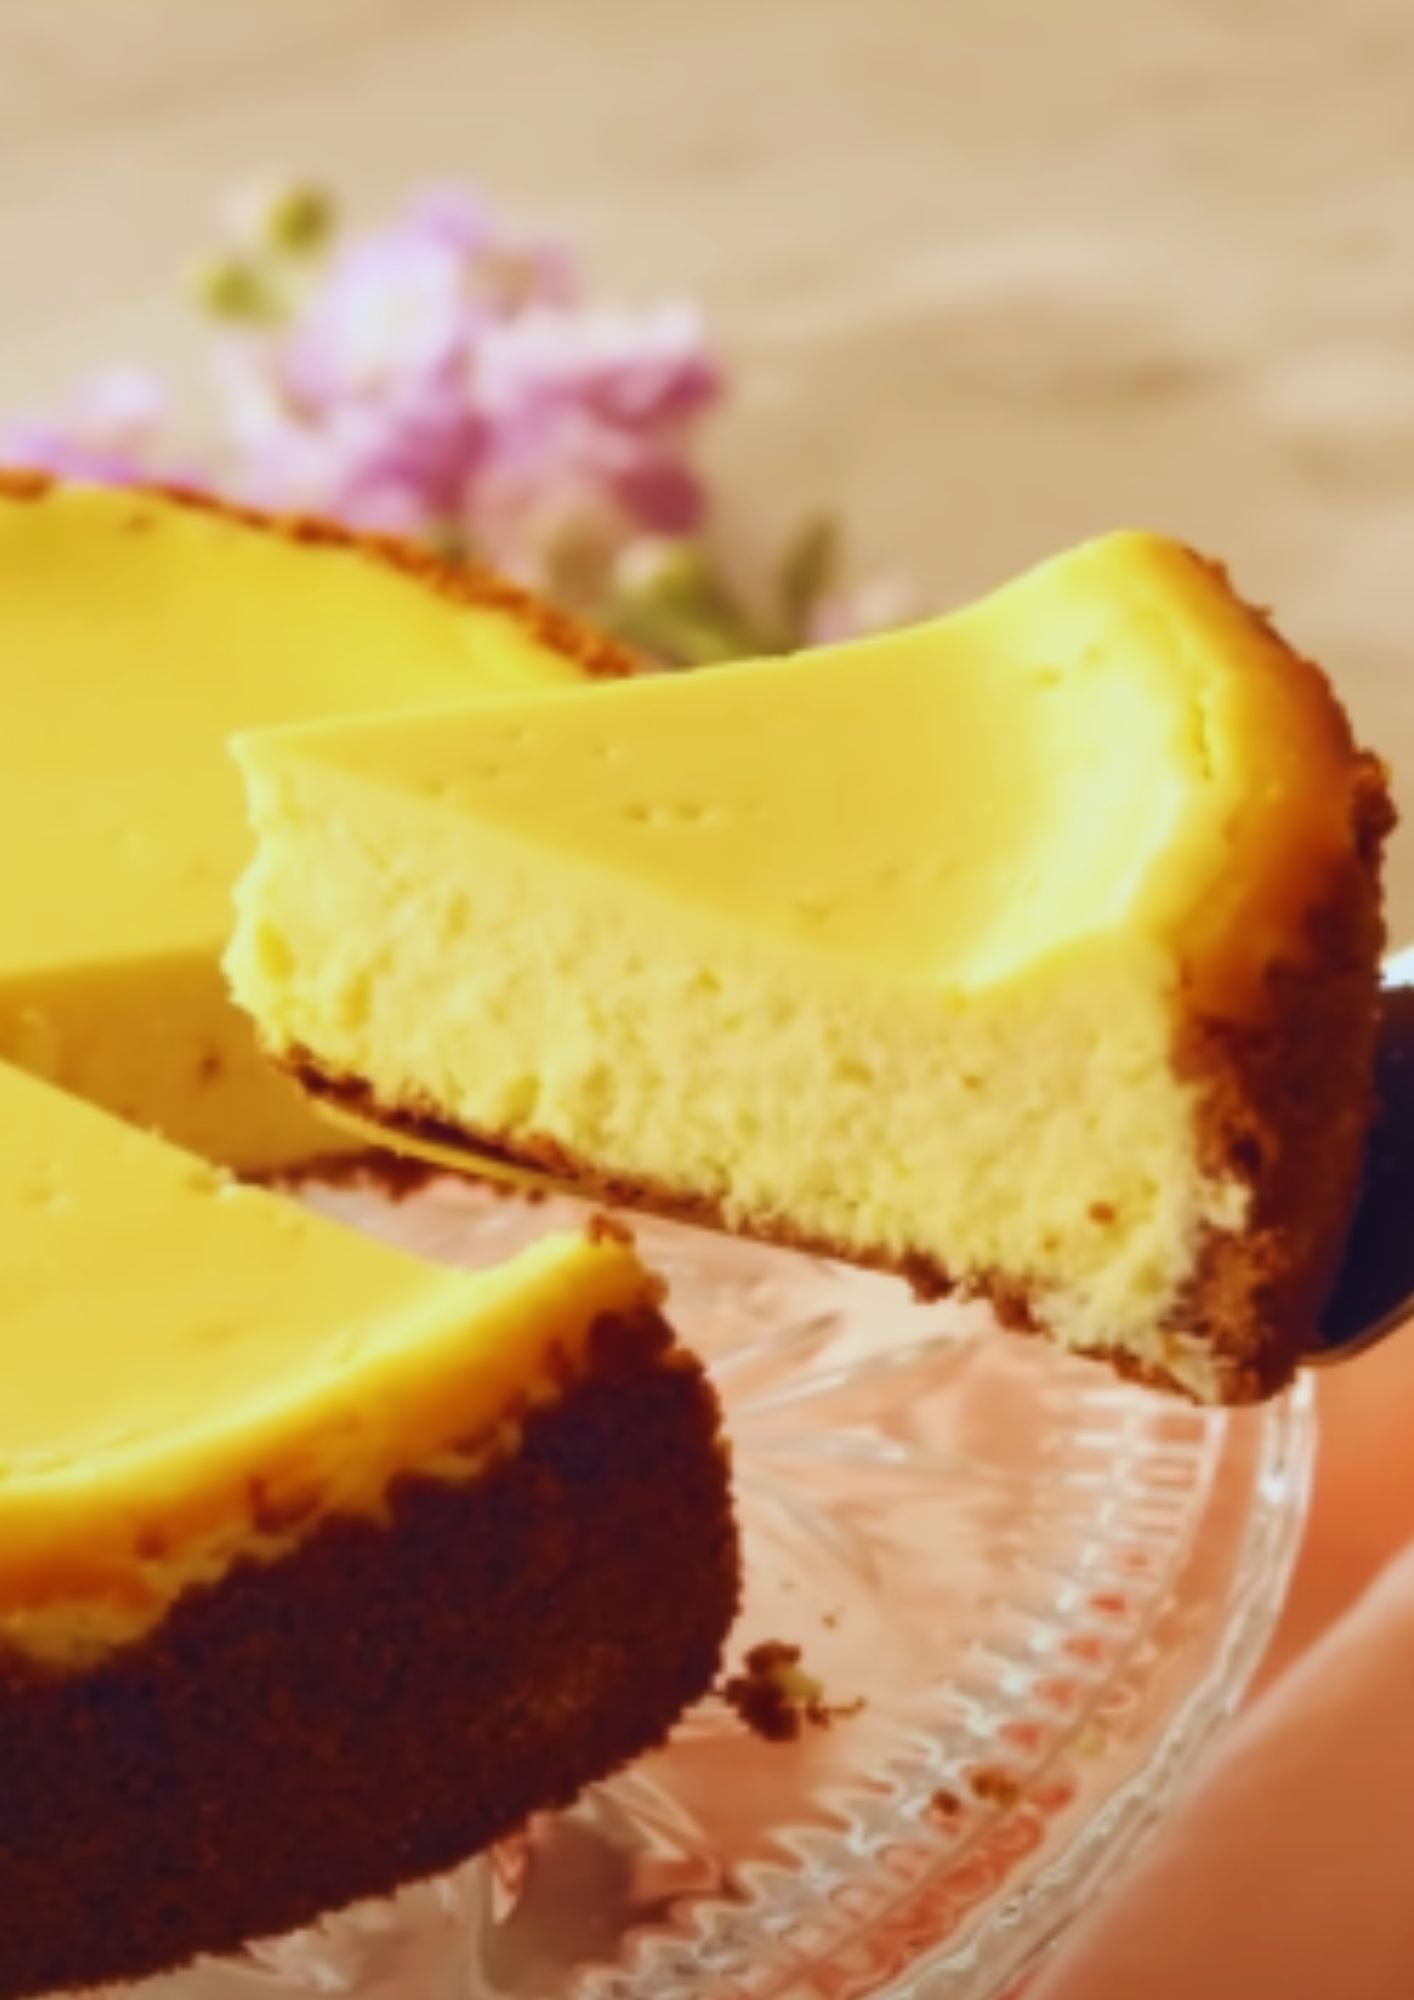
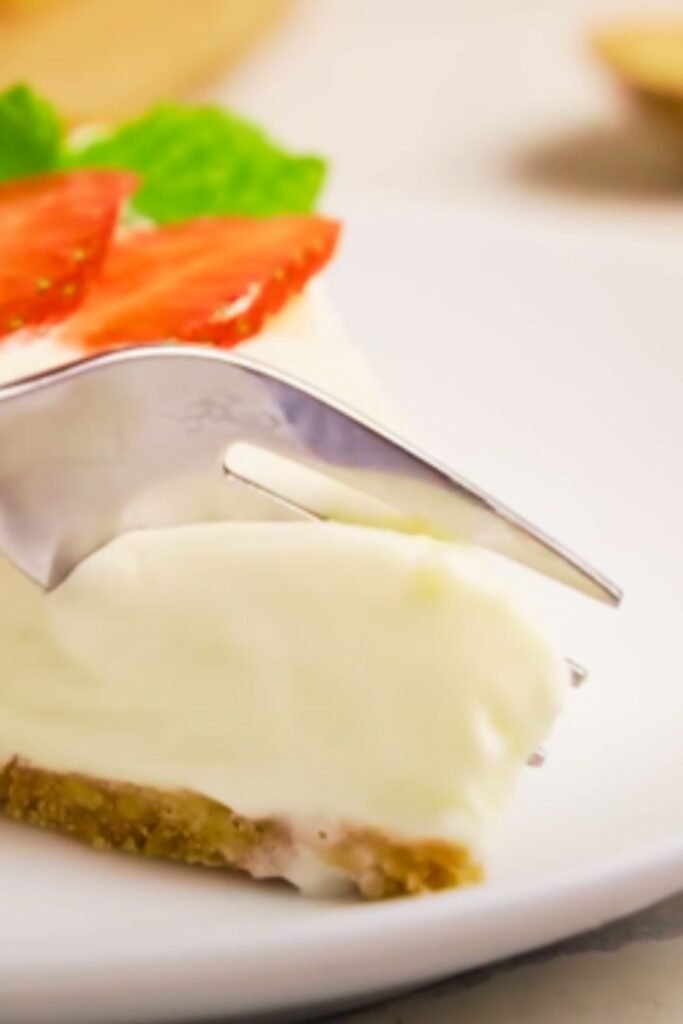
There’s something magical about a perfectly crafted no-bake cheesecake. The silky-smooth texture, the rich creamy flavor, and that buttery graham cracker crust – all coming together without ever turning on the oven. Today, I’m sharing my foolproof recipe that I’ve perfected over countless attempts in my home kitchen.
Why You’ll Love This Recipe
After testing dozens of variations, I can confidently say this no-bake cheesecake recipe strikes the perfect balance between ease and elegance. The texture is luxuriously smooth, the flavor is rich without being overwhelming, and best of all, it sets perfectly every time – no water baths or risk of cracks like traditional baked cheesecakes.
Essential Ingredients
For the Crust:
- 2½ cups graham cracker crumbs (about 18 full sheets)
- ⅓ cup granulated sugar
- ¾ cup unsalted butter, melted
- ¼ teaspoon salt
For the Filling:
- 24 oz cream cheese, softened at room temperature
- 1 cup granulated sugar
- 2 cups heavy whipping cream
- ¼ cup sour cream
- 2 tablespoons fresh lemon juice
- 1 tablespoon vanilla extract
- ¼ teaspoon salt
Optional Toppings:
- Fresh berries
- Fruit compote
- Caramel sauce
- Chocolate shavings
- Whipped cream
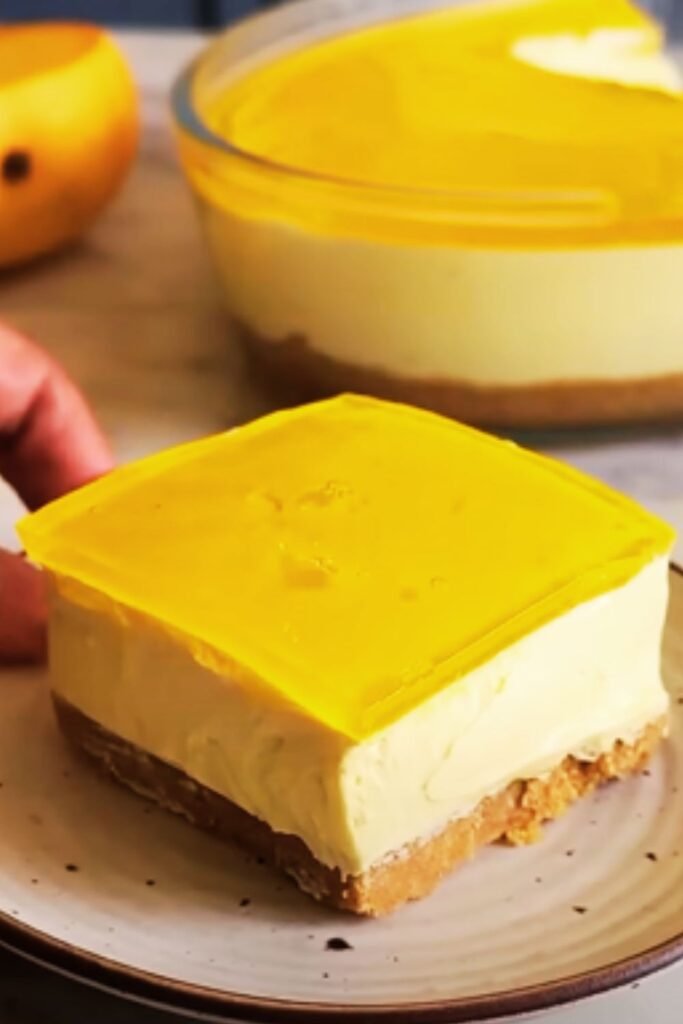
Kitchen Equipment Needed
| Equipment | Purpose | Notes |
|---|---|---|
| 9-inch springform pan | Main cake pan | Must be springform for easy removal |
| Large mixing bowl | Mixing filling | Glass or stainless steel preferred |
| Electric mixer | Whipping cream & mixing filling | Hand or stand mixer works |
| Measuring cups & spoons | Accurate measurements | Essential for perfect results |
| Rubber spatula | Folding & spreading | Helps achieve smooth texture |
| Food processor | Crushing crackers | Can use rolling pin instead |
| Parchment paper | Lining pan | Helps with removal |
Step-by-Step Instructions
Preparing the Crust:
- Line the bottom of a 9-inch springform pan with parchment paper and lightly grease the sides.
- In a food processor, pulse graham crackers until finely ground. Add sugar and salt, pulse to combine.
- Pour in melted butter and pulse until mixture resembles wet sand.
- Press mixture firmly into the bottom and about 2 inches up the sides of the pan.
- Refrigerate while preparing the filling (minimum 30 minutes).
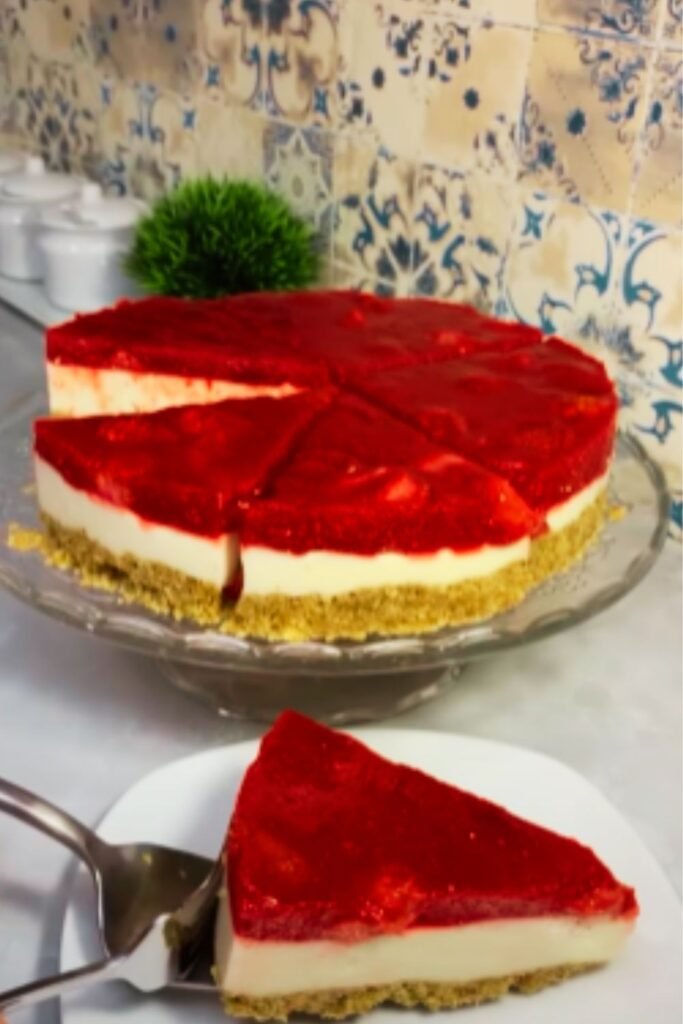
Creating the Filling:
- In a large bowl, beat softened cream cheese until completely smooth (about 3 minutes).
- Gradually add sugar while continuing to beat until fully incorporated.
- Add sour cream, lemon juice, vanilla extract, and salt. Beat until smooth.
- In a separate bowl, whip heavy cream until stiff peaks form.
- Gently fold whipped cream into cream cheese mixture in three batches.
Assembly and Setting:
- Pour filling into prepared crust, smoothing the top with an offset spatula.
- Tap pan gently on counter several times to remove air bubbles.
- Refrigerate for at least 6 hours, preferably overnight.
Troubleshooting Guide
| Problem | Possible Cause | Solution |
|---|---|---|
| Filling is lumpy | Cream cheese not softened | Ensure cream cheese is at room temperature |
| Crust is crumbly | Too little butter | Add 1-2 tablespoons more melted butter |
| Filling won’t set | Cream not whipped enough | Whip cream until very stiff peaks form |
| Filling is too soft | Overmixing | Fold gently, don’t overmix |
| Crust sticks to pan | Pan not greased | Use parchment paper and grease sides well |
Storage and Make-Ahead Tips
| Storage Method | Duration | Notes |
|---|---|---|
| Refrigerator | Up to 5 days | Cover with plastic wrap |
| Freezer | Up to 3 months | Wrap well in plastic and foil |
| Room Temperature | Max 2 hours | Not recommended for longer |
Serving Suggestions
- Top with fresh seasonal berries
- Drizzle with homemade caramel sauce
- Add a dollop of whipped cream
- Serve with a hot cup of coffee or tea
- Pair with a fruit compote
Nutritional Information
(Per slice, based on 12 servings)
| Nutrient | Amount |
|---|---|
| Calories | 450 |
| Total Fat | 32g |
| Saturated Fat | 19g |
| Cholesterol | 95mg |
| Sodium | 320mg |
| Total Carbohydrates | 38g |
| Dietary Fiber | 1g |
| Sugar | 28g |
| Protein | 6g |
Common Questions & Answers
Q: Can I use low-fat cream cheese?
While you can use low-fat cream cheese, I don’t recommend it. The full-fat version provides better texture and helps the cheesecake set properly.
Q: Why isn’t my filling firm enough?
The most common reason is under-whipped cream or overfolding. Make sure your heavy cream reaches stiff peaks before folding it into the cream cheese mixture.
Q: Can I make this without a springform pan?
While a springform pan is ideal, you can use a deep pie dish. Just be aware that removing clean slices will be more challenging.
Q: How do I know when the cheesecake is set?
The surface should be firm to the touch, with a slight jiggle in the center when gently shaken. The edges should be more set than the middle.
Q: Can I add other flavors to this recipe?
Absolutely! Try adding melted chocolate, fruit purees, or different extracts. Just be careful not to add too much liquid, as it can prevent proper setting.
Pro Tips for Success
- Room temperature ingredients are crucial for a smooth filling
- Don’t rush the setting process – overnight refrigeration yields best results
- Use full-fat cream cheese and heavy cream for optimal texture
- Clean your knife between each cut for perfect slices
- Chill your mixing bowl and beaters before whipping cream
- Tap the pan several times to remove air bubbles before refrigerating
Recipe Variations
Chocolate Swirl
Add 4 oz melted and cooled semi-sweet chocolate to half the filling mixture, then swirl together.
Fruit-Topped
Top with 2 cups of fresh berries tossed with 2 tablespoons berry jam.
Caramel Pecan
Add a layer of caramel sauce and toasted pecans between the crust and filling.
Cookies & Cream
Fold in 1½ cups crushed chocolate sandwich cookies to the filling mixture.
This no-bake cheesecake recipe is perfect for both novice bakers and experienced cooks alike. With careful attention to detail and these comprehensive instructions, you’ll create a dessert that rivals any restaurant version. Remember, patience is key – proper setting time makes all the difference between good and exceptional results.
