There’s something magical about creating an elegant dessert that looks like it took hours but requires only three simple ingredients and minimal effort. My journey with this cookies and cream mousse began during a particularly hectic week when I needed to bring dessert to a dinner party but had zero time for elaborate preparations. What I discovered was a recipe so simple yet so impressive that it’s become my go-to solution for last-minute entertaining.
This three-ingredient wonder transforms basic pantry staples into a luxurious treat that rivals any restaurant dessert. The beauty lies not just in its simplicity, but in how the ingredients work together to create layers of flavor and texture that dance on your palate. Each spoonful delivers the nostalgic comfort of childhood cookies balanced with the sophisticated creaminess of mousse.
Understanding the Magic Behind Three-Ingredient Mousse
Mousse: A light, airy dessert typically made with whipped cream or egg whites, characterized by its fluffy texture and rich flavor profile.
Emulsification: The process of combining ingredients that normally don’t mix well together, creating a stable, smooth mixture.
Stabilization: The technique of maintaining the structure and texture of whipped ingredients over time.
The science behind this recipe fascinates me every time I make it. When you whip heavy cream, you’re incorporating air bubbles that create volume and lightness. The cream cheese adds stability and tangy richness, while the crushed cookies provide texture contrast and that unmistakable cookies-and-cream flavor we all crave.
What makes this recipe particularly brilliant is how each ingredient serves multiple purposes. The heavy cream doesn’t just add richness – it’s the foundation that holds everything together. The cream cheese isn’t merely for flavor – it acts as a stabilizer that prevents the mousse from deflating. The cookies aren’t just mix-ins – they contribute to the overall structure while delivering that signature crunch.
Essential Ingredients Breakdown
| Ingredient | Quantity | Purpose | Quality Tips |
|---|---|---|---|
| Heavy Whipping Cream | 2 cups (480ml) | Creates volume and base texture | Must be at least 35% fat content, well-chilled |
| Cream Cheese | 8 oz (225g) | Provides stability and tangy richness | Room temperature for smooth incorporation |
| Chocolate Sandwich Cookies | 20-24 cookies (200g) | Adds flavor, texture, and visual appeal | Choose quality cookies for best results |
The ingredient ratios in this recipe aren’t arbitrary – they’re carefully balanced to achieve the perfect texture. Too much cream cheese and the mousse becomes dense; too little and it won’t hold its shape. The cookie quantity provides just enough crunch without overwhelming the delicate mousse base.
I’ve experimented with different cookie varieties over the years, and while classic chocolate sandwich cookies work beautifully, don’t be afraid to explore alternatives. Golden sandwich cookies create a vanilla-forward version, while chocolate chip cookies add interesting texture variations.
Step-by-Step Preparation Method
Phase 1: Preparation Setup
- Remove cream cheese from refrigerator 30 minutes before starting
- Chill mixing bowl and beaters in freezer for 15 minutes
- Crush cookies to desired consistency (I prefer a mix of fine crumbs and chunky pieces)
- Prepare serving glasses or dessert cups
Phase 2: Creating the Base
Begin by beating the room-temperature cream cheese until completely smooth and fluffy. This step is crucial – any lumps at this stage will remain in your final mousse. I typically spend about 2-3 minutes on this step, ensuring the cream cheese reaches a light, airy consistency.
Gradually add half of the heavy cream to the cream cheese, beating continuously. This gradual incorporation prevents the mixture from curdling and ensures smooth integration. The mixture should become noticeably lighter in color and texture.
Phase 3: Achieving Perfect Peaks
In your chilled bowl, whip the remaining heavy cream until it forms soft peaks. Watch carefully – the transition from liquid to soft peaks happens quickly, and overwhipping can ruin the texture. The cream should hold its shape but still look glossy and smooth.
Gently fold the whipped cream into the cream cheese mixture using a rubber spatula. Use a folding motion rather than stirring to maintain the air bubbles that give mousse its characteristic lightness. The mixture should be uniform but still airy.
Phase 4: Final Assembly
Reserve about one-quarter of your crushed cookies for garnish. Fold the remaining cookies into the mousse mixture with gentle movements. The cookies will continue to soften slightly as the mousse chills, creating perfect texture contrast.
Advanced Techniques and Variations
Texture Customization Options
| Variation | Method | Result |
|---|---|---|
| Ultra-Smooth | Blend cookies to fine powder | Uniform, velvety texture |
| Chunky Style | Leave cookies in large pieces | Bold texture contrast |
| Layered Approach | Alternate mousse and cookie layers | Visual and textural interest |
| Marbled Effect | Partially fold cookies for streaked appearance | Elegant presentation |
The temperature control throughout this process significantly impacts your final result. Cold ingredients whip better and hold their structure longer. I always keep my serving glasses chilled in the refrigerator, which helps the mousse set more quickly and maintain its shape.
For chocolate lovers seeking intensity, I sometimes add a tablespoon of cocoa powder to the cream cheese before whipping. This deepens the chocolate flavor without compromising the mousse’s stability. Vanilla extract (just half a teaspoon) can brighten the overall flavor profile if you prefer a more balanced taste.
Professional Presentation Tips
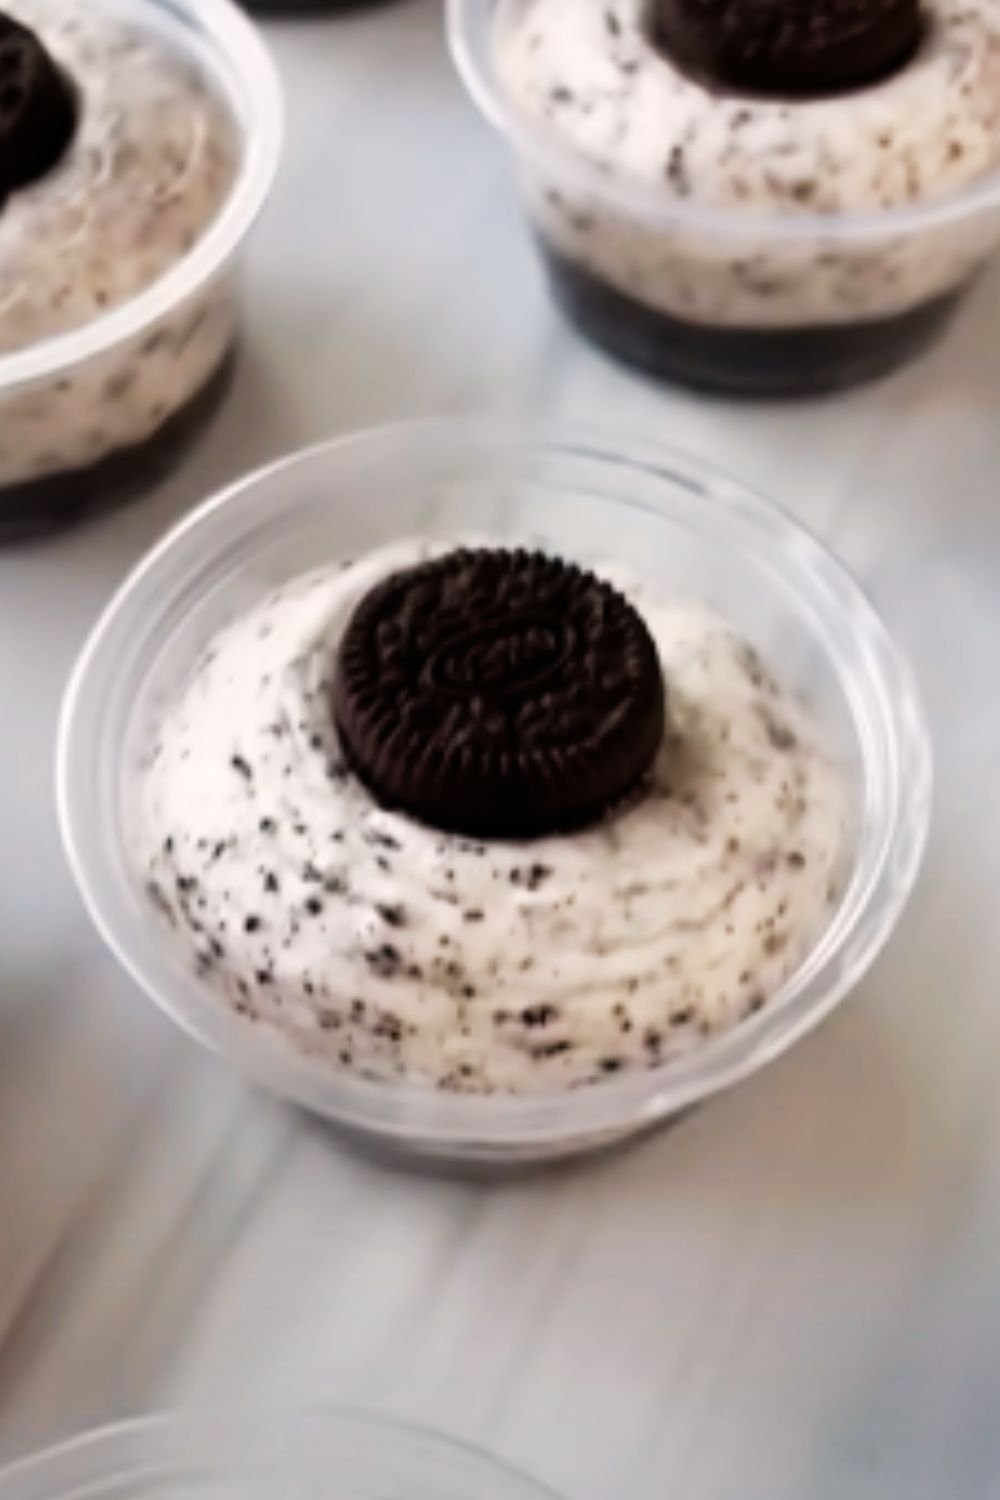
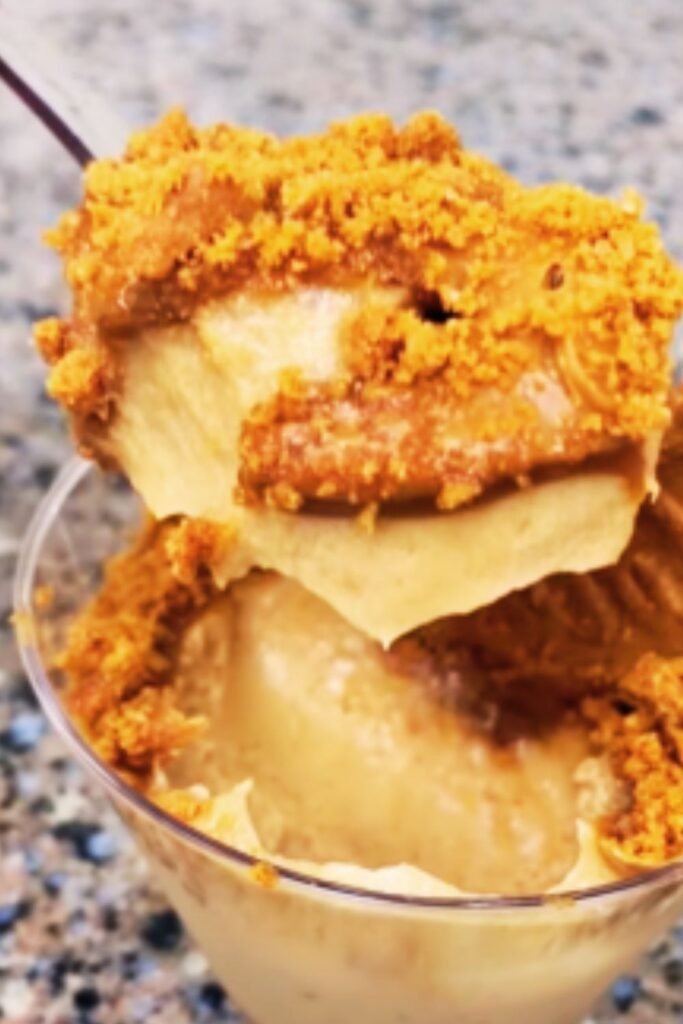
Presentation transforms this simple dessert into something restaurant-worthy. I like to use clear glasses to showcase the beautiful texture and color contrast. Piping the mousse through a large star tip creates elegant rosettes, while a simple spoon-and-level technique works perfectly for casual presentations.
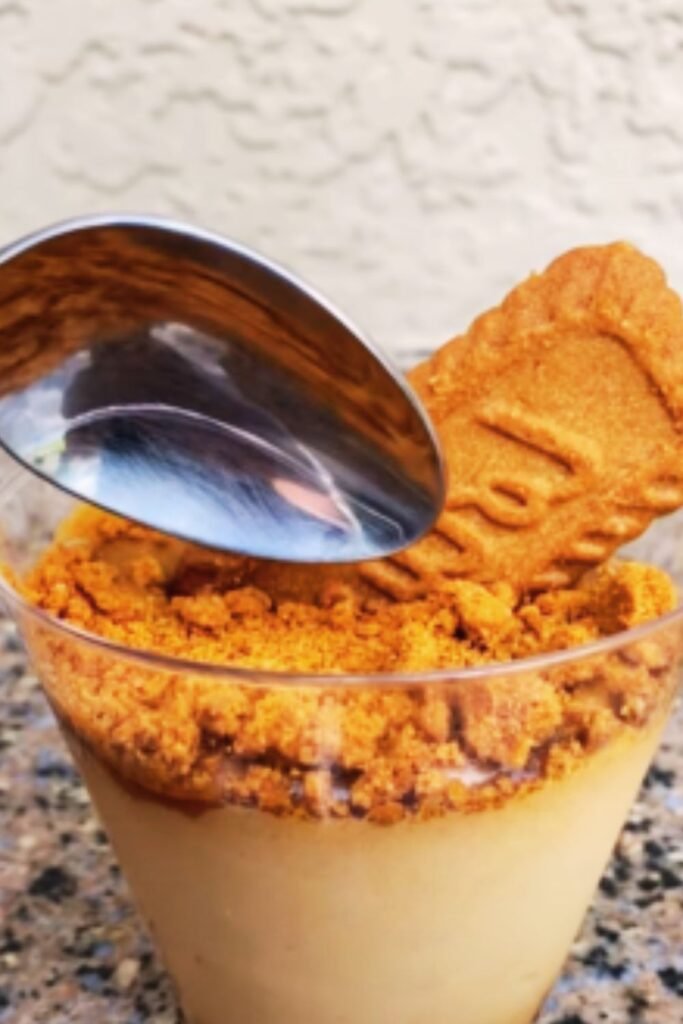
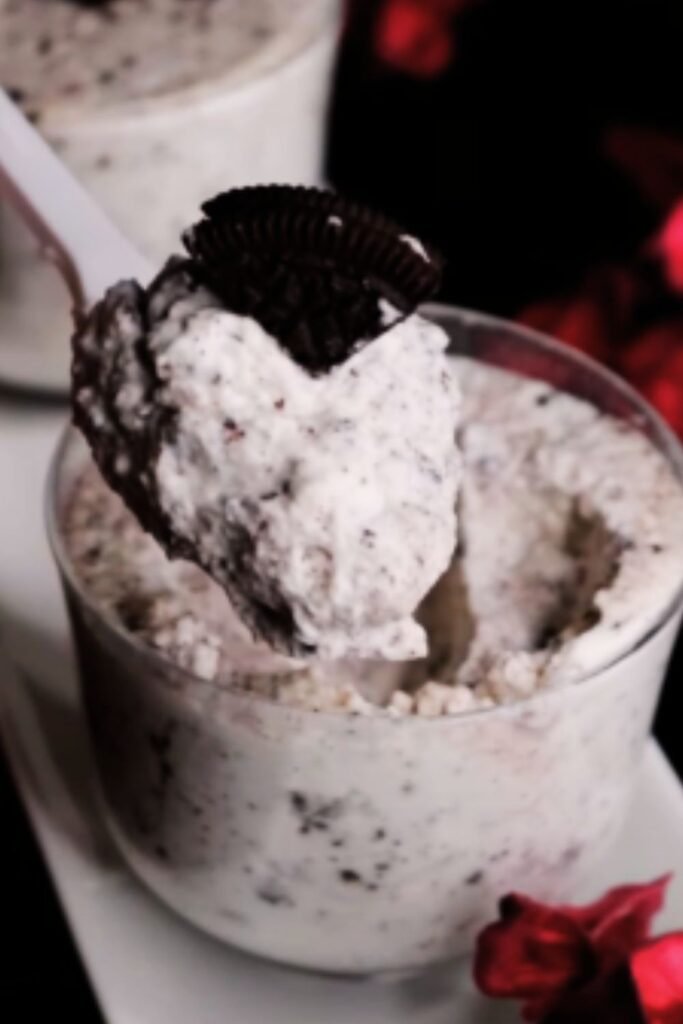
Layer your mousse with reserved cookie crumbs for visual drama. Start with a small spoonful of crumbs at the bottom, add mousse, then repeat. Top with a final sprinkle of cookies and perhaps a small cookie for garnish.
Temperature presentation matters enormously. This mousse tastes best when properly chilled but not frozen solid. I recommend serving it after 2-4 hours of refrigeration, when it has set but still maintains that perfect creamy consistency.
Nutritional Information and Dietary Considerations
| Nutrient | Per Serving (6 servings) | Daily Value % |
|---|---|---|
| Calories | 385 | 19% |
| Total Fat | 28g | 36% |
| Saturated Fat | 17g | 85% |
| Cholesterol | 95mg | 32% |
| Sodium | 285mg | 12% |
| Total Carbohydrates | 32g | 12% |
| Sugars | 26g | – |
| Protein | 5g | 10% |
While this dessert is undeniably indulgent, it does provide some nutritional benefits. The dairy components contribute calcium and protein, while the moderate serving size makes it a reasonable treat within a balanced diet.
For those with dietary restrictions, adaptations are possible though they require some experimentation. Sugar-free cookies can reduce the overall sugar content, while lighter cream cheese varieties can decrease calories without dramatically affecting texture.
Storage and Make-Ahead Strategies
This mousse actually improves with time, making it perfect for advance preparation. The flavors meld beautifully overnight, and the cookies achieve an ideal texture balance between crunch and softness.
Storage Guidelines
| Storage Method | Duration | Quality Notes |
|---|---|---|
| Refrigerator (covered) | 3-4 days | Best texture days 1-2 |
| Individual portions | 5 days | Maintains better consistency |
| Bulk storage | 3 days | May require re-whipping |
Cover tightly with plastic wrap directly touching the surface to prevent skin formation. Individual portion cups work excellently for meal prep or party planning, allowing you to prepare desserts well in advance.
I don’t recommend freezing this mousse as it affects the texture significantly. The cream separates upon thawing, creating an unpleasant grainy consistency that’s difficult to remedy.
Troubleshooting Common Issues
Even with such a simple recipe, occasional problems can arise. Understanding how to address them ensures consistent success every time you make this dessert.
Grainy Texture: Usually results from cream cheese that wasn’t properly softened or inadequate mixing. Always ensure cream cheese reaches room temperature before beginning, and beat thoroughly until completely smooth.
Deflated Mousse: Typically caused by overwhipped cream or too-aggressive folding. Whip cream only to soft peaks, and use gentle folding motions to preserve air bubbles.
Separation: Can occur if ingredients are at drastically different temperatures. All ingredients should be at similar temperatures before combining.
Too Thin: May result from under-whipped cream or warm ingredients. Chill the mixture for 30 minutes, then gently re-whip if necessary.
Creative Serving Suggestions
The versatility of this mousse extends far beyond simple presentation in glasses. I’ve successfully used it as a cake filling, trifle layer, and even pie filling with excellent results.
For entertaining, consider creating a dessert bar where guests can customize their mousse with various toppings: fresh berries, chocolate shavings, caramel drizzle, or different cookie varieties. This interactive approach adds fun to dinner parties while accommodating different preferences.
Individual mason jars create charming rustic presentations perfect for outdoor gatherings. Layer the mousse with fresh fruit for added color and nutritional balance, or create parfait-style presentations with alternating layers of mousse and cookie crumbs.
Seasonal Adaptations and Flavor Variations
Spring calls for lighter presentations with fresh berry garnishes and mint leaves. Summer versions benefit from chilled serving temperatures and fruit accompaniments. Fall presentations can incorporate spiced cookies or caramel drizzles, while winter versions might feature peppermint cookies or chocolate garnishes.
Holiday adaptations work wonderfully with this base recipe. Halloween versions using orange-colored cookies create festive presentations, while Christmas variations with crushed candy cane cookies add seasonal flair.
The Science of Perfect Mousse
Understanding the chemistry behind this recipe helps ensure consistent results. Heavy cream contains fat globules that trap air when whipped, creating foam structure. The cream cheese provides lecithin, a natural emulsifier that stabilizes this foam and prevents separation.
The cookies contribute more than flavor – they absorb some moisture from the mousse, which actually helps stabilize the overall structure. This is why the mousse improves with time rather than deteriorating like some desserts.
Temperature control throughout the process affects every aspect of the final product. Cold ingredients whip more effectively, hold their shape better, and create more stable emulsions. This is why chilling bowls and beaters makes such a significant difference in the final texture.
Budget-Friendly Tips and Ingredient Substitutions
This recipe proves that elegant desserts don’t require expensive ingredients. Generic heavy cream works just as well as premium brands, and store-brand cream cheese produces identical results at a fraction of the cost.
Cookie selection offers the most potential for cost savings. While premium sandwich cookies taste wonderful, generic versions work perfectly in this application since they’re incorporated into the mousse rather than served standalone.
Buying ingredients in bulk when on sale and freezing portions can reduce costs significantly. Heavy cream freezes well for up to three months, though it should be thawed completely and brought to room temperature before whipping.
Q&A Section
Q: Can I make this mousse without cream cheese? Yes, though the texture will be different. Replace with an equal amount of mascarpone for similar richness, or use Greek yogurt for a lighter version, though you may need to add gelatin for stability.
Q: How far in advance can I prepare this dessert? This mousse is actually better when made 4-24 hours ahead. The flavors develop beautifully, and the cookies achieve perfect texture. I wouldn’t recommend making it more than 3 days in advance.
Q: Why did my mousse turn out runny? Several factors can cause this: under-whipped cream, warm ingredients, or incorrect ratios. Ensure your cream reaches soft peaks, all ingredients are properly chilled, and measurements are accurate.
Q: Can I use light cream cheese or reduced-fat ingredients? Light cream cheese works but creates a less stable mousse. Reduced-fat heavy cream won’t whip properly. For lighter versions, consider reducing portion sizes rather than substituting ingredients.
Q: What’s the best way to crush cookies for this recipe? I prefer placing cookies in a sealed bag and crushing with a rolling pin. This gives you control over texture – from fine crumbs to chunky pieces. Food processors work but can create too-uniform results.
Q: Can I add other flavors to this basic recipe? Absolutely! Vanilla extract, almond extract, or even espresso powder work well. Add extracts gradually – start with 1/2 teaspoon and adjust to taste.
Q: Is it possible to make individual portions instead of one large batch? Individual portions actually work better for storage and presentation. Divide the mixture among serving glasses immediately after preparation for best results.
Q: Can I use different types of cookies? Any crisp cookie works well. Chocolate chip, vanilla wafers, gingersnaps, or even graham crackers create delicious variations. Adjust quantities based on cookie size and your texture preferences.
This three-ingredient cookies and cream mousse has become my signature dessert for good reason. It delivers maximum impact with minimal effort, proves that simple ingredients can create extraordinary results, and adapts beautifully to different occasions and preferences. Whether you’re entertaining guests or treating yourself, this recipe provides the perfect balance of indulgence and accessibility that makes cooking truly rewarding.