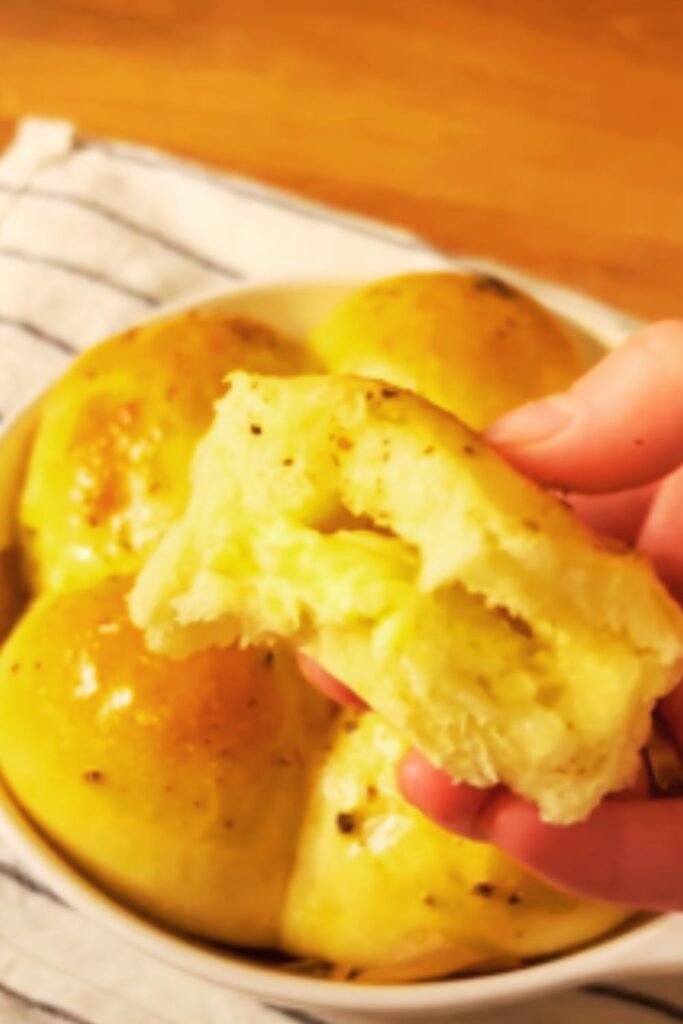
There’s something truly magical about the combination of warm bread, seasoned ground beef, and melted cheese that creates an irresistible comfort food experience. As someone who has spent countless hours perfecting this recipe, I’m excited to share my version of the Cheesy Ground Beef Stuffed Bread Roll that has become a staple in my household. This versatile dish works wonderfully as a main course, party appetizer, or even packed lunch option that’s sure to impress everyone who tastes it.
The beauty of this stuffed bread roll lies in its perfect balance of textures and flavors – a golden, crispy exterior giving way to soft bread surrounding a savory, cheesy beef filling that’s seasoned to perfection. While it may look impressive and complex, I’ve broken down the process into simple steps that even beginner cooks can follow with confidence.
The Magic Behind This Recipe
What makes this recipe special is its ability to transform simple ingredients into something extraordinary. The bread dough hugs the savory filling creating a perfect vessel for the flavorful ground beef mixture. When you slice into it, revealing the beautiful spiral of meat and cheese, it creates a presentation that’s as impressive as the taste.
I’ve experimented with countless variations over the years, and this version represents the perfect balance of flavors, textures, and ease of preparation. Let me guide you through creating this crowd-pleasing dish that’s certain to become a favorite in your recipe collection too.
Ingredients You’ll Need
For the Bread Dough:
- 4½ cups all-purpose flour
- 2¼ teaspoons active dry yeast (1 standard packet)
- 1½ cups warm water (around 110°F)
- 3 tablespoons olive oil
- 2 teaspoons sugar
- 1½ teaspoons salt
For the Beef Filling:
- 1½ pounds ground beef (I prefer 85% lean)
- 1 medium onion, finely diced
- 3 cloves garlic, minced
- 1 red bell pepper, diced
- 1 tablespoon olive oil
- 2 tablespoons tomato paste
- 1 teaspoon dried oregano
- 1 teaspoon paprika
- ½ teaspoon cumin
- ½ teaspoon dried thyme
- ¼ teaspoon cayenne pepper (adjust to taste)
- Salt and freshly ground black pepper to taste
For the Cheese Layer:
- 2 cups shredded mozzarella cheese
- 1 cup shredded cheddar cheese
- ½ cup grated Parmesan cheese
For the Topping:
- 1 egg, beaten (for egg wash)
- 2 tablespoons sesame seeds or everything bagel seasoning (optional)
- 2 tablespoons melted butter
- 2 cloves garlic, minced
- 1 tablespoon fresh parsley, finely chopped
Essential Equipment
Before diving into the cooking process, make sure you have these tools ready:
- Large mixing bowl
- Stand mixer with dough hook attachment (optional but helpful)
- Rolling pin
- Large skillet
- Baking sheet
- Parchment paper
- Pastry brush
- Sharp knife
Step-by-Step Instructions
Preparing the Dough
- In a large bowl or the bowl of your stand mixer, combine the warm water, sugar, and yeast. Let it sit for about 5-10 minutes until foamy and activated.
- Add the olive oil, salt, and 2 cups of flour. Mix until combined.
- Gradually add the remaining flour, ½ cup at a time, until the dough comes together and pulls away from the sides of the bowl.
- Knead the dough, either by hand on a floured surface for 8-10 minutes or with a dough hook attachment for 5-7 minutes, until smooth and elastic.
- Form the dough into a ball and place it in a lightly oiled bowl. Cover with a clean kitchen towel or plastic wrap and let it rise in a warm spot for about 1 hour, or until doubled in size.

Making the Beef Filling
While the dough is rising, prepare your filling:
- Heat olive oil in a large skillet over medium heat. Add the diced onions and cook for 3-4 minutes until they begin to soften.
- Add the minced garlic and diced bell pepper, cooking for another 2 minutes until fragrant.
- Increase heat to medium-high and add the ground beef. Break it apart with a wooden spoon and cook until browned, about 5-7 minutes.
- Drain excess fat if necessary, leaving just enough to keep the mixture moist.
- Stir in the tomato paste and all the seasonings (oregano, paprika, cumin, thyme, cayenne, salt, and pepper). Cook for another 2-3 minutes, allowing the flavors to meld together.
- Remove from heat and let the mixture cool completely before assembling the bread roll. This is crucial, as hot filling can kill the yeast in the dough.
Assembling the Stuffed Bread Roll
- Preheat your oven to 375°F (190°C) and line a baking sheet with parchment paper.
- Once the dough has doubled in size, punch it down and transfer it to a lightly floured surface.
- Roll the dough into a large rectangle, approximately 18 inches by 12 inches. Try to maintain even thickness throughout.
- Evenly spread the cooled beef mixture over the dough, leaving a 1-inch border around all edges.
- Sprinkle the cheese mixture evenly over the beef layer.
- Starting from the long edge, tightly roll the dough (like a jelly roll), pinching the seam and ends to seal.
- Carefully transfer the roll to your prepared baking sheet, placing it seam-side down. Form it into a circle, connecting the ends and pinching them together to seal.
- Using a sharp knife, make cuts about 1½ inches apart, cutting about ¾ of the way through the roll. Gently twist each section slightly to expose some of the filling.
- Brush the entire surface with the beaten egg wash, then sprinkle with sesame seeds or everything bagel seasoning if using.

Baking to Perfection
- Bake in the preheated oven for 25-30 minutes, or until the bread is golden brown and sounds hollow when tapped on the bottom.
- While the bread is baking, prepare the garlic butter by mixing the melted butter with minced garlic and chopped parsley.
- When the bread roll is done, immediately brush it with the garlic butter mixture.
- Allow the bread roll to cool for 5-10 minutes before slicing and serving.
Serving Suggestions
This Cheesy Ground Beef Stuffed Bread Roll is versatile enough to be served in multiple ways:
- As a main dish with a fresh green salad
- With a side of marinara sauce for dipping
- Accompanied by roasted vegetables
- With a light soup for a perfect comfort food combination
- As an appetizer at parties, cut into smaller portions

Nutritional Information
For those who are health-conscious, here’s an approximate nutritional breakdown per serving (assuming the roll serves 8):
| Nutrient | Amount per Serving |
|---|---|
| Calories | 520 |
| Protein | 29g |
| Carbohydrates | 46g |
| Fat | 25g |
| Fiber | 2g |
| Sodium | 620mg |
| Calcium | 250mg |
| Iron | 4mg |
Note: Values are approximate and may vary based on specific ingredients used.
Make-Ahead and Storage Tips
One of the things I love about this recipe is its flexibility when it comes to preparation and storage:
Make-Ahead Options:
- Prepare the dough up to 24 hours in advance and store it in the refrigerator (first rise). Bring to room temperature before rolling and filling.
- Make the beef filling up to 2 days ahead and store in an airtight container in the refrigerator.
- The entire roll can be assembled up to the point of baking, then wrapped tightly and refrigerated for up to 8 hours before baking. Add 5-10 minutes to the baking time if cooking from cold.
Storage:
- Store leftover bread roll in an airtight container in the refrigerator for up to 3 days.
- Reheat individual slices in the microwave for 30 seconds, or wrapped in foil in a 350°F oven for about 10 minutes.
- For longer storage, wrap individual portions tightly in plastic wrap and aluminum foil, then freeze for up to 3 months. Thaw overnight in the refrigerator before reheating.
Customization Ideas
The beauty of this recipe lies in its adaptability. Here are some delicious variations to try:
Alternative Fillings:
- Italian Style: Use Italian sausage instead of ground beef, add spinach and ricotta, and use Italian herbs for seasoning
- Mediterranean: Ground lamb with feta cheese, olives, and oregano
- Tex-Mex: Ground beef with taco seasoning, corn, black beans, and pepper jack cheese
- Vegetarian: Sautéed mushrooms, spinach, bell peppers, and onions with feta and mozzarella
Dough Variations:
- Add 2 tablespoons of fresh herbs like rosemary or thyme to the dough
- Incorporate 2 cloves of grated garlic for a garlic bread effect
- Use part whole wheat flour (up to 50%) for a heartier texture
- Add 1 tablespoon of everything bagel seasoning to the dough for extra flavor
Troubleshooting Tips
Even experienced bakers can face challenges. Here are solutions to common issues:
Dough Not Rising:
- Check the expiration date on your yeast
- Ensure water temperature is around 110°F (warm but not hot)
- Place dough in a warmer location
Filling Leaking Out:
- Make sure to cool the filling completely before spreading
- Don’t overfill the dough
- Ensure all seams are pinched tightly closed
Doughy Center:
- Lower the oven temperature to 350°F and bake longer
- Check that your oven temperature is accurate with an oven thermometer
- Let the bread cool slightly before cutting to prevent compression
The History Behind Stuffed Bread Rolls
Stuffed bread rolls have a rich history that spans multiple cultures. From Eastern European kolaches to Middle Eastern fatayer, the concept of wrapping savory fillings in bread dough has been a culinary tradition for centuries. The design of this particular recipe draws inspiration from both Italian stromboli and Eastern European meat-filled pastries.
What makes this version unique is the spiral presentation and the balanced combination of American comfort food flavors with techniques borrowed from various cultural traditions. The result is a dish that feels both familiar and special at the same time.
Why This Recipe Works
After years of experimenting with different methods, I’ve discovered several secrets to making this dish truly exceptional:
- Proper dough development: Taking the time to properly knead the dough develops gluten, creating a bread with the perfect texture – tender yet sturdy enough to hold the filling.
- Cooling the filling completely: This crucial step prevents the yeast from being killed by heat and keeps the cheese from melting too soon.
- Balanced seasoning: The combination of herbs and spices in the beef mixture creates a complex flavor profile without any single element overwhelming the others.
- The cheese blend: Using three different cheeses provides the perfect balance of flavor and meltability.
- The finishing touch: Brushing with garlic butter immediately after baking adds another layer of flavor and keeps the crust tender.
| Success Factor | Why It Matters |
|---|---|
| Proper kneading | Develops gluten structure for ideal texture |
| Room temperature ingredients | Ensures even mixing and proper rising |
| Complete cooling of filling | Prevents damage to yeast and premature cheese melting |
| Tight rolling technique | Creates beautiful spiral pattern and prevents gaps |
| Proper sealing | Keeps filling contained during baking |
| Egg wash | Promotes beautiful golden color and shine |
| Rest before cutting | Allows structure to set for clean slices |
Frequently Asked Questions
Q: Can I make this recipe with store-bought pizza dough?
A: Absolutely! While homemade dough provides the best texture and flavor, you can certainly use store-bought pizza dough as a time-saving alternative. You’ll need about 2 pounds of dough. Let it come to room temperature before rolling for easiest handling.
Q: How can I make this recipe ahead for a party?
A: You can prepare the entire roll up to the point of baking, then refrigerate it (covered) for up to 8 hours. Remove it from the refrigerator about 30 minutes before baking to take the chill off, apply the egg wash just before baking, and add 5-10 minutes to the baking time.
Q: My family doesn’t eat beef. Can I substitute another protein?
A: Definitely! Ground turkey, chicken, or plant-based meat alternatives work wonderfully in this recipe. Just adjust the cooking time accordingly as some alternatives may cook faster than beef.
Q: How can I tell when the bread is fully baked?
A: The bread should be golden brown and sound hollow when tapped on the bottom. If you’re uncertain, you can use an instant-read thermometer—the center of the bread (not the filling) should register around 190°F (88°C).
Q: Can I freeze this bread roll?
A: Yes! You can freeze it either before or after baking. To freeze before baking, prepare up to the egg wash step, freeze solid on a baking sheet, then wrap tightly. Thaw overnight in the refrigerator before baking. For baked bread, cool completely, wrap tightly in plastic wrap and foil, and freeze for up to 3 months.
Q: How spicy is this recipe?
A: As written, this recipe has a mild warmth from the cayenne pepper. You can easily adjust the heat level by increasing or decreasing the amount of cayenne, or omitting it altogether for a non-spicy version.
Q: Can I add vegetables to the filling?
A: Absolutely! Spinach, mushrooms, corn, and zucchini all work well. Just make sure to sauté them first to remove excess moisture, and cool completely before adding to the filling.
Final Thoughts
The Cheesy Ground Beef Stuffed Bread Roll epitomizes what I love most about home cooking – it transforms humble ingredients into something truly special that brings people together around the table. While it might seem intimidating at first glance, the step-by-step process is actually quite manageable, and the results are well worth the effort.
What makes this dish particularly wonderful is its adaptability. Once you master the basic technique, you can customize it endlessly to suit your family’s preferences or whatever ingredients you have on hand. It’s also a fantastic way to introduce children to cooking, as they can help with rolling and shaping the dough.
I hope this recipe finds a regular place in your cooking rotation, bringing the same joy and satisfaction to your kitchen that it has to mine. There’s something truly magical about pulling this golden, aromatic creation from the oven and seeing the looks of anticipation on everyone’s faces as you slice into it, revealing the beautiful spiral of savory filling within.
Happy cooking, and enjoy every delicious bite!


