Have you ever craved a soft, pliable tortilla but wanted to avoid the carbs that come with traditional flour versions? I’ve been there too! After years of experimenting with various alternatives, I’ve perfected what I consider the holy grail of healthy wraps: 3-ingredient cauliflower tortillas that are not only incredibly simple to make but also absolutely delicious.
These tortillas have become a staple in my kitchen, appearing at least twice a week on our family dinner table. They’re versatile enough to use for breakfast burritos, lunchtime wraps, or as a side for your favorite dinner dishes. What’s more, they’re gluten-free, grain-free, and packed with vegetables – perfect for anyone looking to incorporate more nutrient-dense foods into their diet without sacrificing taste or texture.
Why Cauliflower Tortillas?
Before diving into the recipe, let me share why I’m so passionate about these tortillas. Traditional flour tortillas, while undeniably delicious, can be heavy on refined carbohydrates and offer limited nutritional benefits. Enter cauliflower – this humble vegetable transforms into an incredibly versatile base for countless recipes, including these tortillas.
Cauliflower brings several advantages to the table:
- Lower in carbohydrates than wheat flour
- Higher in fiber and nutrients
- Mild flavor that doesn’t overpower fillings
- Naturally gluten-free and grain-free
- Contains vitamin C, vitamin K, and various B vitamins
- Provides antioxidants that help reduce inflammation
When I first attempted cauliflower tortillas years ago, the results were less than impressive – soggy wraps that fell apart the moment I tried to fill them. But through persistent experimentation and countless batches, I’ve refined the process to create tortillas that hold together beautifully while remaining soft and pliable.
The Essential Ingredients
True to the title, this recipe requires just three simple ingredients. Here’s what you’ll need:
- 1 medium head of cauliflower (about 2 pounds or 900g): The star of our show provides the bulk and texture while keeping carbs low.
- 2 large eggs: These act as our binding agent, ensuring the tortillas hold together rather than crumbling apart.
- 1/4 teaspoon salt: Just enough to enhance the flavor without overpowering the mild cauliflower taste.
That’s it! No complicated ingredients or expensive specialty flours required. These basic items combine to create tortillas that are surprisingly versatile and satisfying.
Optional Add-ins
While the basic recipe stands perfectly well on its own, I sometimes like to incorporate additional flavors depending on how I plan to use the tortillas:
- 1/4 teaspoon garlic powder
- 1/4 teaspoon onion powder
- 1 tablespoon nutritional yeast (adds a subtle cheesy flavor)
- 1 tablespoon fresh herbs (cilantro, parsley, or chives work wonderfully)
- 1/2 teaspoon ground spices (cumin, paprika, or Italian herbs)
Equipment You’ll Need
Before getting started, gather these kitchen tools:
- Food processor or box grater
- Clean kitchen towel or cheesecloth
- Large mixing bowl
- Measuring spoons
- Baking sheet
- Parchment paper
- Spatula
- Non-stick skillet (if pan-frying)
Preparation Method: Step by Step
Let me walk you through creating these tortillas with detailed instructions that I’ve refined through countless batches:
Step 1: Prepare the Cauliflower Rice
- Preheat your oven to 375°F (190°C) and line a baking sheet with parchment paper.
- Remove the outer leaves from the cauliflower and cut it into florets, discarding the tough stem.
- Place the florets in a food processor and pulse until the cauliflower resembles rice grains. Work in batches if necessary to avoid overcrowding.
- If you don’t have a food processor, you can use the large holes of a box grater to grate the cauliflower by hand.
Step 2: Pre-Cook and Drain the Cauliflower
This step is absolutely critical – it’s the secret to tortillas that hold together rather than falling apart:
- Transfer the cauliflower rice to a microwave-safe bowl.
- Microwave on high for 4-5 minutes until the cauliflower is soft and steamed. Alternatively, you can steam it on the stovetop for about 5 minutes.
- Allow the cauliflower to cool until you can handle it comfortably – about 10 minutes.
- Transfer the cooled cauliflower to a clean kitchen towel or cheesecloth.
- Gather the edges of the towel and twist tightly over a sink or bowl, squeezing out as much moisture as possible.
- Keep squeezing! This is where most people go wrong – you want to remove as much water as you possibly can. I typically spend at least 2-3 minutes on this step, and the amount of liquid you can extract will surprise you.
I cannot stress enough how important this draining step is. The first time I made these tortillas, I rushed this process and ended up with soggy wraps that tore apart. Properly drained cauliflower should feel almost dry to the touch and will yield at least 1/2 cup of liquid.
Step 3: Mix and Form the Tortillas
- Place the drained cauliflower rice in a mixing bowl. You should have approximately 1 1/2 cups of cauliflower after draining.
- Add the eggs and salt (plus any optional seasonings if using).
- Mix thoroughly until well combined. The mixture should be somewhat sticky and hold together when pressed.
- Divide the mixture into 6 equal portions (for 6-inch tortillas).
- Place each portion on the prepared baking sheet and flatten with your hands or the back of a spatula into thin circles, approximately 1/8 inch thick.
- Use your fingers to smooth the edges and create an even thickness throughout.
Step 4: Cook the Tortillas
You have two options for cooking these tortillas – baking or pan-frying. I’ll detail both methods so you can choose what works best for you:
Baking Method:
- Place the prepared baking sheet in the preheated oven.
- Bake for 10 minutes, then carefully flip each tortilla.
- Bake for another 5-7 minutes until the edges are slightly golden and the centers are set.
- Remove from the oven and let cool for a few minutes before gently removing from the parchment paper.
Pan-Frying Method:
- Heat a non-stick skillet over medium heat.
- Carefully transfer formed tortilla to the hot skillet (you may need to form them directly in the pan).
- Cook for 3-4 minutes on the first side until the bottom is golden.
- Carefully flip and cook for another 2-3 minutes on the second side.
- Transfer to a plate and repeat with remaining portions.
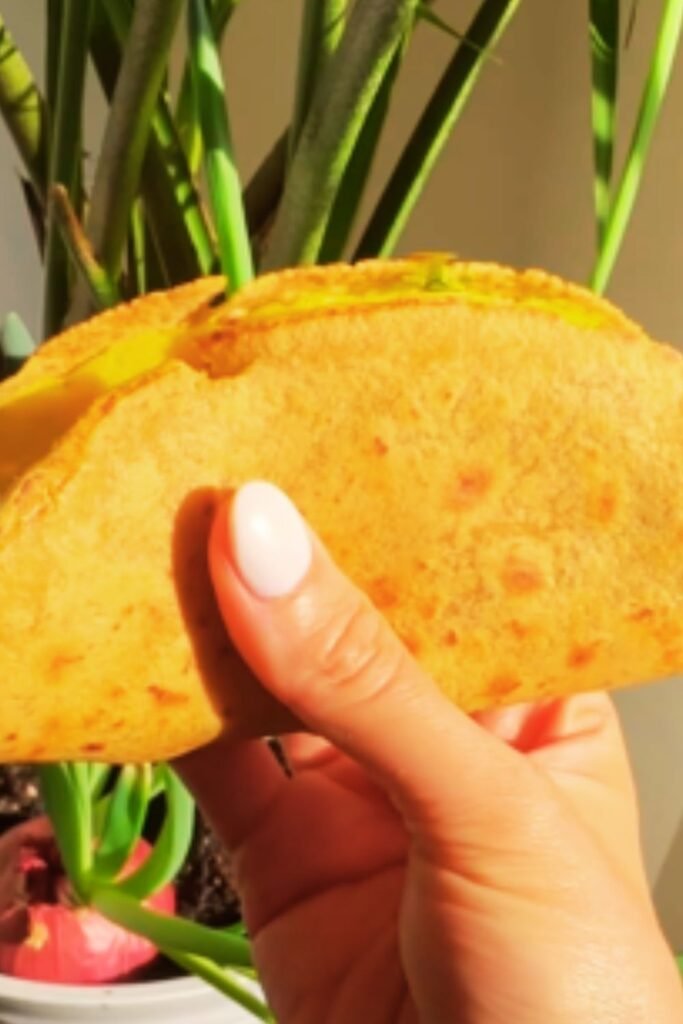
I personally prefer the pan-frying method as it allows me to monitor each tortilla individually and adjust the cooking time as needed. The result is typically more pliable tortillas with a slight charring that enhances flavor.
Storing and Reheating
One of the things I love about these tortillas is that they can be made ahead and stored for later use:
- Refrigeration: Store cooled tortillas between sheets of parchment paper in an airtight container in the refrigerator for up to 5 days.
- Freezing: Place parchment paper between each tortilla and store in a freezer-safe bag or container for up to 3 months.
- Reheating: Warm refrigerated or thawed tortillas in a dry skillet over medium-low heat for 30 seconds per side. You can also microwave them for 15-20 seconds, though this may make them slightly less crisp.
Troubleshooting Common Issues
Even with a straightforward recipe like this one, issues can arise. Here are solutions to the most common problems I’ve encountered:
Tortillas Breaking or Crumbling
- Cause: Insufficient moisture removal or eggs that are too small to bind properly.
- Solution: Make sure you’re extremely thorough when squeezing water from the cauliflower. If needed, add an extra egg white to the mixture.
Tortillas Too Wet in the Center
- Cause: Tortillas formed too thick or uneven thickness.
- Solution: Spread the mixture thinner (about 1/8 inch) and ensure even thickness throughout.
Sticking to the Paper or Pan
- Cause: Parchment paper not used or pan not properly heated.
- Solution: Always use parchment paper for baking. For pan-frying, ensure the pan is hot before adding the tortilla mixture and use a non-stick surface.
Bland Flavor
- Cause: Insufficient seasoning or salt.
- Solution: Don’t be afraid to add more salt or incorporate the optional seasonings mentioned earlier.
Nutrition Information
These tortillas aren’t just delicious – they’re nutritionally superior to many alternatives. Here’s a breakdown of what you can expect per tortilla (based on a yield of 6 tortillas from the recipe):
| Nutrient | Amount | % Daily Value* |
|---|---|---|
| Calories | 45-50 | – |
| Total Fat | 2g | 3% |
| Saturated Fat | 0.5g | 3% |
| Cholesterol | 60mg | 20% |
| Sodium | 135mg | 6% |
| Total Carbohydrate | 4g | 1% |
| Dietary Fiber | 2g | 7% |
| Sugars | 1g | – |
| Protein | 3g | 6% |
| Vitamin C | 45mg | 50% |
| Calcium | 30mg | 2% |
| Iron | 0.6mg | 3% |
| Potassium | 200mg | 4% |
*Percent Daily Values are based on a 2,000 calorie diet.
Compare this to a standard flour tortilla, which typically contains about 150 calories and 25g of carbohydrates, and you can see why I’m such a fan of this alternative!
Serving Suggestions
These versatile tortillas can be used in countless ways. Here are some of my favorite applications:
Breakfast Options:
- Scrambled egg and vegetable wrap
- Breakfast burrito with black beans and salsa
- Base for a simple egg white and spinach quesadilla
- Quick breakfast pizza with pesto, egg, and tomatoes
Lunch Ideas:
- Turkey and avocado wrap
- Hummus and roasted vegetable roll-up
- Tuna salad wrap with lettuce
- Base for mini pizzas topped with vegetables and cheese
Dinner Applications:
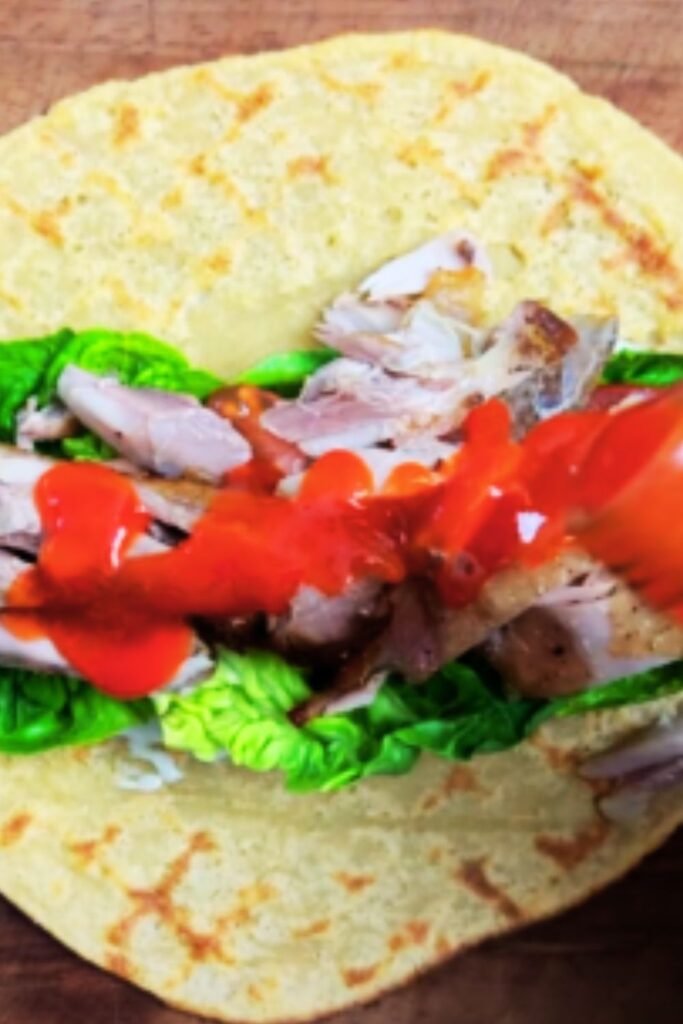
- Soft tacos with grilled chicken or fish
- Enchiladas filled with vegetables and sauce
- Side dish for soups and stews
- Base for vegetable curry wraps
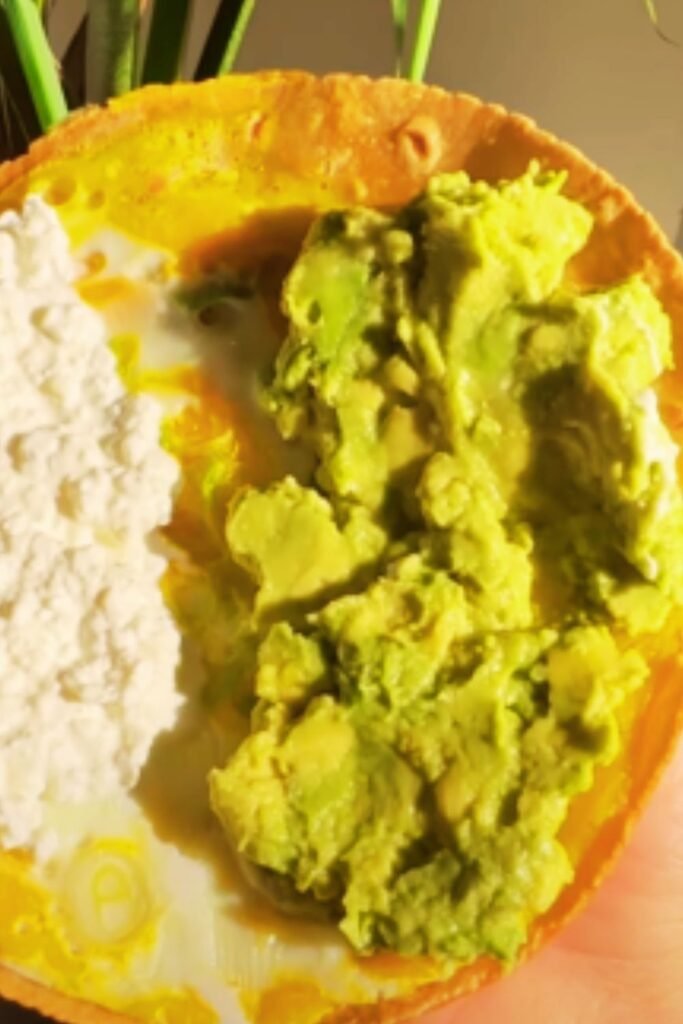
For an especially delightful meal, I love using these tortillas to make fish tacos with cabbage slaw and lime crema. The mild flavor of the cauliflower complements the fish perfectly without competing with the other flavors.
Variations on the Basic Recipe
Once you’ve mastered the basic recipe, you might want to try these variations:
Herb and Garlic Tortillas
Add 1 minced garlic clove, 1 tablespoon chopped fresh herbs (cilantro, parsley, or chives), and a pinch of black pepper to the base mixture.
Cheesy Cauliflower Tortillas
Incorporate 1/4 cup of finely grated Parmesan or nutritional yeast for a dairy-free option. Reduce salt slightly as cheese adds saltiness.
Spiced Tortillas
Add 1/2 teaspoon cumin, 1/4 teaspoon paprika, and a pinch of cayenne pepper for tortillas with a Mexican-inspired flavor profile.
Green Tortillas
Blend 1/4 cup fresh spinach with the eggs before mixing with cauliflower for a vibrant green color and added nutrients.
Health Benefits Beyond Low-Carb
While many people turn to cauliflower tortillas primarily for their low-carb profile, there are numerous other health benefits worth noting:
Supports Digestive Health
The fiber in cauliflower promotes healthy digestion and contributes to a feeling of fullness, which can help with weight management.
Rich in Antioxidants
Cauliflower contains antioxidants that help reduce inflammation and protect against several chronic diseases.
Brain Health
The choline in cauliflower is essential for brain development and the production of neurotransmitters that regulate mood, memory, and muscle control.
Heart Health
The fiber, potassium, and antioxidants in cauliflower all support cardiovascular health by helping to reduce cholesterol levels and blood pressure.
Common Questions & Answers
After sharing this recipe with friends and family over the years, I’ve collected quite a few frequently asked questions. Here are answers to the most common ones:
Q: Can I use frozen cauliflower rice instead of fresh? A: Yes! Thaw the frozen cauliflower rice completely, then microwave and drain as instructed. You may need to squeeze out even more water as frozen cauliflower tends to release more moisture.
Q: Are these tortillas keto-friendly? A: Yes, with only about 4g of carbohydrates per tortilla (of which 2g is fiber), these fit well within most ketogenic diet plans.
Q: Can I make these vegan? A: The eggs are crucial for binding in this simple version. For a vegan alternative, you would need to experiment with flax eggs (1 tablespoon ground flaxseed mixed with 3 tablespoons water per egg) and possibly add a binder like tapioca starch, but this would change the 3-ingredient nature of the recipe.
Q: How can I make larger tortillas for burritos? A: For larger tortillas, divide the mixture into 4 portions instead of 6, but be aware that larger tortillas will be slightly more fragile. You may want to add an extra egg white to help with binding.
Q: My tortillas turned out soggy. What went wrong? A: The most common cause is insufficient moisture removal. Spend extra time squeezing out water from the cauliflower, and make sure you’re cooking the tortillas long enough to evaporate additional moisture.
Q: Can children help make these? A: Absolutely! Kids can help with mixing ingredients and forming tortillas (once the cauliflower has cooled). It’s a great way to get them involved with vegetable preparation in a fun, approachable way.
Q: How do these compare to store-bought cauliflower wraps? A: Homemade versions typically contain fewer additives and preservatives than commercial products. They’re also usually fresher and more economical, costing about 1/3 the price of pre-made alternatives.
Q: Can I add different vegetables to the mixture? A: While it’s possible to incorporate small amounts of other vegetables (like spinach or herbs), adding too many water-rich vegetables can compromise the structure of the tortillas. If experimenting, start by replacing no more than 1/4 of the cauliflower with another vegetable.
Final Thoughts
These 3-ingredient cauliflower tortillas have become a mainstay in my kitchen not only for their simplicity and nutrition profile but also for their incredible versatility. What started as an experiment to find a lower-carb alternative to traditional tortillas has become one of my most-used recipes.
The journey to perfect these tortillas taught me that sometimes the simplest recipes require the most attention to technique. That thorough squeezing of moisture from the cauliflower might seem tedious, but it’s what transforms a potentially soggy disappointment into a flexible, sturdy wrap that can hold its fillings with confidence.
I encourage you to try these tortillas even if you’re not following a specific dietary plan – they’re delicious in their own right and offer a wonderful way to incorporate more vegetables into your meals. They might just become your new favorite tortilla alternative!
Whether you’re making tacos for Tuesday dinner, preparing make-ahead breakfast wraps, or simply looking for a healthier base for your favorite fillings, these cauliflower tortillas deserve a place in your cooking repertoire. With just three ingredients and a little bit of time, you can create a versatile, nutrient-dense alternative that doesn’t compromise on taste or texture.

