
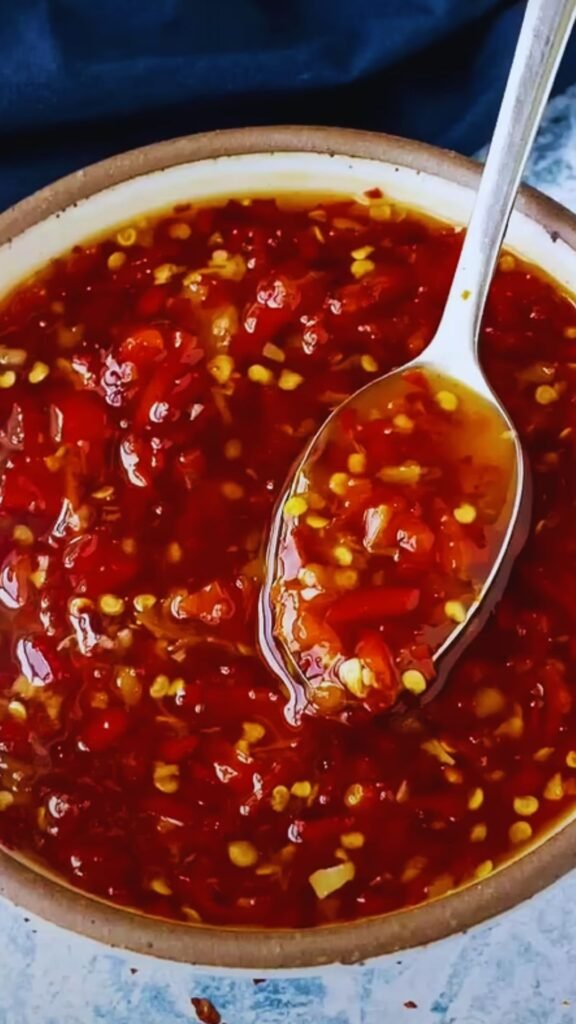
There’s something undeniably satisfying about creating condiments from scratch. I’ve been making my own sweet chili sauce for years, and let me tell you—once you try the homemade version, those store-bought bottles will gather dust in your pantry. That perfect balance of sweet, spicy, tangy, and garlicky flavors is something I’ve fine-tuned over countless batches, and today I’m sharing my foolproof recipe with you.
What Makes Sweet Chili Sauce So Irresistible?
Sweet chili sauce originated in Thailand (known there as nam chim kai) but has become a global sensation for good reason. The sauce brings together contrasting flavors that create a harmonious taste explosion: the sweetness of sugar, the heat from chilies, the tanginess of vinegar, and the savory notes from garlic. It’s this complex flavor profile that makes it an incredibly versatile condiment that enhances everything from spring rolls to grilled meats.
When I first tried making this sauce at home, I was amazed by how simple the process was and how dramatically better it tasted than anything I could buy. The fresh ingredients make all the difference, giving you vibrant flavor without the preservatives and artificial ingredients found in commercial versions.
Essential Ingredients for Authentic Sweet Chili Sauce
The beauty of homemade sweet chili sauce lies in its simplicity. You need just a handful of ingredients that you probably already have in your kitchen:
- Red chilies – The star of the show, providing both color and heat
- Sugar – Creates the sticky sweetness that balances the heat
- Vinegar – Adds tang and acts as a natural preservative
- Garlic – Provides depth and savory notes
- Salt – Enhances all the other flavors
- Cornstarch – Thickens the sauce to the perfect consistency
What makes homemade sweet chili sauce special is the ability to customize each element. Want it spicier? Leave in more seeds. Prefer a less garlic-forward sauce? Dial it back. The control is entirely in your hands.
Chili Varieties and Heat Levels
Not all chilies are created equal, and your choice will significantly impact the final product. Here’s a breakdown of popular options:
| Chili Type | Heat Level (1-10) | Flavor Notes | Best For |
|---|---|---|---|
| Bird’s eye chilies | 8-10 | Sharp, clean heat | Traditional, spicy versions |
| Red jalapeños | 4-6 | Bright, fresh heat | Medium-spicy, accessible versions |
| Red bell peppers + cayenne | 2-7 | Sweet with controllable heat | Milder versions with bright color |
| Thai chilies | 7-9 | Complex, fruity heat | Authentic Thai-style sauce |
| Fresno chilies | 4-6 | Smoky, fruity heat | Balanced, all-purpose sauce |
I typically opt for a combination approach: mostly red jalapeños or Fresno chilies for body and color, with a few bird’s eye chilies added for an authentic heat kick. This gives me the best of both worlds—beautiful color and consistency with precisely controlled spiciness.
Equipment You’ll Need
One of the reasons I love making this sauce is that it requires minimal equipment:
- A sharp knife and cutting board
- A medium saucepan
- A whisk
- Glass jars for storage
If you plan to make larger batches for preserving, you might also want to have sterilized canning jars and proper canning equipment ready.
The Foolproof Recipe
After years of tweaking, I’ve landed on this recipe that consistently produces the perfect homemade sweet chili sauce. It takes less than 30 minutes from start to finish!
Ingredients
- 8-10 red chilies (mix of varieties as desired)
- 4 large cloves of garlic, minced
- 1 cup rice vinegar (or white vinegar)
- 1 cup granulated sugar
- 1/2 cup water
- 1 1/2 teaspoons salt
- 2 tablespoons cornstarch mixed with 3 tablespoons cold water
Step-by-Step Process
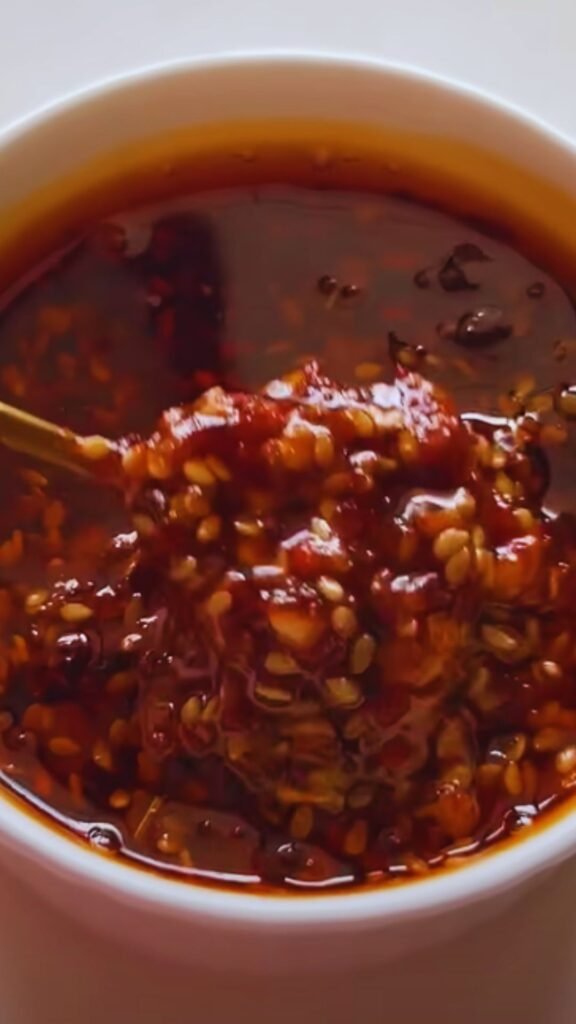
- Prepare the chilies by washing them thoroughly. For a milder sauce, remove seeds and membranes; for spicier sauce, leave some in. Finely chop the chilies.
- Peel and mince the garlic cloves as finely as possible.
- In a medium saucepan, combine the chopped chilies, minced garlic, vinegar, sugar, water, and salt.
- Bring the mixture to a gentle boil over medium heat, stirring occasionally to help dissolve the sugar.
- Once boiling, reduce heat to low and simmer for 5 minutes to allow the flavors to meld and the chilies to soften.
- Whisk the cornstarch and water mixture again (it tends to settle) and slowly pour it into the simmering sauce while whisking constantly.
- Continue cooking and stirring for 2-3 minutes until the sauce thickens noticeably. It should coat the back of a spoon but still be pourable.
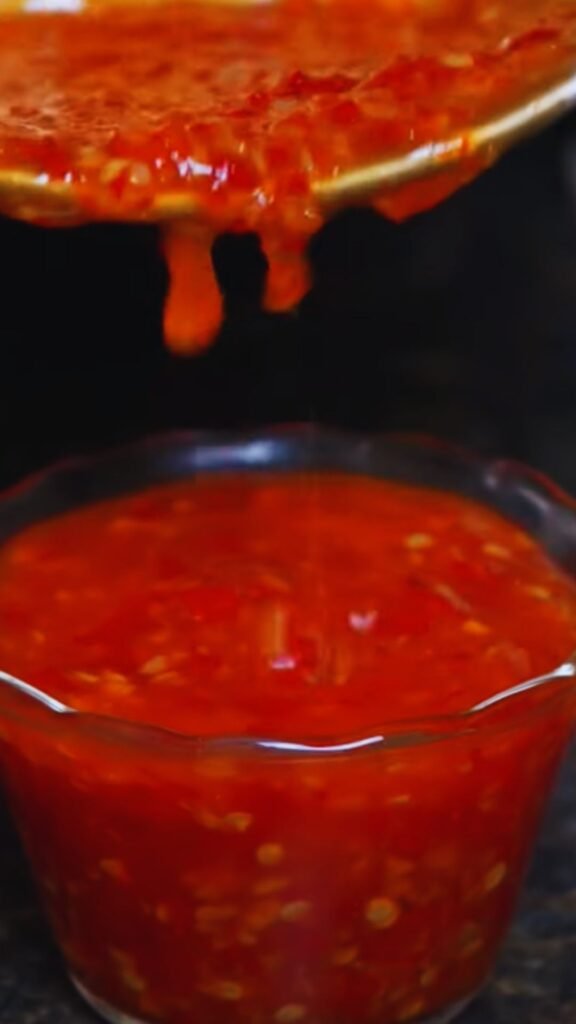
- Remove from heat and let cool slightly before transferring to clean glass jars.
The Science Behind the Perfect Consistency
Getting the right thickness in your sweet chili sauce is crucial for the proper mouthfeel and adhesion to food. Too thin, and it runs off your spring rolls; too thick, and it becomes glue-like and unpleasant.
The secret lies in understanding the role of cornstarch. When cornstarch is heated in a liquid, its starch molecules absorb water and swell—a process called gelatinization. This creates the thickening effect we want in our sauce.
Three key factors affect this process:
- Temperature – Cornstarch needs to reach about 203°F (95°C) to fully gelatinize
- Acidity – The high vinegar content can somewhat inhibit thickening, which is why we use slightly more cornstarch than in other sauces
- Sugar concentration – Sugar competes with starch for water, affecting the final texture
I’ve found that adding the cornstarch slurry after the sauce has already simmered helps achieve the perfect consistency. This ensures the flavors develop first, and the thickening happens in a controlled manner at the end.
Troubleshooting Common Issues
Even with a foolproof recipe, things can sometimes go awry. Here are solutions to common problems:
| Problem | Likely Cause | Solution |
|---|---|---|
| Sauce is too thin | Insufficient cornstarch or not cooked long enough | Mix 1 tsp additional cornstarch with 2 tsp cold water and add to simmering sauce |
| Sauce is too thick | Too much cornstarch or over-reduction | Add warm water, 1 tablespoon at a time, until desired consistency is reached |
| Sauce crystallizes during storage | Too high sugar concentration | Reheat gently with a splash of water or vinegar |
| Not spicy enough | Chilies were mild or too many seeds removed | Add a pinch of cayenne pepper or red pepper flakes |
| Too spicy | Too many seeds left in or particularly hot chilies | Add more vinegar and sugar in equal parts to dilute the heat |
Storage and Shelf Life
One of the beautiful aspects of sweet chili sauce is its excellent keeping quality. The high sugar and acid content act as natural preservatives. Here’s how I store mine:
- Refrigerator storage: Keeps for 2-3 months in airtight glass containers
- Freezer storage: Maintains quality for up to 6 months in freezer-safe containers
- Canned properly: Shelf-stable for up to 1 year in a cool, dark pantry
For the longest shelf life without canning, I transfer the hot sauce directly to sterilized jars, seal them, and then flip them upside down for 5 minutes. This creates a vacuum effect that helps preserve the sauce.
Creative Ways to Use Sweet Chili Sauce
While sweet chili sauce is traditionally served with spring rolls, dumplings, and fried foods, its versatility extends far beyond these applications. Here are some of my favorite ways to use it:
As a Glaze or Marinade
Sweet chili sauce makes an excellent base for glazes and marinades. The sugar caramelizes beautifully when exposed to heat, creating a gorgeous lacquered finish on:
- Grilled chicken or pork
- Roasted salmon or shrimp
- Baked tofu or tempeh
- Roasted vegetables like brussels sprouts or carrots
For a quick marinade, I mix 1/4 cup sweet chili sauce with 2 tablespoons soy sauce, 1 tablespoon lime juice, and 1 tablespoon oil.
In Dressings and Sauces
The sauce can transform ordinary dressings into something special:
- Whisk with lime juice, fish sauce, and a touch of oil for a Thai-inspired salad dressing
- Mix with mayonnaise for a spicy-sweet sandwich spread or dipping sauce
- Blend with peanut butter, coconut milk, and lime for a quick satay sauce
- Stir into yogurt with cucumber and mint for a cooling dip
Fusion Applications
I love experimenting with cross-cultural applications:
- Drizzle over pizza for a sweet-spicy kick
- Use as a dipping sauce for tacos or quesadillas
- Add to stir-fried noodles or fried rice
- Incorporate into deviled egg filling
- Glaze bacon before baking for sweet-spicy bacon
Nutritional Profile and Dietary Adaptations
Standard sweet chili sauce is naturally gluten-free and vegan, making it suitable for many dietary needs. However, the sugar content is relatively high. Here’s how it typically breaks down per tablespoon:
| Nutrient | Amount | % Daily Value |
|---|---|---|
| Calories | 35-40 | 2% |
| Carbohydrates | 8-9g | 3% |
| Sugars | 7-8g | 16% |
| Sodium | 150-200mg | 7% |
| Vitamin C | 4-6mg | 7% |
For those with dietary restrictions, here are some successful adaptations I’ve tried:
Lower-Sugar Versions
- Replace up to half the sugar with a natural sweetener like monk fruit
- Use coconut sugar for a more complex, less refined sweetness
- Increase the natural sweetness with 2-3 tablespoons of apple or pineapple juice concentrate
Keto-Friendly Adaptation
- Replace sugar with allulose or erythritol (slightly more than 1:1 ratio)
- Use xanthan gum instead of cornstarch (1/4 teaspoon per cup of liquid)
- Add a splash of rice wine for depth without the carbs
Lower-Sodium Option
- Reduce salt to 1/2 teaspoon
- Add 1/4 teaspoon citric acid for brightness
- Increase herbs and spices like lemongrass or kaffir lime leaves
Serving Suggestions
Sweet chili sauce elevates countless dishes. Here are my top serving suggestions:
Asian-Inspired Pairings
- Spring rolls or summer rolls
- Crispy wontons or dumplings
- Thai fish cakes
- Salt and pepper tofu
- Lettuce wraps
- Crispy fried or grilled fish
International Fusion Ideas
- Drizzled over avocado toast
- With sweet potato fries
- As a dip for coconut shrimp
- Alongside fried mozzarella sticks
- Mixed into hummus
- With grilled halloumi cheese
Unexpected Applications
- Stirred into scrambled eggs
- Drizzled over roasted vegetables
- As a glaze for meatloaf
- Mixed into ground meat for burgers
- As a dip for fresh mango or pineapple (trust me on this one!)
- Swirled into cream cheese for a quick appetizer spread
Cost Comparison: Homemade vs. Store-Bought
Making sweet chili sauce at home isn’t just about better flavor—it’s economical too. Here’s how the costs break down:
| Ingredient | Amount Used | Approximate Cost |
|---|---|---|
| Red chilies | 10 (about 100g) | $1.50 |
| Garlic | 4 cloves | $0.30 |
| Rice vinegar | 1 cup | $1.00 |
| Sugar | 1 cup | $0.25 |
| Cornstarch | 2 tablespoons | $0.10 |
| Salt | 1.5 teaspoons | $0.05 |
| TOTAL | Makes ~2 cups (16oz) | $3.20 |
By comparison, a 12oz bottle of premium Thai sweet chili sauce typically costs between $4-6. Making your own saves approximately 40-60% while yielding a superior product without preservatives or artificial colorings.
Questions & Answers
Q: Can I reduce the sugar in this recipe without affecting the consistency?
Yes, you can reduce the sugar by up to 1/4 cup without significantly affecting the consistency. If you want to reduce it further, you’ll need to increase the cornstarch slightly (an additional 1/2 teaspoon) to maintain the proper thickness. Alternatively, you can substitute some of the sugar with natural sweeteners like honey or maple syrup, though this will change the flavor profile somewhat.
Q: How spicy is this recipe as written?
With the seeds and membranes removed from half the chilies, this recipe produces a medium-spicy sauce, comparable to most store-bought varieties. For a milder version, remove all seeds and membranes or substitute some of the hot chilies with red bell pepper. For extra heat, leave all seeds in or add a pinch of cayenne pepper.
Q: Can I can this sauce for long-term storage?
Absolutely! This recipe is suitable for water bath canning due to its high acid content. Process in a water bath for 10 minutes (adjust for altitude if necessary). Properly canned, the sauce will remain shelf-stable for up to a year.
Q: My sauce turned out cloudy instead of clear and glossy. What went wrong?
Cloudiness typically occurs when the cornstarch is added to the sauce while it’s boiling rapidly. For best results, reduce the heat to a gentle simmer before adding the cornstarch slurry, and whisk constantly while adding it. The sauce should clear up as it continues to cook and thicken.
Q: Can I use dried chilies instead of fresh?
Yes, you can use dried chilies, but you’ll need to rehydrate them first. Soak about 15-20 dried chilies in hot water for 20-30 minutes until soft, then drain and proceed with the recipe. The flavor will be slightly different—often deeper and more complex, though less bright than with fresh chilies.
Q: Is there a substitute for cornstarch if I don’t have any?
You can substitute arrowroot powder in an equal amount, which works almost identically to cornstarch. Alternatively, you can use 2 tablespoons of all-purpose flour, though this will create a slightly cloudy sauce with a less glossy finish.
Final Thoughts
There’s something deeply satisfying about creating a condiment from scratch that outshines anything you can purchase. My homemade sweet chili sauce has become a staple in my kitchen, earning a permanent spot in my refrigerator door. The bright, complex flavors elevate everything they touch, from simple rice bowls to elaborate dinner spreads.
What I love most about this recipe is its adaptability. Once you master the basic technique, you can adjust it endlessly to suit your taste preferences or whatever ingredients you have on hand. Experiment with different chili varieties, add lemongrass or ginger for complexity, or incorporate fruit juices for natural sweetness.
I encourage you to try this recipe and discover the joy of homemade condiments. You’ll taste the difference immediately, and once you do, I suspect you’ll never go back to the store-bought version again. Happy cooking!

