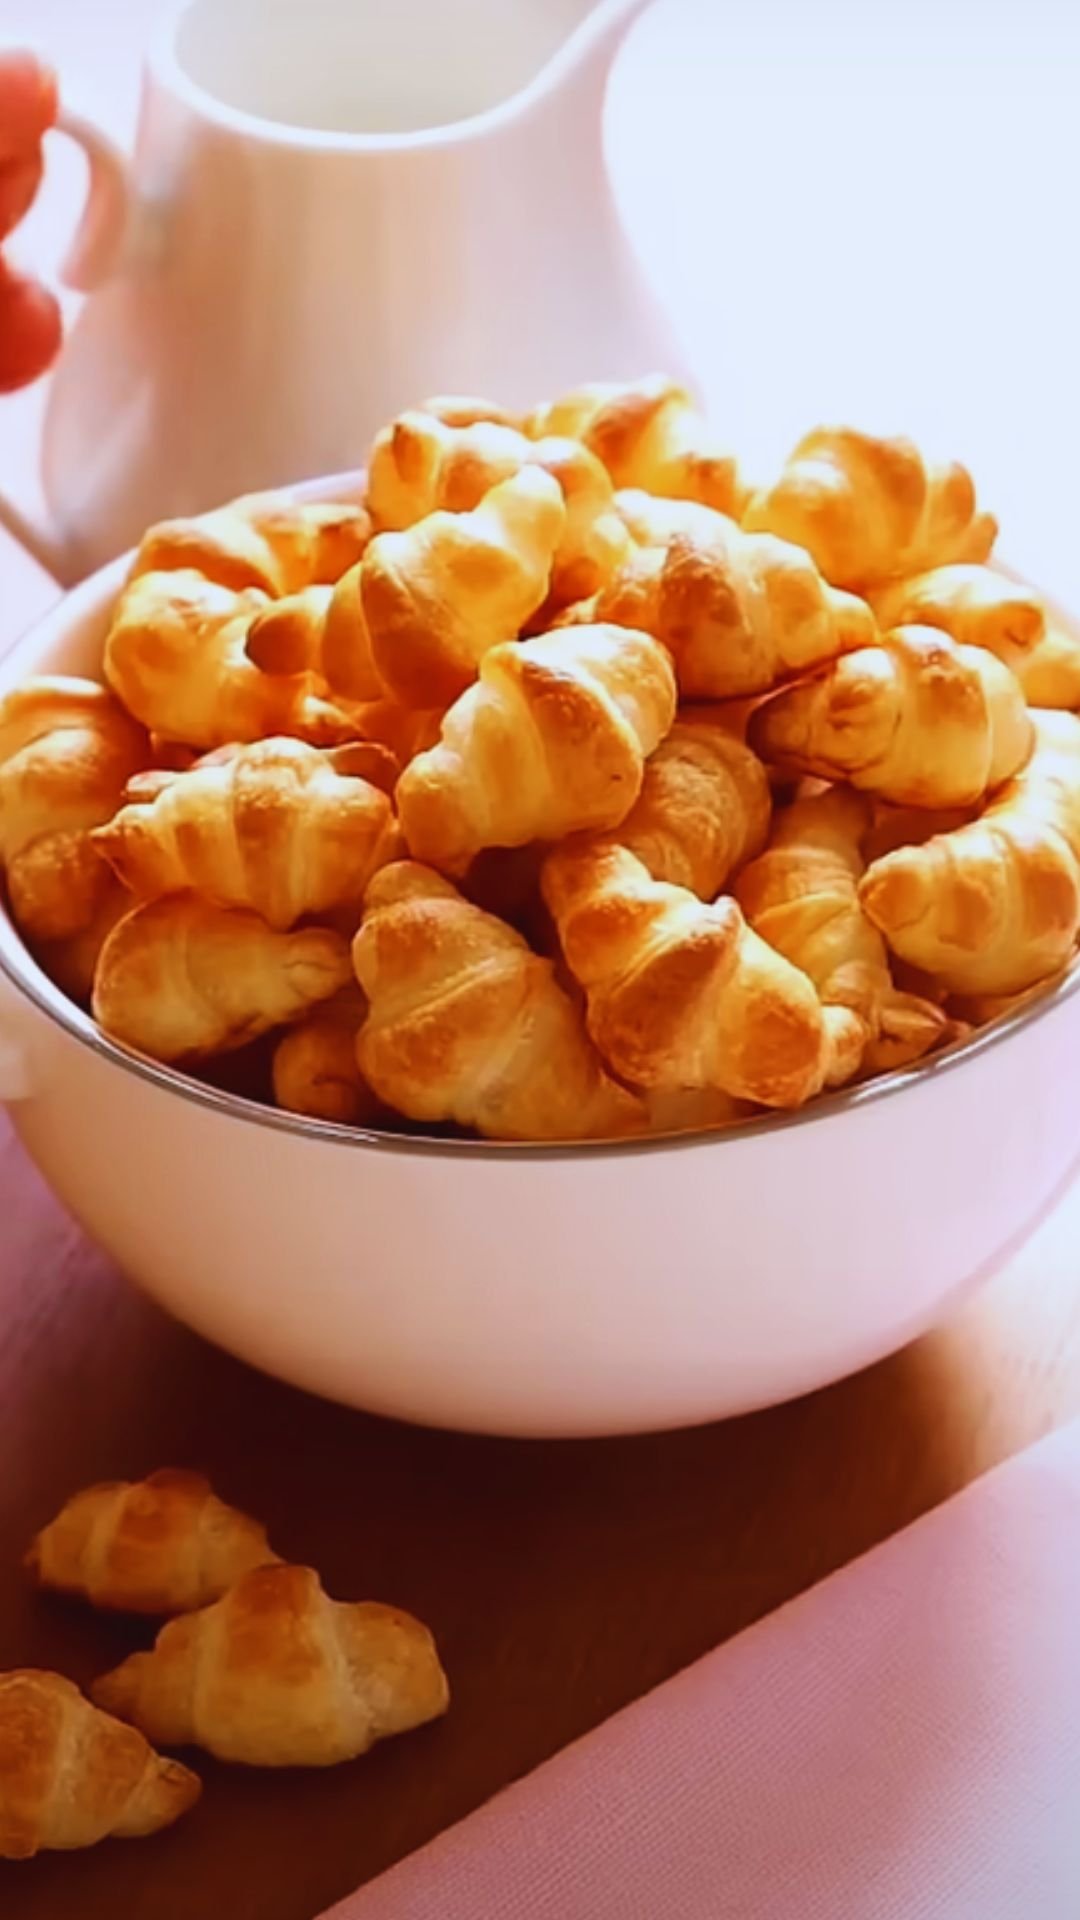
There’s something magical about the combination of flaky puff pastry and rich, melted chocolate. When these two culinary powerhouses come together, the result is nothing short of extraordinary. Today, I’m sharing my recipe for Mini Chocolate-Filled Puff Pastries, a treat that has become a staple in my home for everything from casual weekend brunches to elegant dinner parties.
As someone who has spent countless hours perfecting this recipe, I can assure you that while these pastries look impressive, they’re surprisingly simple to make. The secret lies in quality ingredients and a few techniques that I’ll share with you throughout this article.
Why You’ll Love These Mini Chocolate-Filled Puff Pastries
Before we dive into the recipe, let me tell you why these pastries have become my go-to dessert:
- They require minimal ingredients yet deliver maximum flavor
- The combination of crispy, flaky exterior and molten chocolate interior is irresistible
- They can be prepared in advance and baked just before serving
- Their versatility allows for countless variations to suit your preferences
- They’re perfect for both casual snacking and elegant entertaining
The best part? You don’t need to be a professional pastry chef to create these delightful treats. With my step-by-step instructions, even novice bakers can achieve pastry perfection.
Ingredients: Quality Matters
When it comes to puff pastry desserts, the quality of your ingredients significantly impacts the final result. Here’s what you’ll need:
For the Pastries:
- 2 sheets of all-butter puff pastry (approximately 14 oz or 400g total)
- 7 oz (200g) high-quality dark chocolate (60-70% cocoa)
- 1 large egg (for egg wash)
- 1 tablespoon water
- 2 tablespoons granulated sugar (for sprinkling)
For the Optional Fillings and Variations:
- 4 oz (115g) cream cheese, softened
- 3 tablespoons hazelnut spread
- 4 oz (115g) almond paste
- 2 ripe pears, thinly sliced
- 1/4 cup crushed toasted nuts (hazelnuts, almonds, or pistachios)
For the Chocolate Drizzle:
- 3 oz (85g) chocolate (milk, dark, or white)
- 2 teaspoons vegetable oil
Special Equipment:
- Rolling pin
- Pastry brush
- Baking sheets
- Parchment paper
- Sharp knife or pizza cutter
- Kitchen thermometer (optional but helpful)
The Science Behind Perfect Puff Pastry
Before we begin, let me share some insights into what makes puff pastry so special. Understanding these principles will help you achieve the best results:
Puff pastry relies on layers of dough and butter that, when exposed to heat, create steam. This steam forces the layers apart, resulting in the characteristic “puff.” To maintain these layers:
- Keep the pastry cold at all times before baking
- Handle the dough minimally to prevent the butter from melting
- Ensure your oven is fully preheated before baking
- Create vents in the pastry to allow steam to escape in a controlled manner
Now, let’s dive into the recipe!
Step-by-Step Instructions
Preparation Phase
- Thaw the puff pastry: If using frozen puff pastry, thaw it in the refrigerator overnight. Cold pastry is essential for achieving those perfect flaky layers.
- Prepare your workstation: Clear a clean, flat surface and lightly dust it with flour. Have all your ingredients measured and ready.
- Preheat your oven: Set your oven to 400°F (200°C). Position the racks in the upper and lower thirds of the oven.
- Prepare baking sheets: Line two baking sheets with parchment paper.
- Prepare the egg wash: In a small bowl, whisk together the egg and 1 tablespoon of water until well combined.
Crafting the Pastries
- Roll out the pastry: On a lightly floured surface, gently roll each sheet of puff pastry into a rectangle approximately 12×14 inches (30×35 cm). The dough should be about 1/8 inch (3mm) thick.
- Cut the pastry: Using a sharp knife or pizza cutter, cut each sheet into 12 equal squares. You should have 24 squares total.
- Prepare the chocolate: Chop the chocolate into small pieces. If you prefer a uniform filling, you can melt the chocolate and let it cool slightly before using.
- Fill the pastries: Place about 1 teaspoon of chopped chocolate (or other filling of your choice) in the center of 12 pastry squares, leaving a border of about 1/2 inch (1.3 cm) around the edges.
- Seal the pastries: Brush the borders of the filled squares with egg wash. Place the remaining pastry squares on top of the filled ones. Press the edges firmly with your fingers, then seal completely by pressing with the tines of a fork.
- Vent the pastries: Using a sharp knife, cut two small slits in the top of each pastry to allow steam to escape during baking.
- Finish with egg wash: Brush the tops of the pastries with egg wash, then sprinkle with granulated sugar.
- Chill again: Place the assembled pastries in the refrigerator for 15-20 minutes. This crucial step helps the butter in the pastry firm up again, ensuring maximum puffiness when baked.
Baking to Perfection
- Bake the pastries: Place the chilled pastries on the prepared baking sheets, spacing them about 2 inches (5 cm) apart. Bake in the preheated oven for 15-18 minutes, rotating the pans halfway through, until the pastries are puffed and golden brown.
- Cool slightly: Remove from the oven and let cool on the baking sheets for 5 minutes, then transfer to a wire rack.
- Prepare the drizzle (optional): While the pastries are cooling, melt 3 oz of chocolate with 2 teaspoons of vegetable oil in a microwave-safe bowl in 20-second intervals, stirring between each until smooth. Alternatively, use a double boiler.
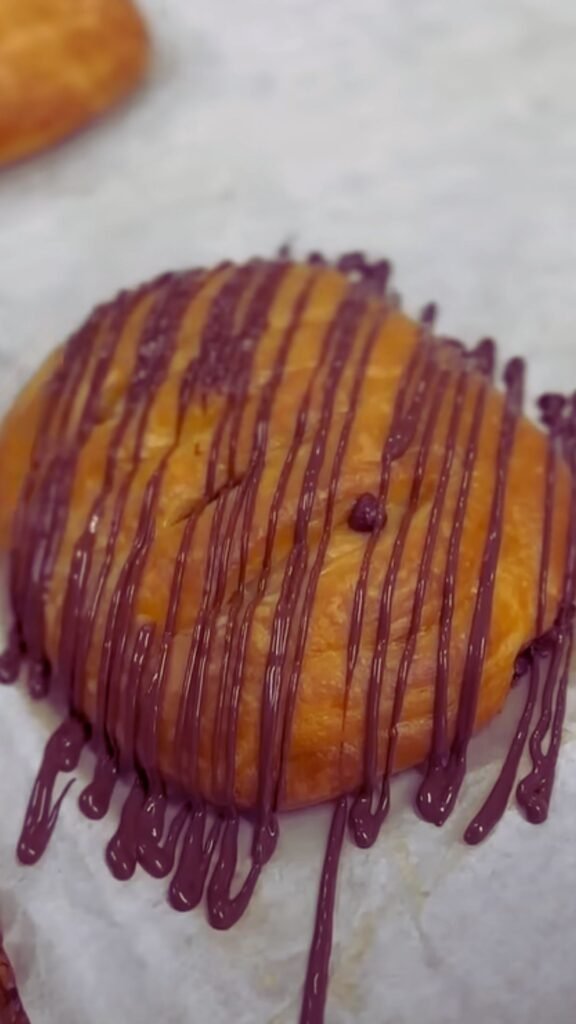
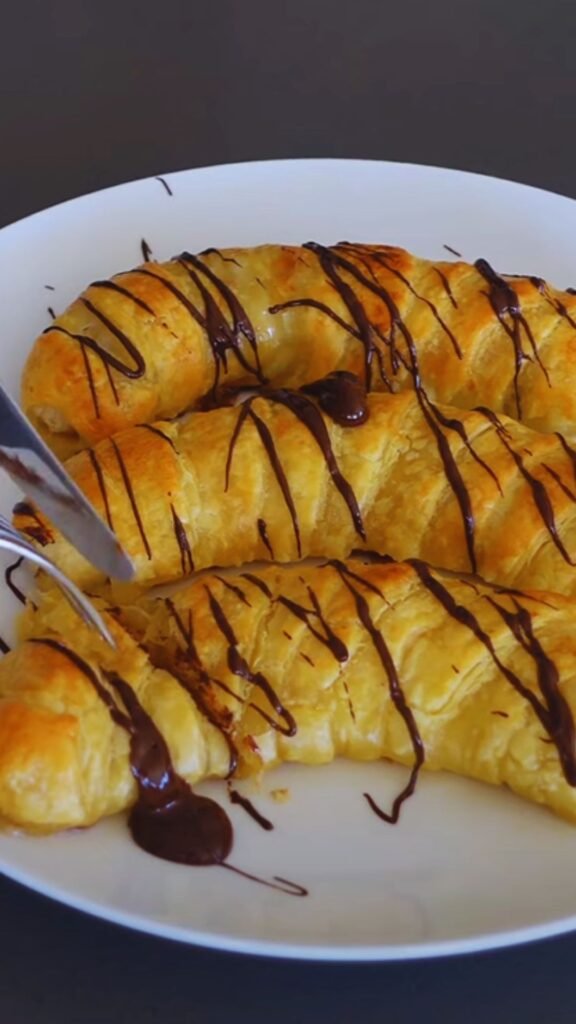
- Add the finishing touch: Drizzle the melted chocolate over the pastries using a spoon or piping bag.
Serve and Enjoy
These pastries are best enjoyed while still warm, when the chocolate inside is delightfully melty. However, they’re also delicious at room temperature and can be reheated briefly in a 300°F (150°C) oven for 5 minutes if desired.
Troubleshooting Common Issues
Even experienced bakers encounter challenges. Here are solutions to common problems:
| Issue | Possible Cause | Solution |
|---|---|---|
| Pastry didn’t puff properly | Dough was too warm | Keep the dough cold at all times before baking |
| Oven not hot enough | Ensure oven is fully preheated | |
| No steam vents | Cut slits in the top to allow steam to escape | |
| Filling leaked out | Too much filling | Use no more than 1 teaspoon of filling per pastry |
| Edges not sealed properly | Press edges firmly with a fork | |
| Pastry is soggy | Underbaked | Bake until golden brown |
| Filling too wet | If using fruit, precook to remove excess moisture | |
| Pastry burnt but inside undercooked | Oven temperature too high | Reduce temperature by 25°F and bake longer |
| Uneven browning | Hot spots in oven | Rotate pans halfway through baking |
Make-Ahead and Storage Tips
These pastries are perfect for entertaining because many steps can be done in advance:
- One day ahead: Assemble the pastries completely, but don’t bake them. Place on a parchment-lined baking sheet, cover loosely with plastic wrap, and refrigerate. Bake as directed, adding 2-3 minutes to the baking time.
- Two weeks ahead: Assemble the pastries, then freeze on a baking sheet until solid. Transfer to an airtight container with parchment between layers. When ready to bake, place the frozen pastries on a baking sheet and bake from frozen, adding 5-7 minutes to the baking time.
- Storage after baking: Store completely cooled pastries in an airtight container at room temperature for up to 2 days. For longer storage, refrigerate for up to 5 days.
- Reheating: To restore crispness, reheat in a 300°F (150°C) oven for 5-7 minutes.
Creative Variations
One of the reasons I love this recipe is its versatility. Here are some of my favorite variations:
Sweet Variations:
- Chocolate-Hazelnut: Replace plain chocolate with hazelnut spread
- Almond-Chocolate: Layer almond paste underneath the chocolate
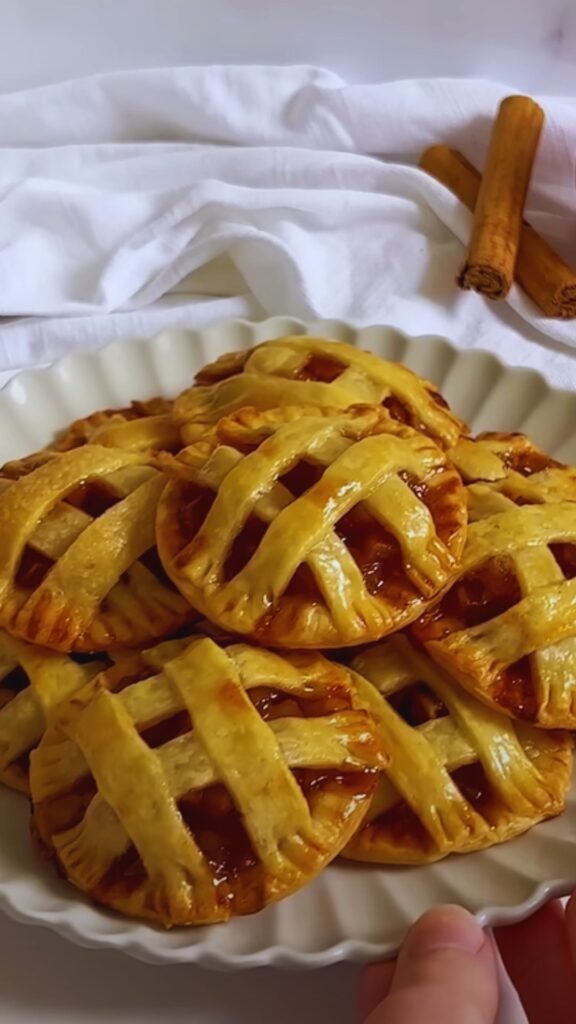
- Fruit and Chocolate: Add thin slices of pear or apple with the chocolate
- S’mores: Use milk chocolate and add a small dollop of marshmallow fluff
- Cream Cheese-Chocolate: Spread a thin layer of sweetened cream cheese before adding chocolate
Flavor Enhancements:
- Add a pinch of cinnamon, cardamom, or chili powder to the chocolate
- Mix in orange or lemon zest with the chocolate
- Sprinkle with sea salt before baking
- Add a drop of peppermint extract to the chocolate
- Incorporate dried cherries or cranberries with the chocolate
Nutritional Information
For those watching their nutritional intake, here’s an approximate breakdown per pastry:
| Nutrient | Amount per Pastry |
|---|---|
| Calories | 235 |
| Total Fat | 16g |
| Saturated Fat | 8g |
| Cholesterol | 12mg |
| Sodium | 120mg |
| Total Carbohydrates | 21g |
| Dietary Fiber | 1.5g |
| Sugar | 6g |
| Protein | 3g |
Note: Nutritional values are approximate and will vary based on specific ingredients used.
Serving Suggestions
These pastries are versatile and can be served in numerous ways:
For Breakfast or Brunch:
- Serve with fresh berries and a dollop of Greek yogurt
- Pair with a strong coffee or espresso
- Include in a continental breakfast spread
- Serve alongside a fruit salad
For Dessert:
- Top with a scoop of vanilla ice cream
- Serve with a berry coulis
- Dust with powdered sugar and garnish with mint
- Create a dessert platter with a variety of pastry shapes and fillings
For Special Occasions:
- Stack in a pyramid for an impressive dessert centerpiece
- Serve on a decorative platter with edible flowers
- Create seasonal shapes (hearts, stars, etc.) for holiday entertaining
- Package individually as party favors or gifts
The Perfect Beverage Pairings
The right beverage can elevate your pastry experience:
- Coffee: The bitterness complements the sweet chocolate perfectly
- Hot chocolate: For the ultimate chocolate indulgence
- Tea: Earl Grey or chai tea works wonderfully with the buttery pastry
- Milk: Classic and comforting, especially for children
- Fruit smoothie: For a refreshing contrast to the rich pastries
Equipment Recommendations
While you don’t need fancy equipment to make these pastries, certain tools can make the process easier:
Essential Tools:
- Quality baking sheets: Heavy-duty sheets prevent burning
- Parchment paper: Prevents sticking and makes cleanup easier
- Sharp knife or pizza cutter: For clean cuts through the pastry
- Pastry brush: For applying egg wash evenly
Nice-to-Have Tools:
- Pastry wheel: Creates decorative edges
- Silicone mat: Provides a non-stick surface for rolling
- Instant-read thermometer: Ensures chocolate is at the right temperature
- Cooling rack: Allows air to circulate around pastries
Tips from My Kitchen to Yours
After making these pastries countless times, I’ve collected some wisdom I’d like to share:
- The right chocolate matters: Use the best quality chocolate you can afford. The flavor difference is noticeable.
- Don’t rush: Each chilling period is essential for flaky results.
- Be mindful of temperature: Both too hot and too cold kitchens can affect your pastry. Ideal working temperature is around 65-70°F (18-21°C).
- Less is more with filling: Overfilling leads to leakage and soggy bottoms.
- Trust your eyes, not just the timer: Bake until golden brown, even if it takes a little longer than specified.
- Experiment with shapes: Try triangles, circles, or even heart shapes for variety.
- Practice makes perfect: Don’t be discouraged if your first batch isn’t perfect. Each time you make these, you’ll improve.
Questions & Answers
Q: Can I use phyllo dough instead of puff pastry?
While phyllo dough can create delicious pastries, it produces a different texture than puff pastry. If you use phyllo, layer several sheets with melted butter between each layer before cutting and filling.
Q: My chocolate didn’t melt inside. What happened?
This usually happens when the chocolate pieces are too large. Try chopping the chocolate more finely or use chocolate chips, which are designed to hold their shape at higher temperatures. If you want a definitely molten center, consider using a ganache filling instead.
Q: Can I make these gluten-free?
Yes, there are several brands of gluten-free puff pastry available now. The technique remains the same, but be aware that gluten-free versions may not puff as dramatically as traditional puff pastry.
Q: How can I make these less sweet?
Use darker chocolate (80% cocoa or higher), omit the sugar sprinkle on top, and skip the chocolate drizzle. You could also balance the sweetness with a pinch of sea salt.
Q: Why did my pastry leak?
Leakage usually occurs when the edges aren’t sealed properly or when there’s too much filling. Make sure to press the edges firmly with a fork and don’t overfill the pastries.
Q: Can I add nuts to the filling?
Absolutely! Finely chopped nuts work beautifully with chocolate. Just make sure they’re finely chopped so they don’t tear the pastry.
Q: How can I tell when they’re done baking?
The pastries should be puffed and golden brown. The bottoms should also be golden, not pale.
Q: Can I make these in an air fryer?
Yes! Preheat your air fryer to 380°F (190°C) and cook for about 8-10 minutes. You may need to work in batches depending on the size of your air fryer.
A Final Note
I’ve shared these Mini Chocolate-Filled Puff Pastries at countless gatherings, and they never fail to impress. There’s something about the combination of delicate, flaky pastry and rich chocolate that makes people’s eyes light up with delight.
Remember that baking is both a science and an art. Follow the techniques for reliable results, but don’t be afraid to add your own creative touch. Whether you’re making these for a special occasion or simply to treat yourself on a quiet afternoon, I hope they bring as much joy to your kitchen as they have to mine.
Happy baking, and enjoy every flaky, chocolate-filled bite!